Rice Krispie Treat Recipe


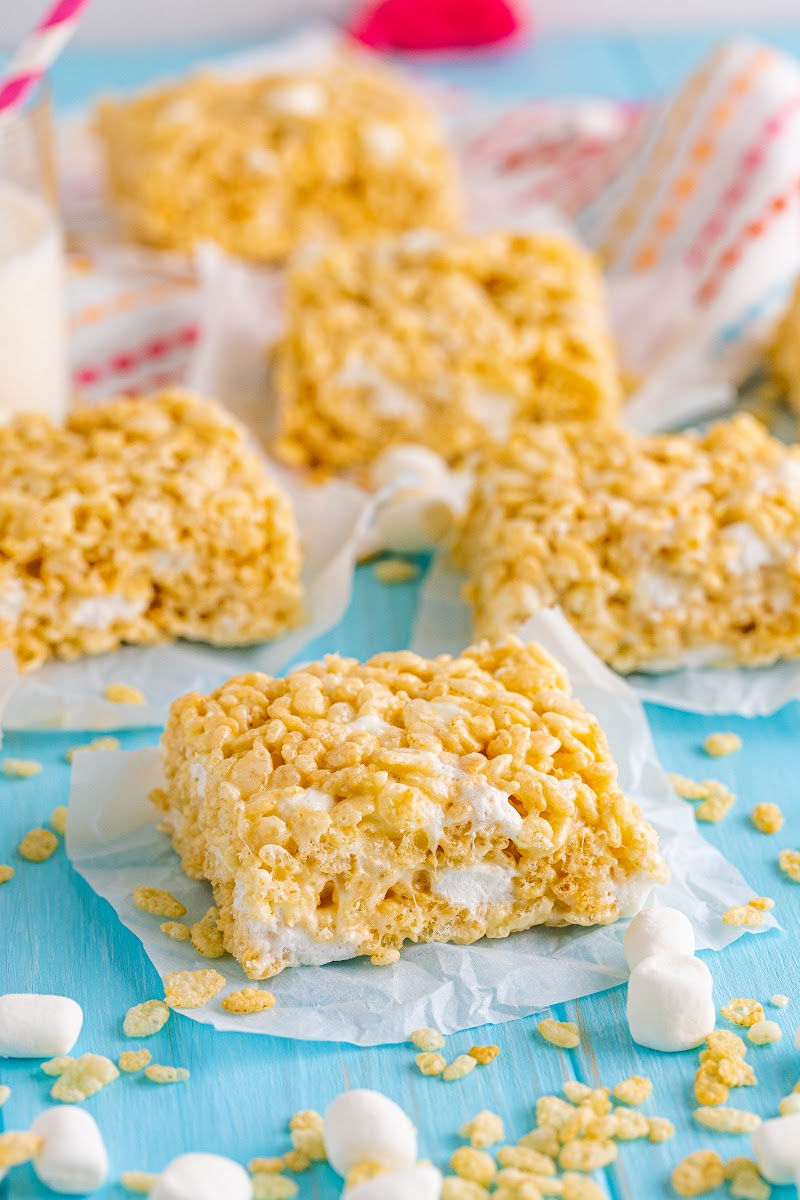
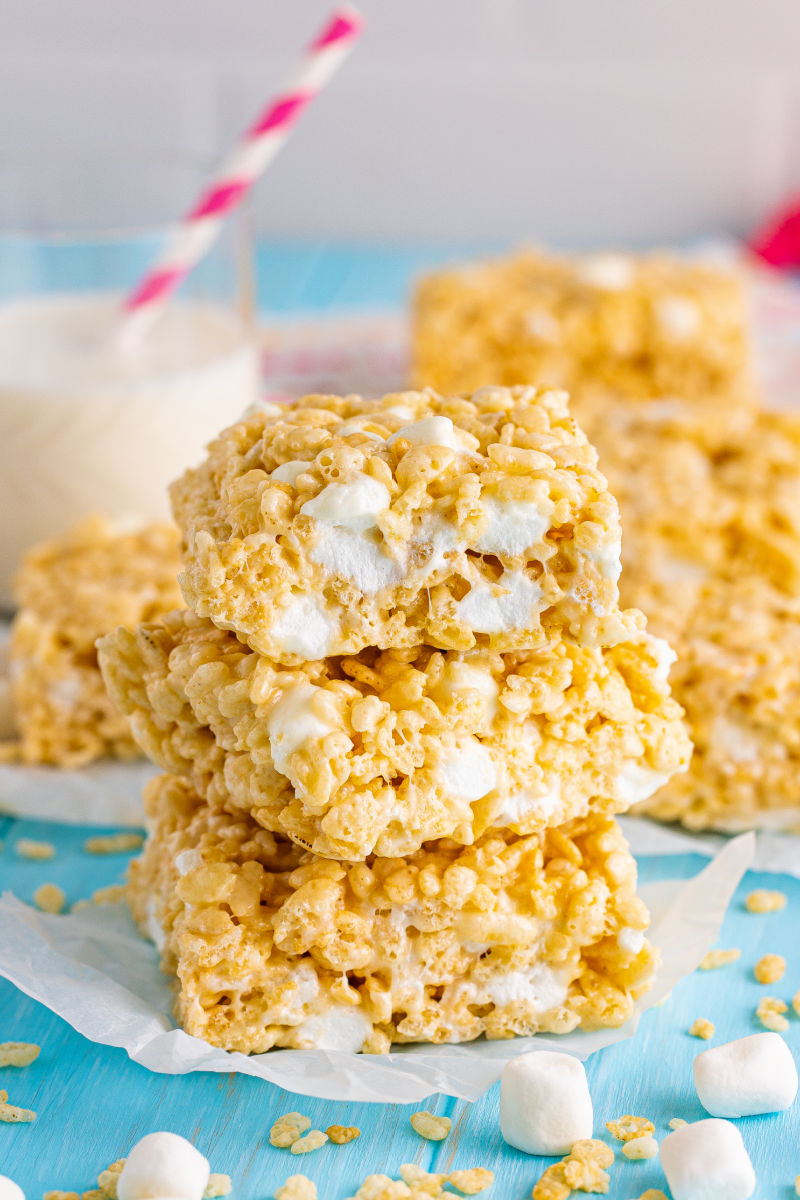
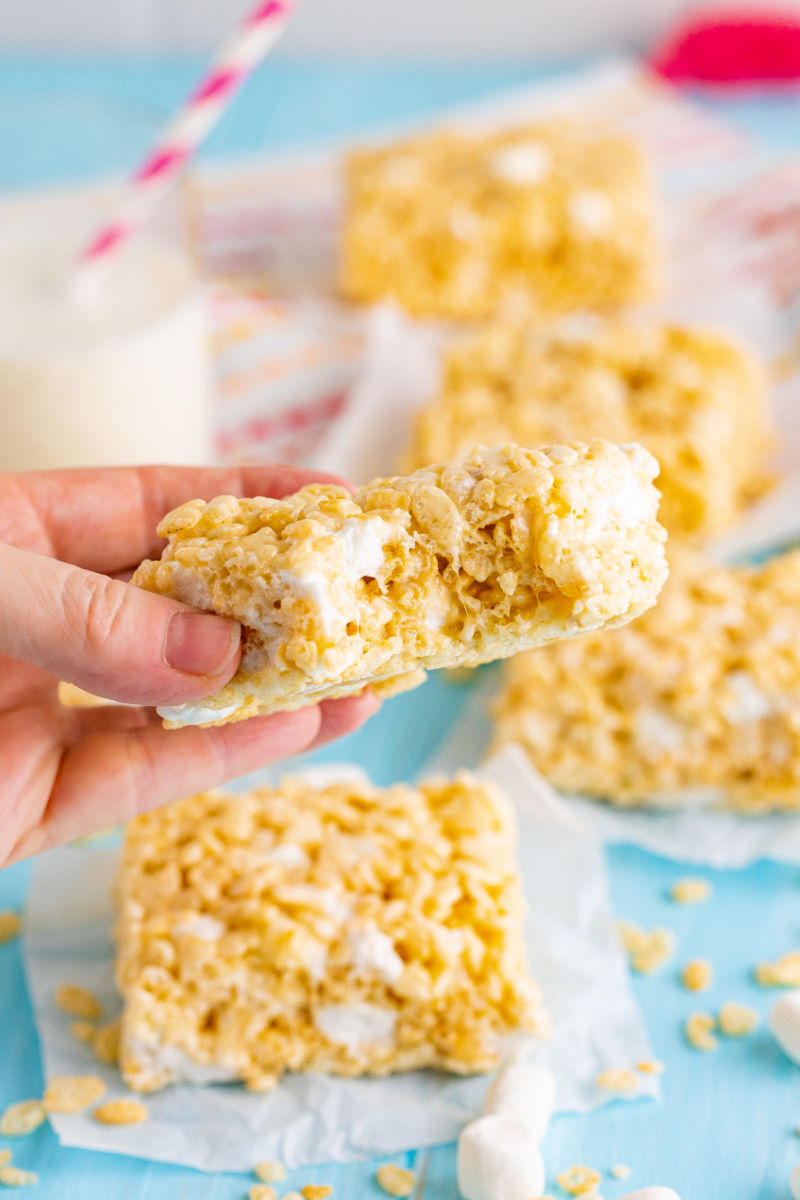
This Rice Krispie Treat Recipe is the perfect blend of crispy rice cereal, gooey marshmallows & sweet nostalgia in every irresistible bite!
Why We Love Rice Krispie Treats
- I don’t know a single person who didn’t grow up eating Rice Krispies Treats as a kid. While the pre-made ones are the store are convenient, nothing beats the homemade version!
- This recipe is crazy easy to make. They only take about 15 minutes and 5 ingredients. The hardest part is waiting for them to set up.
- There are so many ways to dress up your rice kripie treats for special occasions. It can be as easy as adding a chocolate drizzle and some sprinkles or stirring in some M&Ms or crushed Oreos.
- Everyone loves these cereal treats, so be sure to keep a big batch on hand for sharing!
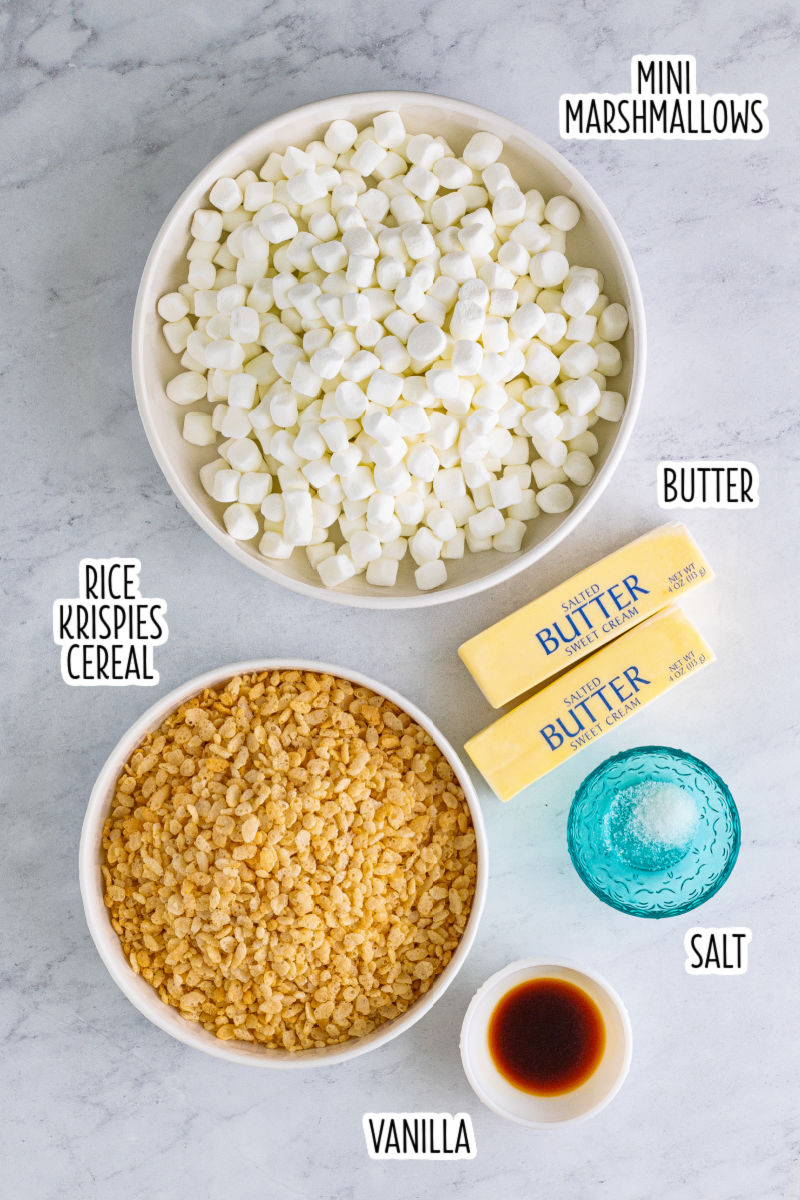
Ingredients You’ll Need to Make Rice Krispie Treats
RICE KRISPIES: You can’t make rice krispies treats without Rice Krispies cereal. I’m using the name-brand stuff, but if you’re looking for other cereal options or gluten-free, check out the FAQ section below.
PANTRY ITEMS: Grab a bunch of mini marshmallows, some vanilla extract, and salt. You can skip the salt if you really want to, but it’ll enhance the flavor of the treats.
BUTTER: We’re using salted butter for this recipe. If you don’t have any on hand, don’t fret. You can just add a little extra salt to the butter/marshmallow mixture to compensate. No need to buy another type of butter than you normally do for just one recipe.
How to Make Rice Krispie Treats
Jump to RecipeSTEP 1 Line a 10-inch x 15-inch jelly roll pan with foil and then coat the foil with non-stick cooking spray. Set that aside for now and add the butter to a large pot over medium-low heat. Cook until the butter is melted. In the meantime, set aside 4 cups of marshmallows.

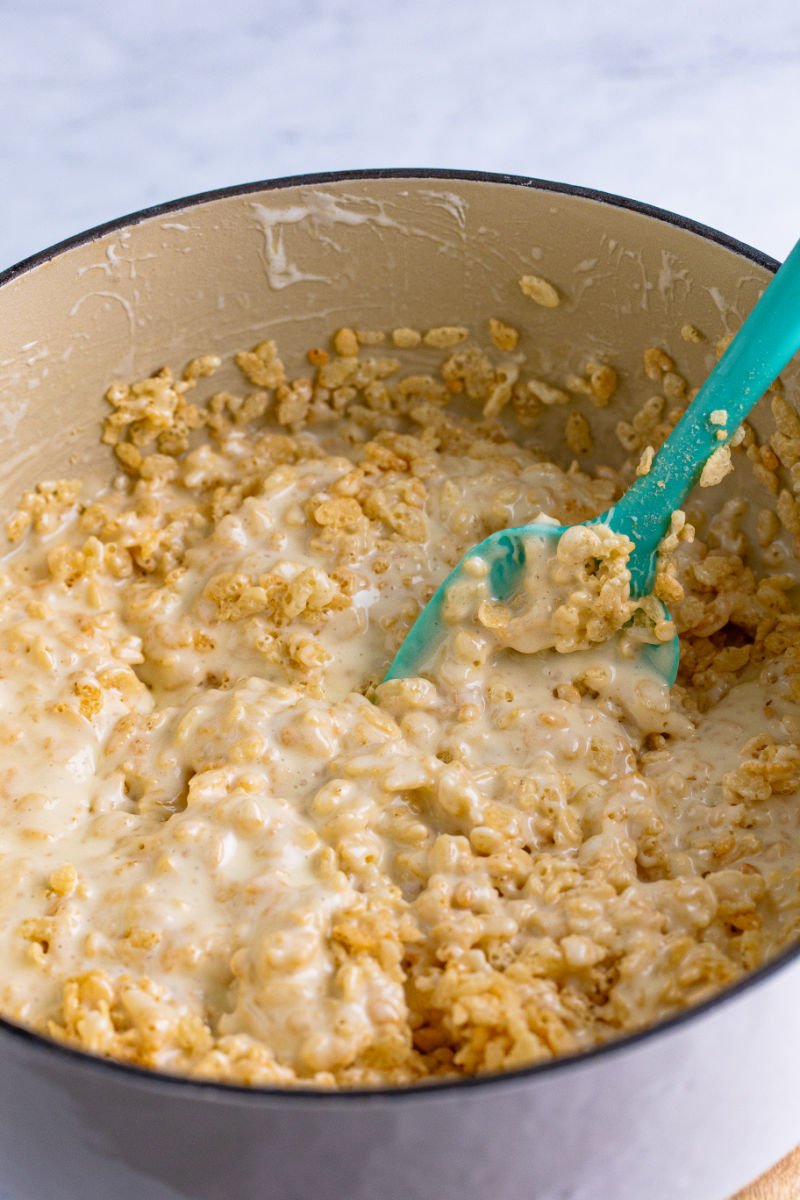
STEP 2 Once the butter is melted, stir in the rest of the marshmallows until smooth and melted. Then take the pot off the heat and stir in the vanilla and salt.

STEP 3 Stir half of the Rice Krispies into the marshmallow/butter mixture. Then stir in the remaining cereal and reserved mini marshmallows until combined.
STEP 4 Transfer the cereal mixture to the prepared pan. Use your hands or a rubber spatula to press the cereal treats out into an even layer. You don’t want to press down too hard, just enough that they’re formed to the pan.

STEP 5 Let the treats rest for at least 2 hours until set before cutting the block into squares. Store any leftovers in an airtight container on the counter.

Tips & Tricks
- This mixture is sticky! To make things easier when you press it into the pan, grease your hand or rubber spatula with non-stick cooking spray too and then get to pressing.
- I like having some whole marshmallows mixed in with cereal for these treats. If that’s not your jam, you can melt all of the marshmallows into the butter and have your treats will have a classic look.
- To boost the flavor of your rice kripie treats, you can cook the butter until it becomes brown butter and then mix in the marshmallows. (Instruction for how to make brown butter can be found in my brown butter chocolate chip cookies recipe.)

Rice Krispies Treats Recipe FAQ
Can I use a different cereal?
Absolutely. I’ve made cereal treats with Cocoa Pebbles, Cocoa Puffs, Trix, Fruit Pebbles, and Honey Nut Cheerios and they’re all delicious!
For fun holiday flare, you can use Christmas Rice Krispies or Red & Blue Color Mix Rice Krispies to make 4th of July Rice Krispies Treats. These limited edition cereals have a multi-color mix that’s ready to swap right into this recipe. You can also decorate your treats for the holidays with candy melts and other toppings, like these Halloween Rice Krispie Treats.
Are rice krispie treats gluten free?
Homemade and store-bought rice krispies treats are not gluten-free. The malt flavoring used is derived from barley.
However, you can buy gluten-free rice cereal to make these treats at home and then they’ll be gluten-free. I’ve seen Nature’s Path organic rice crispy cereal, Koala Crisp organic chocolate cereal, and Malt o Meal crispy rice recommended by gluten-free bloggers.
Can you freeze rice krispie treats?
Yes. You can either freeze the rice krispies treat block or cut it into individual squares first. Wrap the treats in waxed or parchment paper and tape the seams closed. You can also wrap them in a double layer of foil, seam side down, instead.
Then place them into an airtight container or freezer food storage bag for up to 3 months. To thaw, set the treats out on the counter (still wrapped up) for 30 minutes to 1 hour.
Other Recipes You May Like
- Puppy Chow (Muddy Buddies)
- No Bake Cheesecake
- Coconut Icebox Cake Recipe
- Apple Pie Golden Oreo Truffles
- No Bake Carrot Cake Bites
- No Bake Chocolate Lagana

Rice Krispie Treat Recipe
Ingredients
Equipment
Instructions
- Line a 10-inch x 15-inch jelly roll pan with foil. Lightly spray the foil with non-stick cooking spray and set aside.
- Melt the butter over medium-low heat in a large pot.
- Reserve 4 cups of the marshmallows (see note) to the side and add the remaining marshmallows to the pot. Stir constantly until the marshmallows and butter are melted together.
- Take the pot off the heat. Add in the vanilla extract and salt and stir to combine.
- Add half of the cereal to the marshmallows and mix to combine. Add the remaining cereal and reserved marshmallows, and stir until well mixed.
- Transfer the mixture to the prepared jelly roll pan. Lightly grease your hands with cooking spray and gently press the treats into the pan. You do not want to smash them down, just gently form them to the pan.
- Let the treats set up for at least 2 hours before cutting into 24 bars and serving.
Notes
- If you don’t have salted butter, you can use unsalted butter and add an extra 1/2 teaspoon of salt to the recipe.
- If you prefer, you can stir all of the marshmallows into the butter instead of having bits of marshmallow in the finished treats.
- You can use a 9×13 baking dish instead of a jelly roll pan. The treats will be thicker and the yield will vary based on how large you cut the squares.
- Store any leftovers in an airtight container for up to 5 days or freeze for up to 3 months.