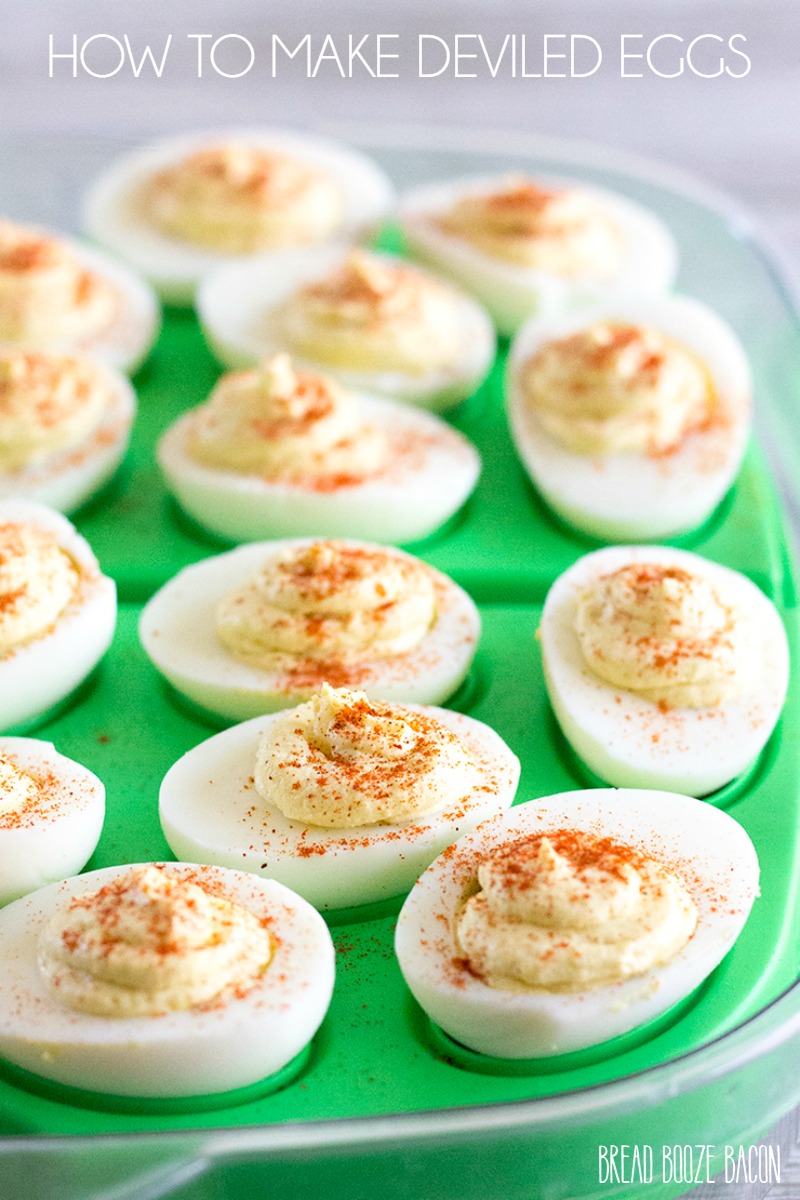
How to Make Deviled Eggs
You’ll be everyone’s favorite person at the potluck when you know How to Make Deviled Eggs! This easy appetizer is a tried-and-true crowd favorite!
Do you have a food obsession? I do. Well actually I have a few of them and one of my favorites are great deviled eggs. This easy to make appetizer is a tried-and-true crowd favorite that’s perfect for practically any party of get together. While I like to experiment with different deviled egg flavors, I’m a sucker for traditional deviled eggs. These eggs will please even the pickiest eaters. There’s no relish or onion, and the mustard taste if fairly subtle. Just lots of egg-y goodness that’ll have you going back for seconds…and thirds.
LOVE THIS RECIPE? PIN IT FOR LATER!
Follow Bread Booze Bacon on Pinterest
Equipment:
- Large pot
- Cutting board
- Sharp knife
- Mixing bowl
- Rubber spatula
- Piping bag
- Deviled egg tray – traditional white or this gorgeous blue toned tray
Ready, here we go!
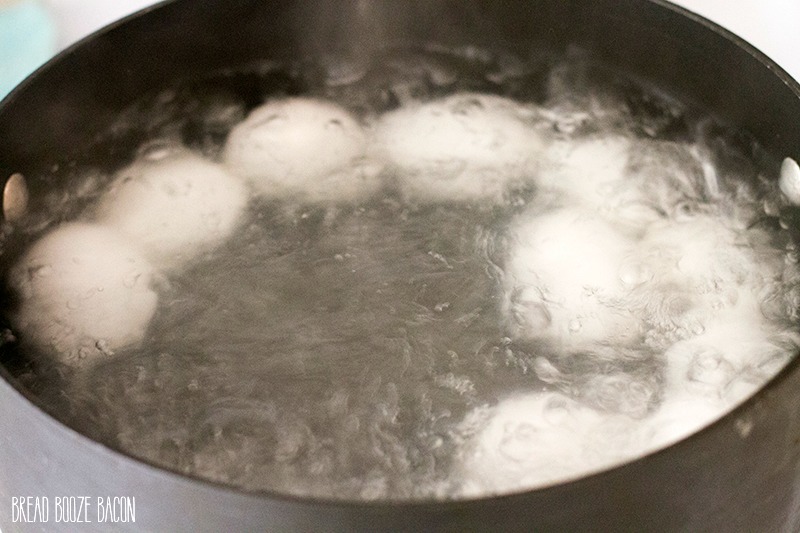
Start by placing a dozen eggs in the bottom of a large pot. I usually throw in an extra egg or two, if I have them on hand, in case something happens to one fo the other eggs. If things go as planned, I get a snack! Fill the pot with water just until the eggs are covered. Add 1/4 teaspoon baking soda to the water. This will help release the shells from the eggs later.

Place the pot on your stove and bring the water to a boil. DO NOT put the eggs in boiling water. They need to gradually come up to a boil to prevent cracking. Once the water is boiling, turn off the heat, cover the pot, and let the eggs sit for 12 minutes.
After 12 minutes, uncover the eggs, transfer them to a colander, and run under cold water to stop the cooking. Now, I like to cook my eggs the day before. There’s no reason you can’t prep ahead of time. I’ve also found that the cooler the eggs are, the easier they peel. After I run water over the eggs, I place the in a Tupperware container, cover, and pop the eggs in the fridge over night. You can refrigerate the eggs for 4 hours and then try to start peeling them. The shells might stick a big and cause the eggs to tear if they’re not cool enough yet. You can wait for the eggs to chill more or keep going with the peeling process. Luckily this is the bottom of the egg when serving and no one will really notice. It’s’ your choice. I’ve made deviled eggs enough times to know that overnight is always the safest bet.
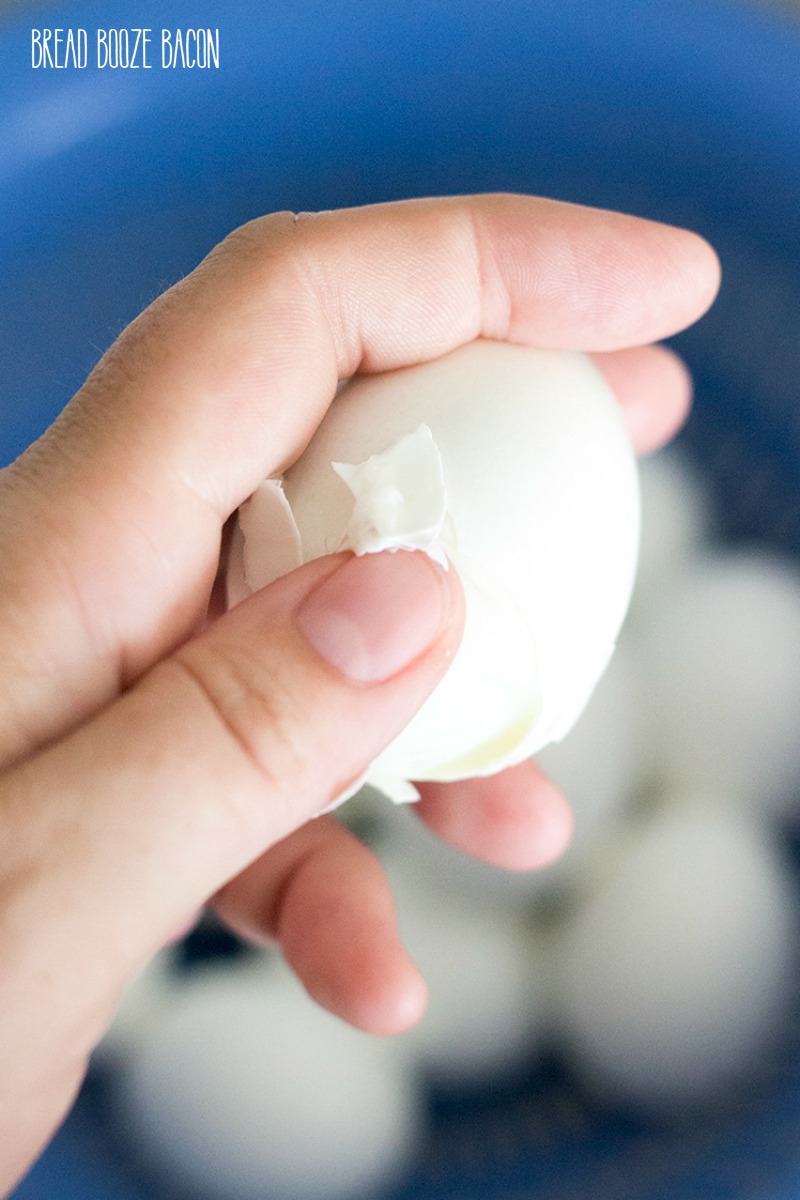
Once the eggs have cooled, tap the bottom and top of an egg on the counter to crack it. There’s usually a reservoir/pocket on the bottom end of the egg that’ll make it easy to start peeling off the shell. Running the egg under water while you peel it helps remove excess shell pieces from the egg and your hands. Take your time. You don’t want to force the shell off of the egg. The egg might rip or tear and look all janky. (It’s a word.)
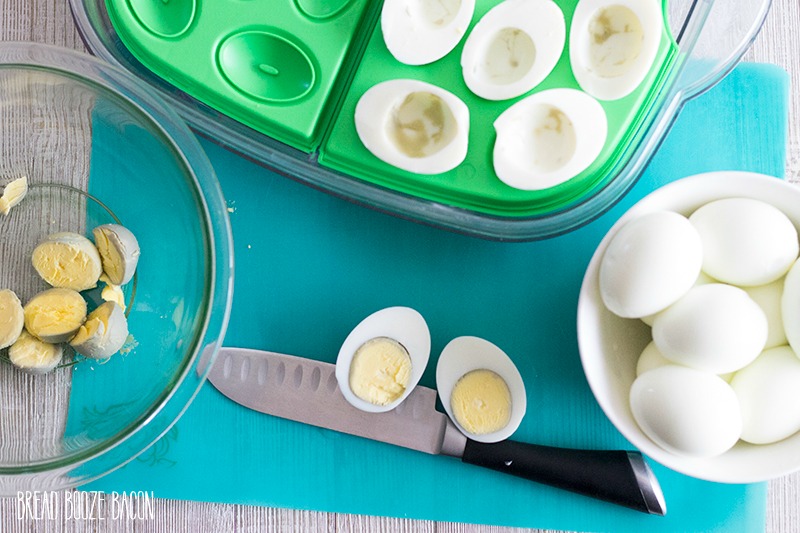
Once the eggs are all peeled, you’re ready to make Deviled Eggs! Use a sharp knife to cut each egg in half, longways, so you have 2 symmetrical halves. Place the yolks in a mixing bowl and the whites on your deviled egg tray. Repeat until all the eggs have been cut and separated. Set the egg whites aside while you prepare the filling.
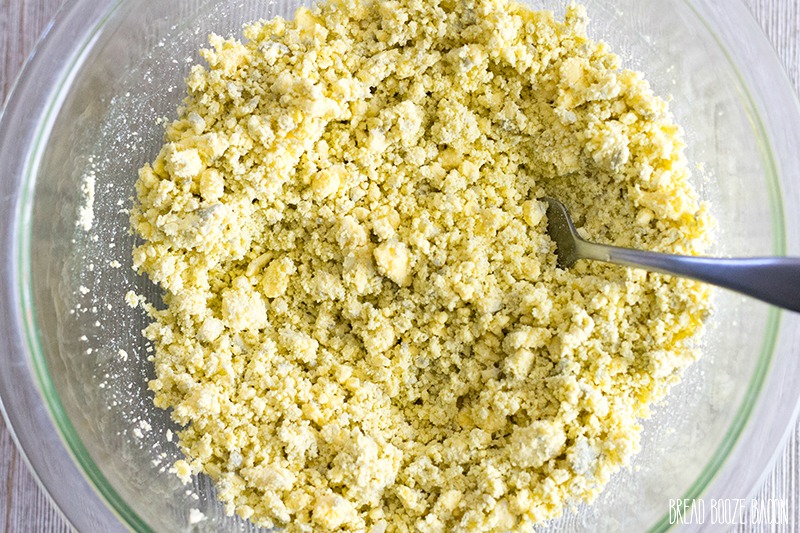
Use a fork to break up the eggs yolks. You want teeny tiny crumb-like pieces when you’re done.
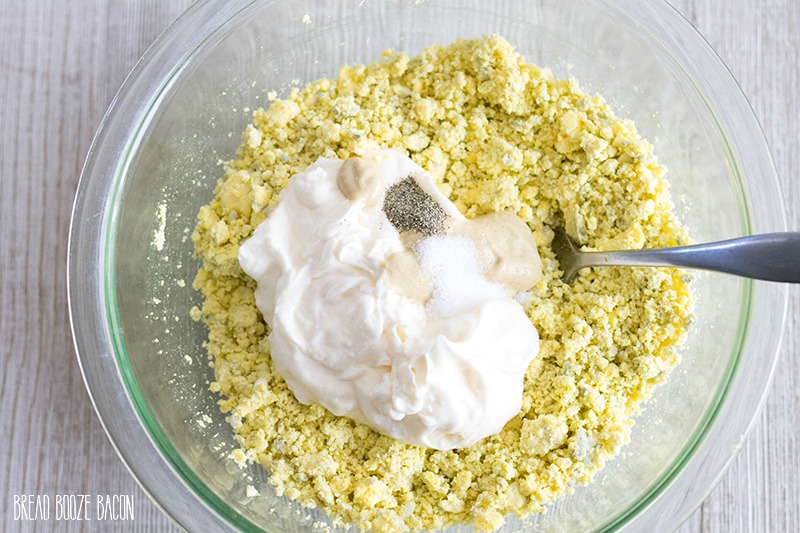
Add the mayo, mustard, salt, and pepper to the egg yolks. Mix to combine until everything is smooth. Be sure to taste test the filling. You can add more mayo, mustard, salt, and/or pepper to taste. Just be sure to add small amounts at a time, mix, and then taste again until you have your yolks the way you like them.
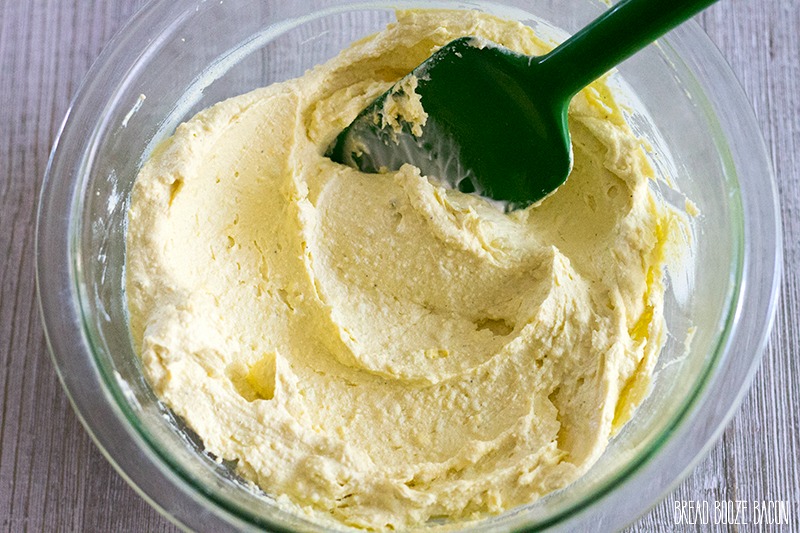
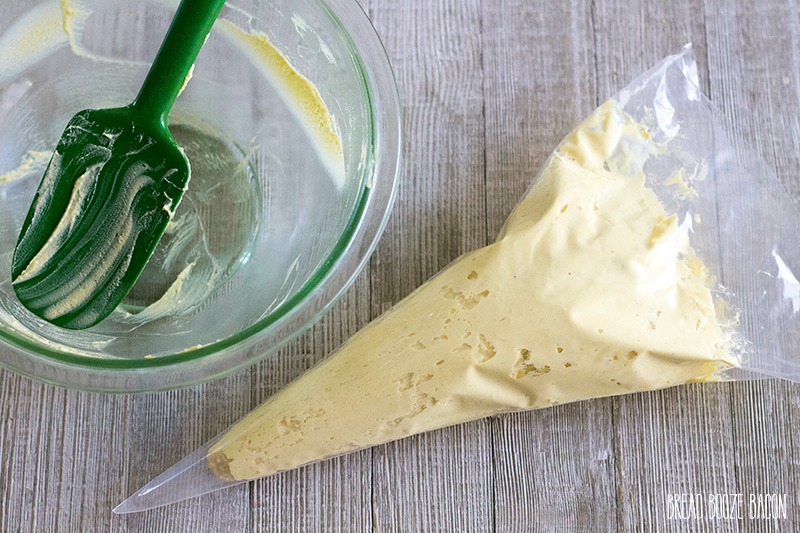
I like to use a sturdy rubber spatula to smoosh everything together and really break down the yolks so the filling is smooth. You could also use a food processor to chop the yolks and then blend all the filling ingredients together for an ultra smooth filling. Once your filling is mixed and smooth, you’re ready to fill your eggs. If you want to try any fun flavors with your eggs, now’s the time to incorporate add-ins.
Transfer the yolk filling to a piping bag or a Ziploc bag with one corner cut off. (If you like, you can also use a spoon to portion the yolks into the whites, I just find a piping bag makes things a million times easier.)
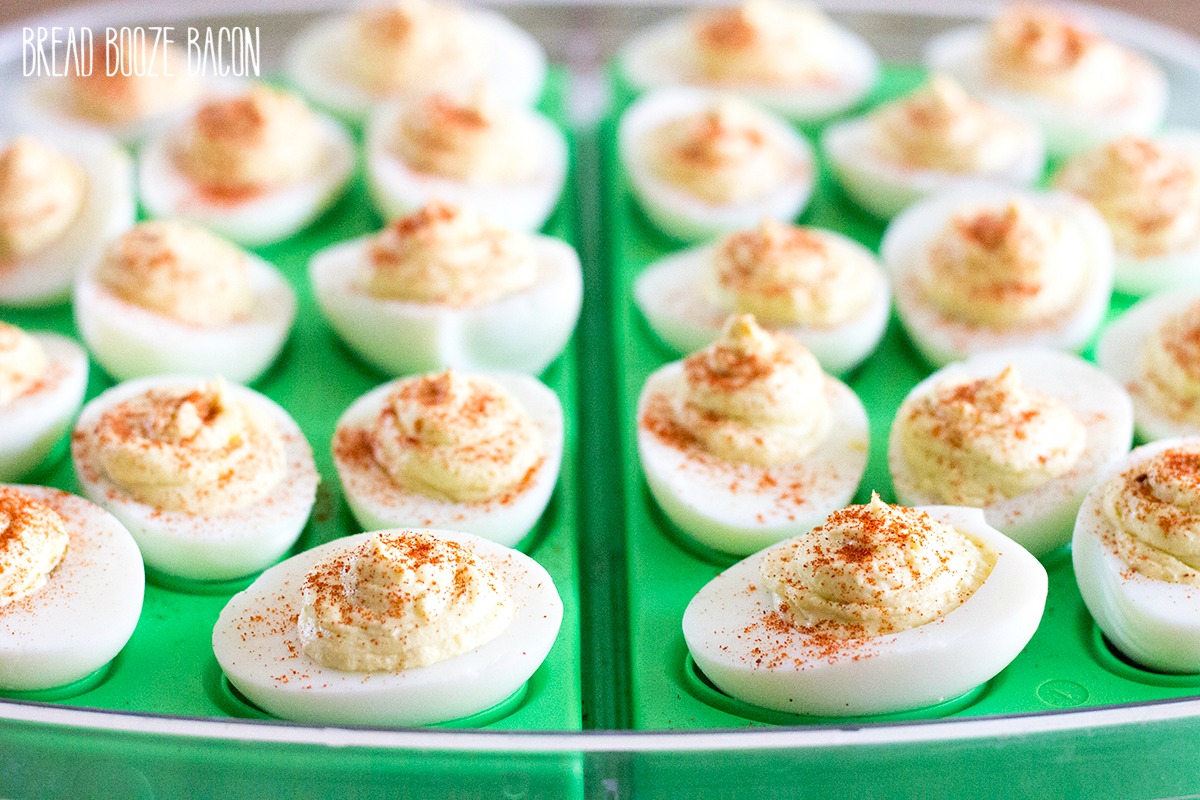
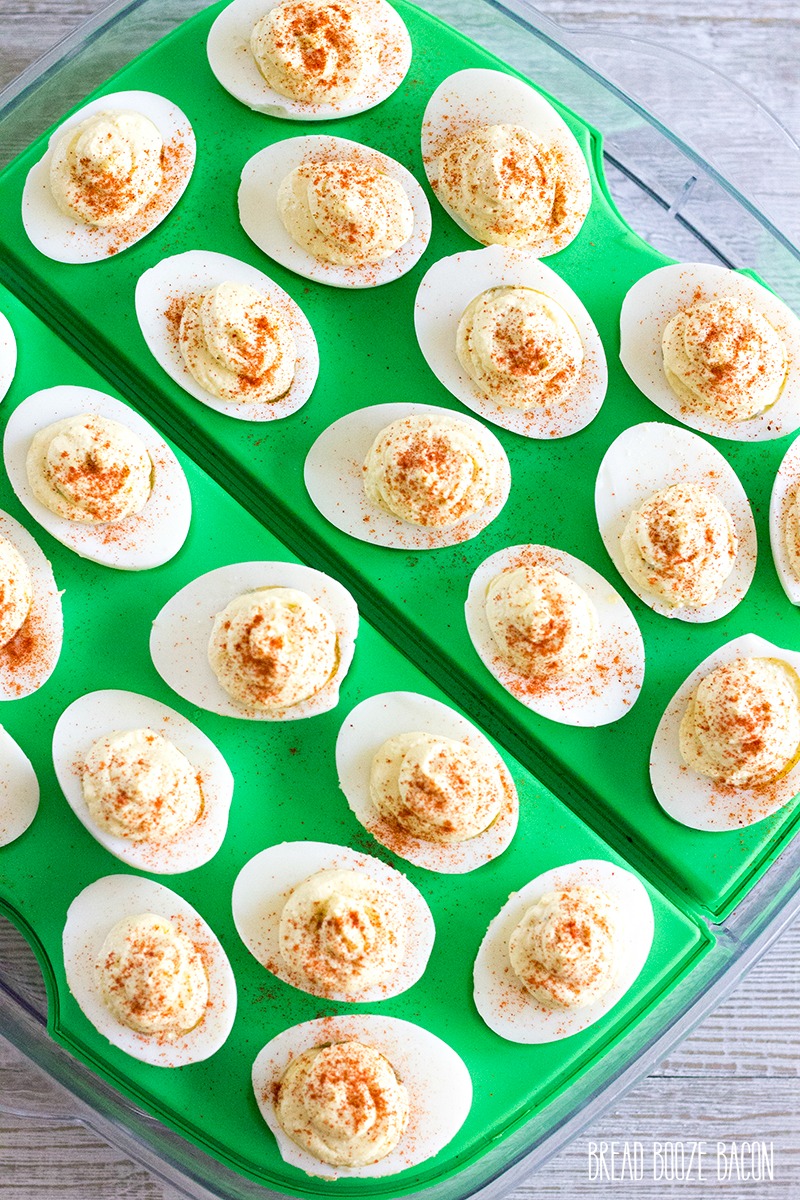
Pipe the yolk mixture into the cavity of each egg white, being sure to overfill each cavity. You may have some extra filling when you’re done. That’s okay. Spread it on a piece of toast and have yourself a snack.

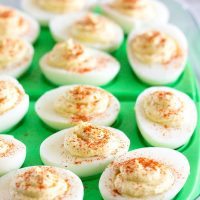
Sprinkle the tops of the eggs with a little paprika and ta-dah! You just made the most delicious deviled eggs!! Cover the eggs and refrigerate them until your’re ready to serve.
How easy was that?! Making the hard boiled eggs the day before and letting them cool overnight really takes a lot of the work out of this dish. The eggs are just sitting in your fridge whenever you’re ready to finish the recipe, and even the completed eggs are fine to sit in the fridge for a day or two if needed. Prep ahead recipes for parties are my favorite! I hope you love this recipe as much as I do. There are so many fun flavor combinations you can make (a few of my favorites are below) once you’re ready to branch out from the traditional deviled egg. You might find it’s your new favorite dish!
Hungry for More?


How to Make Deviled Eggs
Ingredients
Instructions
- Place the eggs in a large pot. Fill the pot with water until the eggs are just covered.
- Add the baking soda to the water and place the pot on the stove.
- Turn the heat to medium-high and bring the water to a boil. (DO NOT add the eggs to boiling water.)
- Once the water is boiling, turn off the heat and cover the pot. Let the eggs sit in the hot water for 12 minutes.
- After the eggs have set, drain the hot water from the pot. Place the eggs in a colander and run under cold water to stop the cooking.
- Transfer the eggs to a bowl or Tupperware container. Cover the container and refrigerate for 4 hours to overnight. (I recommend refrigerating the eggs overnight.)
- Once the egg are chilled, tap the top and bottom of the egg against a hard surface to crack the shell. Usually, there is a resevoir/space at the bottom of the egg that will make it easy to start peeling off the shell. Remove all of the egg shells.
- Use a sharp knife to cut the eggs in half longways so you end up with two symmetrical halves. Place the yolks in a mixing bowl and the whites on your deviled egg serving tray.
- Use a fork to break up the egg yolks so they are in crumb-like pieces.
- Add the mayonnaise, mustard, salt, and pepper to the egg yolks. Use a sturdy rubber spatula to smoosh everything together and smooth the eggs to create the smoothest filling you can. (You can also chop the yolks and mix the filling ingredients together in a food processor.)
- Transfer the filling to a piping bag or a Ziploc bag with one corner cut off.
- Pipe the egg yolk mixture into each of the egg white cavities, being sure to overfill each egg white.
- Sprinkle the tops of the eggs with a little paprika.
- Cover and store in the refrigerator until ready to serve.
Notes
Nutrition
Tried this recipe?
If you made this recipe, leave a comment and star rating to let others know how it turned out.
I will have to try your baking soda trick! I always have trouble with the darn shells!
I have made a lot of potato salad in my day using 3 dozen eggs to every 10 pounds of potatoes. I found that boiling 3 dozen eggs at one time was easier to put eggs in pan, cover with HOT water, bring to a boil on High heat, when starts to boil, reduce heat to lower heat but keep a simmer and simmer for 10 minutes, with time starting after water comes to a boil Pour off hot water, shake pan to crack shells, then cover with cold water. Immediately pour off cold water and cover again with cold water. Then you can start peeling eggs and should have no trouble with shells sticking.
Thanks for the tip Joan!!