No Bake Cheesecake


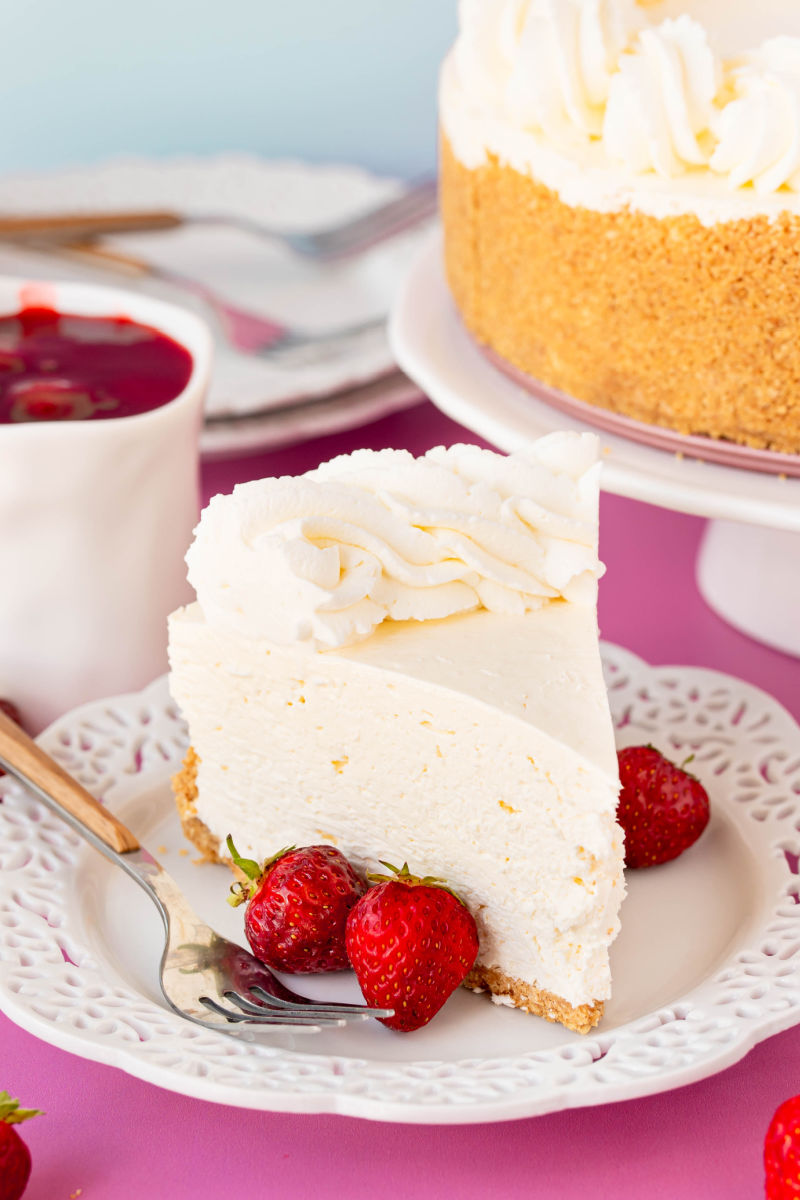
No Bake Cheesecake is simple and quick to make, with an irresistible sweet and tangy filling and buttery crust. It’s decadent and fool-proof!
Why We Love Easy No Bake Cheesecake
- Skip all of the complications and worries that usually come with making a traditional cheesecake- from the crust to the filling, this no-bake beauty is incredibly simple and huge in taste!
- The no-bake cheesecake filling is firm but also light and tangy, unlike the heavy richness found in baked cheesecake.
- No bake cheesecake is perfect as is, or topped with your favorite ingredients like cherries, strawberries, caramel, or chocolate. You can also make this cheesecake with a drool-worthy Oreo cookie crust!
- No Bake Cheesecake is the perfect make-ahead dessert for any occasion, and it will make everyone “ooo” and “ahh” at the dinner party, or have the family shouting “yum!”

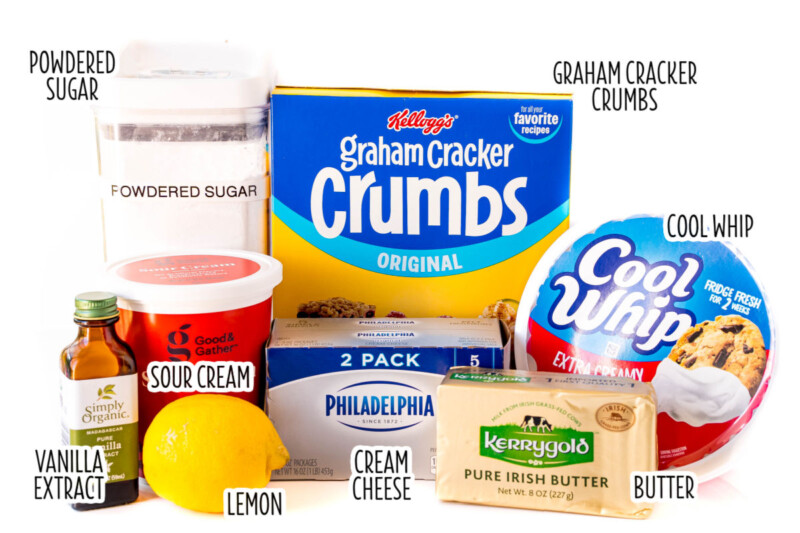
Ingredients You’ll Need to Make No Bake Cheesecake
CRUST: To prepare this no bake crust you will need graham cracker crumbs, salted butter, and powdered sugar. If you don’t have salted butter on hand then be sure to add 1/4 teaspoon of salt to the mix.
NO BAKE CHEESECAKE FILLING
REFRIGERATED ITEMS: For the filling, you will need to pick up cream cheese, sour cream, and a tub of whipped topping, such as Cool Whip. Full-fat cream cheese, sour cream, and Cool Whip will make a really creamy cheesecake and is recommended but lighter substitutions can be used, with less creamy results.
PANTRY ITEMS: Lemon juice, powdered sugar, and vanilla extract will also be needed to make this dessert.
TOPPINGS: Don’t forget to purchase your favorite cheesecake toppings, like cherry pie filling, fresh strawberries, chocolate, and caramel sauce!
How to Make No Bake Cheesecake
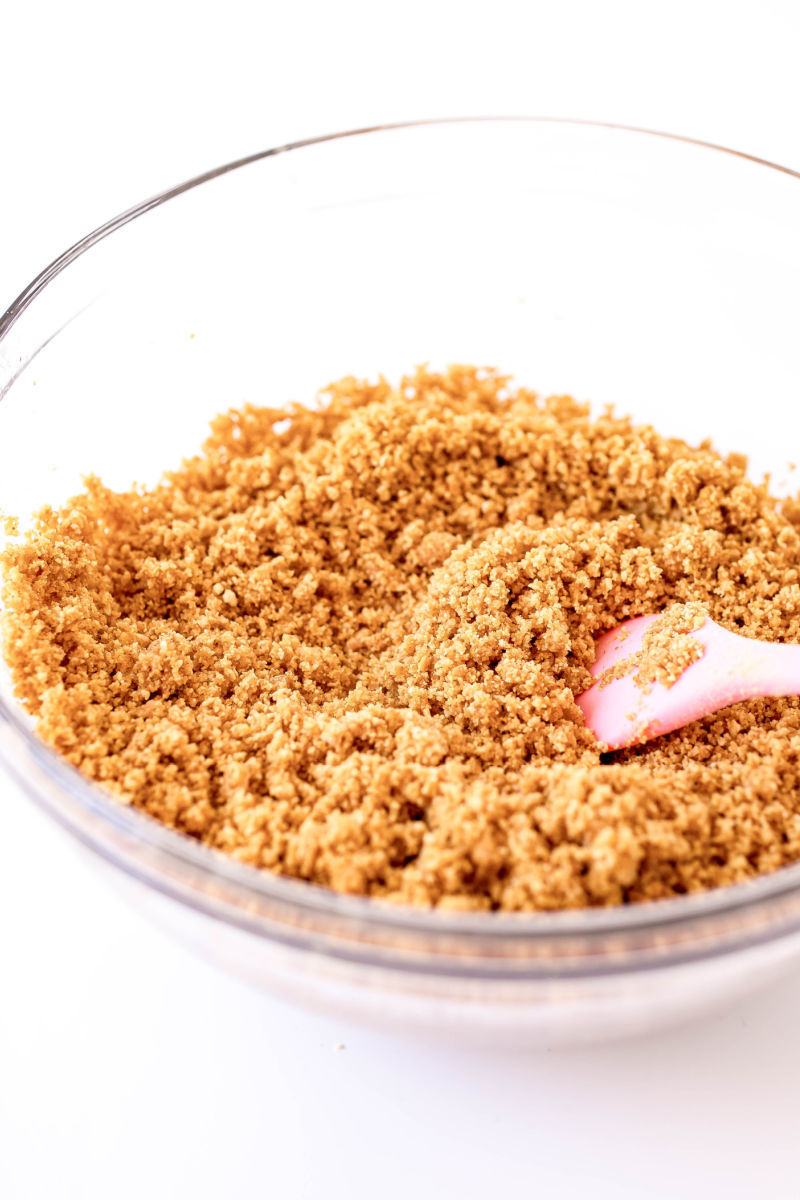
Jump to RecipeSTEP 1 Combine the graham cracker crumbs, melted butter, and powdered sugar in a bowl and mix well.
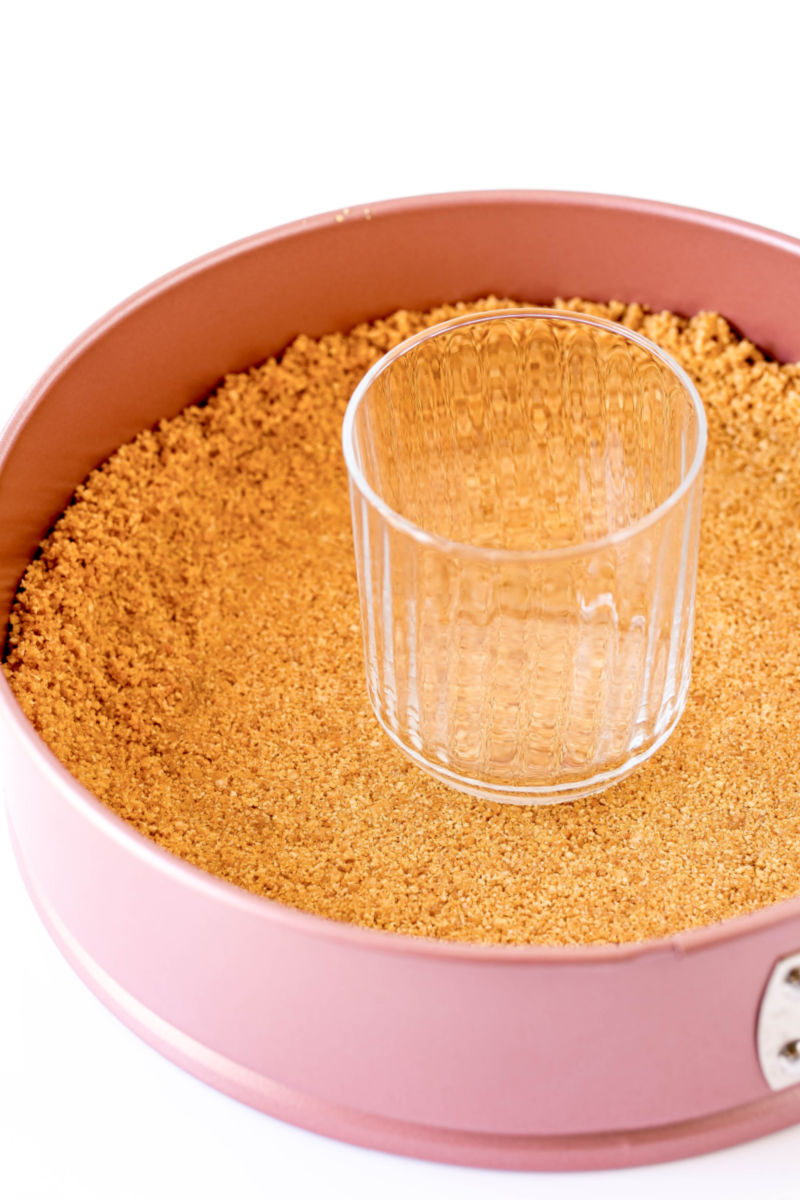
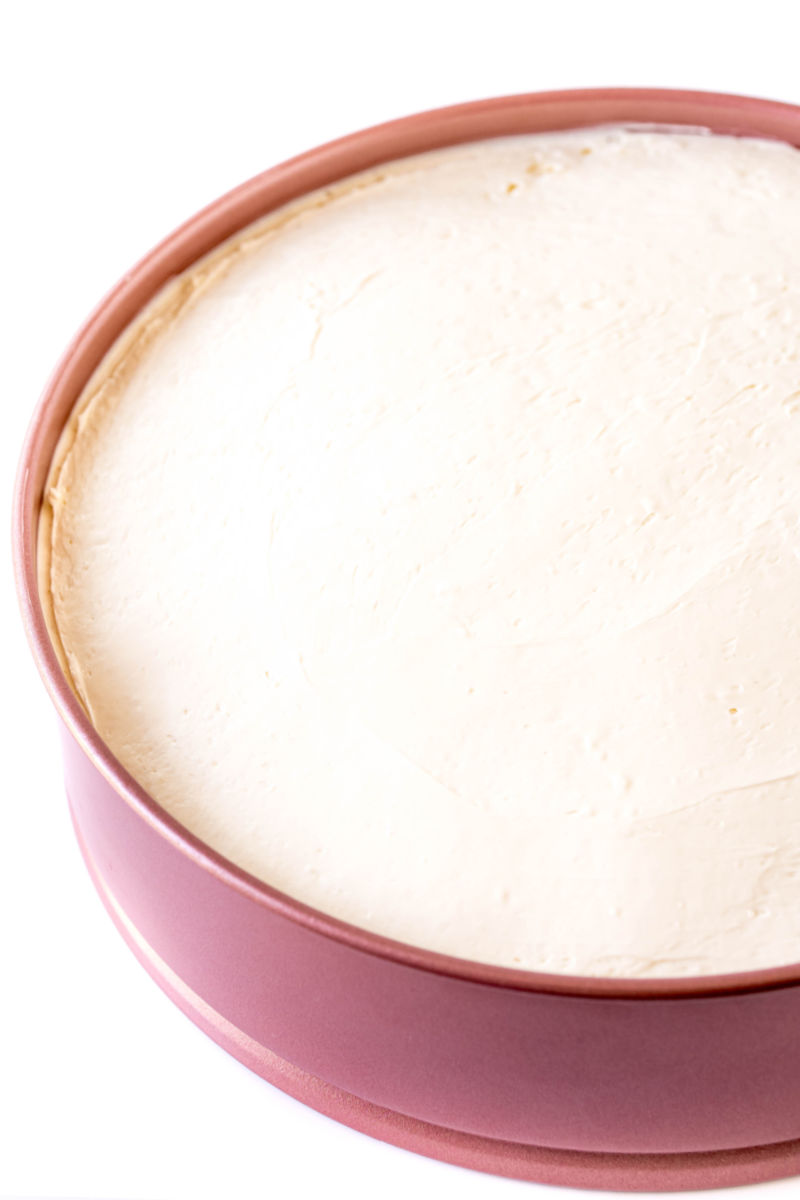
STEP 2 When everything is moistened, add the mix to a springform pan and spread the crumbs evenly over the bottom of the pan then use the bottom of a cup to press the crust firmly together and up the sides of the pan.
STEP 3 Using a mixer with a paddle attachment, cream the cream cheese until smooth. Add the lemon juice, powdered sugar, vanilla extract, and sour cream and mix on low until everything is well mixed. Increase the speed to high and whip the mix for a minute.

STEP 4 Fold the Cool Whip into the mix using a spatula. Transfer the filling to the prepared pan and smooth the filling evenly, pressing the filling as needed to prevent air bubbles. Cover the cheesecake with foil and refrigerate for 8 hours.
STEP 5 When you are ready to serve, warm a large knife in hot water, dry, and slice the cheesecake. Clean the knife after each slice to ensure clean cuts. Top with your choice of toppings or enjoy this delicious cake as is!

Tips & Tricks
- Have some fun with your dessert! Top the whole cheesecake (or a slice) with cherry pie filling for no bake cherry cheesecake. If you love strawberries, make no bake strawberry cheesecake by adding strawberry pie filling or fresh strawberries on top.
- Low-fat or light options can work for this cheesecake but the result will be a less creamy cheesecake. The flavor will still be delicious so go with what works best for you!
- To make an Oreo cookie crust, just substitute the same amount of Oreo cookie crumbs for the graham cracker crumbs. (Yes, you want to grind up the Oreos and cream filling together.) This will give you a great chocolate-flavored no-bake cheesecake!
- You can make your own homemade whipped cream for this cheesecake if you prefer not to use Cool Whip.
Option 1) Regular homemade whipped cream lacks the stability that Cool Whip has. It’ll soften considerably as it warms up. You need to be sure to pop your cheesecake back in the fridge once you grab a slice and don’t let it sit out for any length of time.
Option 2) Use stabilized whipped cream. This type of whipped cream has gelatin in it and mimics the stabilizing aspect of the Cool Whip. Meaning your cheesecake will stay firm even if it’s been out of the fridge for a bit.

No Bake Cheesecake Recipe FAQ
What is no bake cheesecake filling made of?
No bake cheesecake, made primarily with cream cheese, sour cream, and Cool Whip, achieves the same fantastic cheesecake flavor without all of the work of a traditional, baked cheesecake.
Baked cheesecakes, like a New York Style Cheesecake made with cream cheese, sugar, vanilla, and eggs, can be a little more difficult to make. The most common problems people experience are over or under-beaten eggs, whether or not to bake them in a water bath, and lastly, the dreaded cracks that can occur while baking. No-bake cheesecakes avoids all of these problems and the result is a decadent treat!
Is no bake cheesecake as good as baked cheesecake?
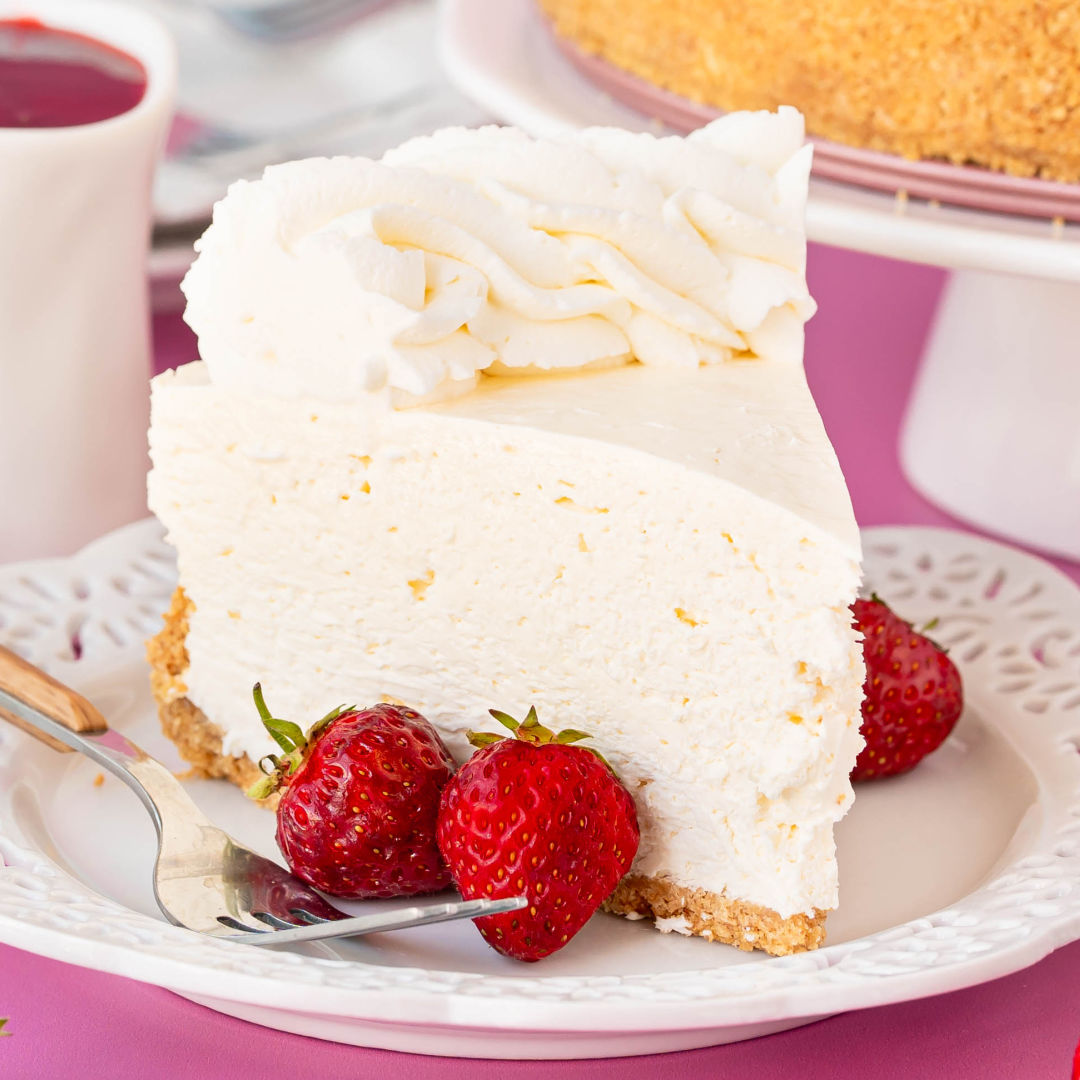
The short answer is yes, no-bake cheesecake is just as good! The long answer is that it actually depends on the texture you are craving and trying to achieve. Baked cheesecakes are much more firm and have a rich, velvety texture. No bake cheesecakes, on the other hand, are much lighter with a creamy, airy filling. No bake cheesecake impresses both your tastebuds and your guests so don’t shy away from this delicious option when it comes to cheesecake!
Why is my no bake cheesecake not setting?
Time is usually the first culprit when you find your no-bake cheesecake hasn’t set yet. For this recipe, try giving the cheesecake the full 8 hours to set.
Another issue could be the temperature of the cream cheese. Allow the cream cheese to soften on the counter, for about 10 minutes. Using the paddle attachment on your stand mixer should ensure that the cream cheese is whipped smooth, even if it is still on the colder side. If you use your microwave to soften the cream cheese, it can get too hot, melt the other ingredients some, and the cheesecake will take longer to set.

Other Recipes You May Like
- Oreo Chocolate Irish Cream Cheesecake
- No Bake Chocolate Cheesecake Bars
- Mini Bailey’s Cheesecakes
- No Bake Blueberry Cheesecake
- Sopapilla Cheesecake
- Caramel Apple Cheesecake Dip
No Bake Cheesecake
Ingredients
Equipment
Instructions
- Melt the butter in a medium mixing bowl. Add the graham cracker crumbs and powdered sugar and stir until evenly moistened.
- Transfer the crust mixture to a springform pan and spread evenly over the pan. Then use the bottom of a drinking glass to press the mixture into the bottom and sides of the pan. The mixture does not need to come all the way up the sides. Set the crust aside.
- Add the cream cheese to a stand mixer fitted with a paddle attachment and beat at medium speed until smooth. Scrape down the sides of the bowl. (You can also do this with a hand mixer, but a stand mixer makes it easier.)
- Add the powdered sugar, sour cream, lemon juice, and vanilla to the cream cheese. Mix on low speed until the sugar is incorporated, then increase the speed to high and whip for 1 minute. Scrape down the sides as needed so everything is evenly combined and there are no lumps.
- Fold the Cool Whip into the cream cheese mixture with a rubber spatula until evenly incorporated. The mixture will be thick and stiff.
- Spread the cheesecake filling over the prepared crust. (The filling may come above the crust in the pan, that's okay.) Make sure to really press the filling in since it's a bit aerated and you don't want large bubbles. Just be careful around the edges so you don't pull the crust back into the filling. Smooth out the top of the cheesecake and cover the pan with aluminum foil.
- Chill in the fridge for 8 hours. When you're ready to eat, run a chef's knife under hot water to heat the blade and cut the cheesecake. Clean and heat the knife blade after each slice for clean and even cuts.
- Top with whipped cream, strawberries, cherry pie filling, or your other favorite toppings before serving. Store any leftovers in the fridge for up to 5 days.