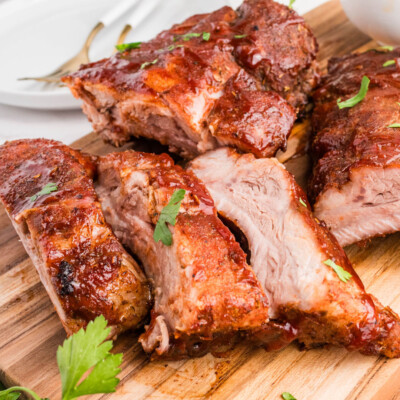
Dry Rub for Ribs

This rib rub recipe comes from our friend Scott, who is basically a BBQ god. I’ve never tasted anything he’s grilled that wasn’t next-level, so when he shared his dry rub for ribs, I knew it was going to be good. A few years and countless racks later, it’s still the only rub I use… and you don’t even need a smoker. This sweet and smoky blend goes straight into the oven for fall-off-the-bone baby back ribs every single time.
Why This Rib Rub Is a Game Changer
- The rub takes about 10 minutes to mix and works on baby back, St. Louis-style, or country ribs.
- Make it ahead. The rub can be doubled or tripled and stored in a mason jar, so you’re ready to go whenever the craving hits.
- No smoker needed. You get the same low-and-slow results straight from your oven.
- Perfect for feeding a crowd. The ribs stay warm in the oven while you get everything else on the table.
What Readers Are Saying
⭐⭐⭐⭐⭐
Been using your rib rub recipe for years – the best and of course following your instructions – even how to remove the ‘silver skin’ …hubby and I have always LOVED the final outcome – BTW we do love baby backs. Thank you for your recipe.
-Carol H-R

Ingredient Notes
RIBS
Baby back ribs are my go-to for this recipe. They’re smaller, leaner, and a little more tender than other cuts, which makes them perfect for this rub.
St. Louis-style ribs are meatier and have more fat, which gives them a richer flavor.
Country ribs are the thickest of the three and are actually cut from the shoulder — more like a thick pork chop than a traditional rib. All three work great with this rub.
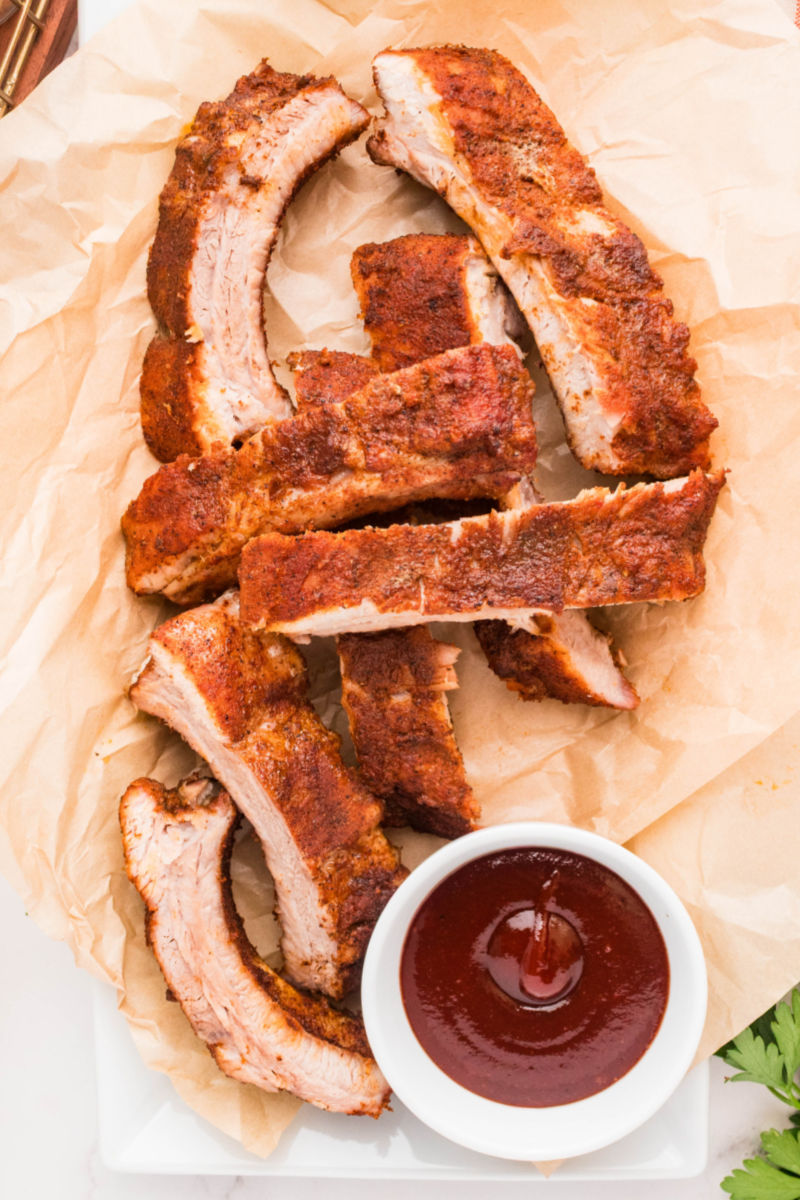
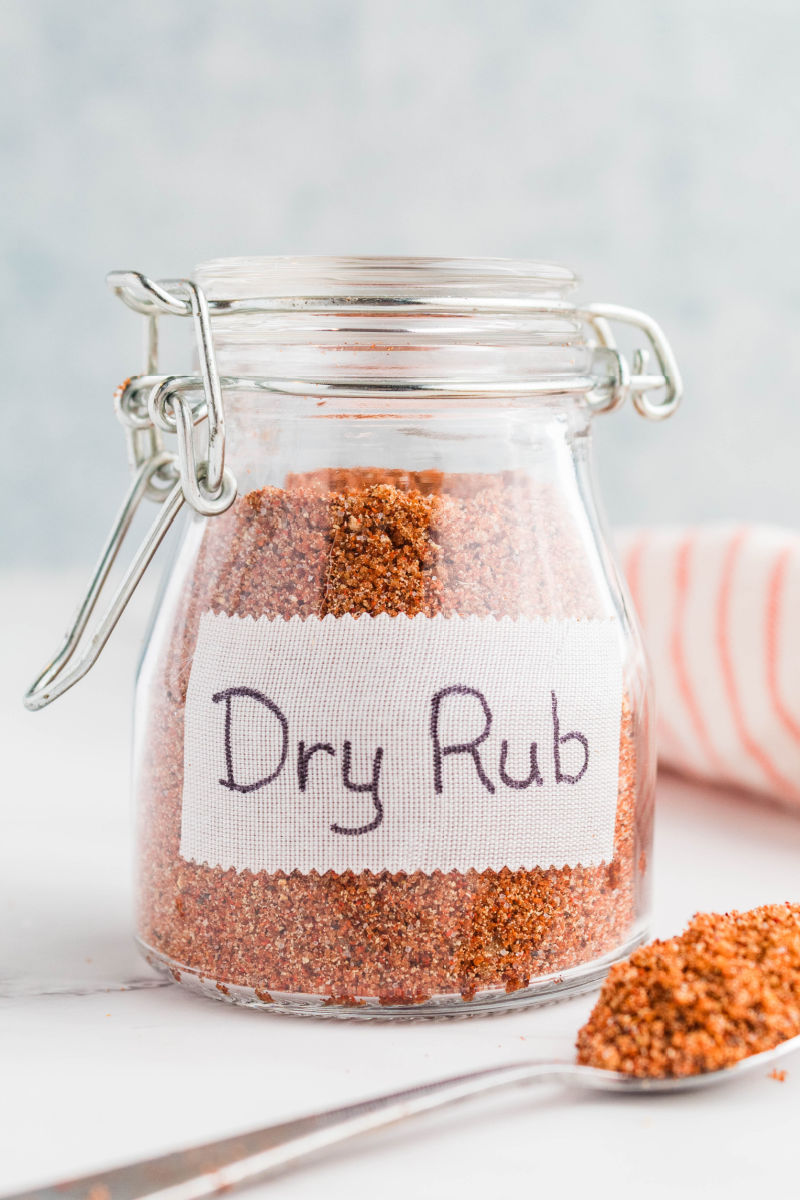
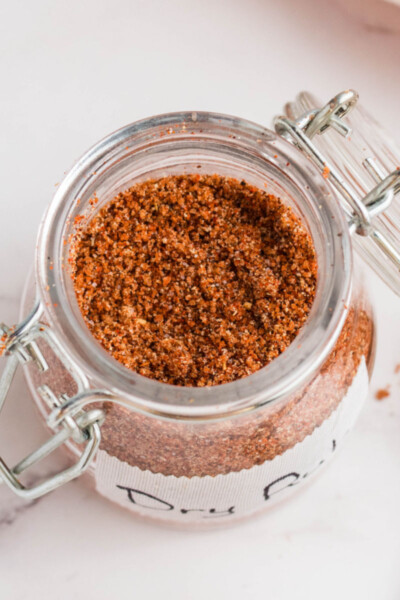
DRY RUB
This is where the magic happens. Brown sugar, chili powder, paprika, garlic, and a kick of cayenne come together for a rub that’s sweet, smoky, and just the right amount of spicy. Want more heat? Bump up the chili powder and cayenne to taste.
How to Make Dry Rub Ribs
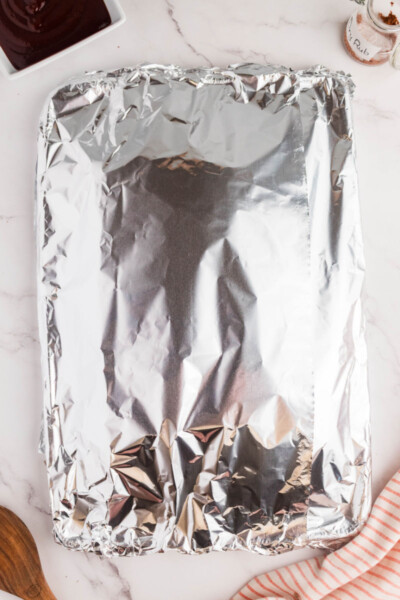
STEP 1 Preheat your oven to 250°F. Line a baking sheet with foil and set a wire rack on top. This lifts the ribs so the heat can do its thing evenly.
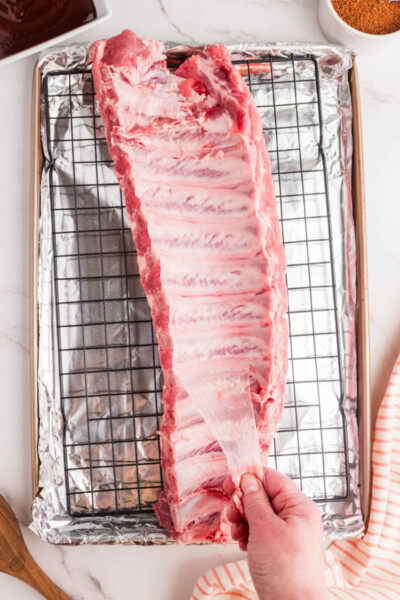
STEP 2 Rinse the ribs and pat them dry. Flip them bone side up and remove the membrane. Slide a paring knife under one corner to get it started, then grip and pull. A paper towel helps if it’s being stubborn.
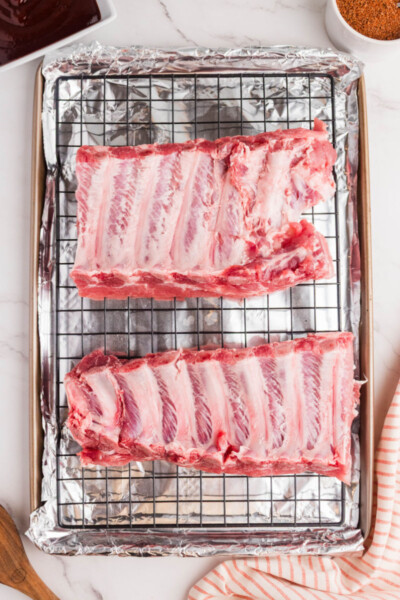
STEP 3 Cut each rack in half and place them bone side up on the wire rack. Mix all the rub ingredients in a small bowl until evenly combined.
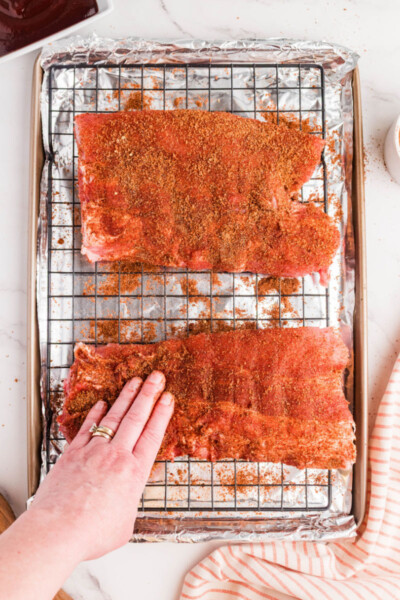
STEP 4 Rub ¼ of the dry rub over the bottom of each half rack, then flip and cover the top with the rest. Work it in well — good coverage means a better crust.
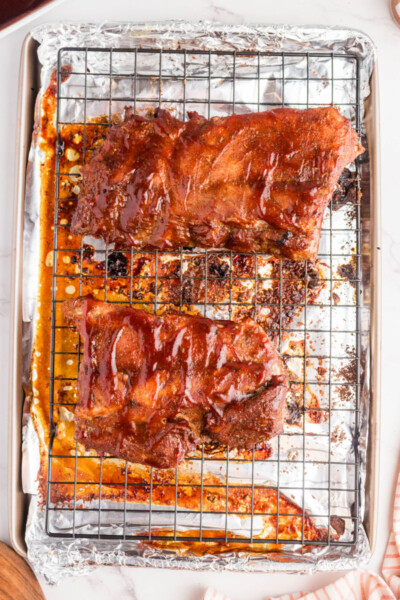
STEP 5 Cover the pan tightly with foil and bake for 3½ hours, or until the internal temperature reaches 145°F.
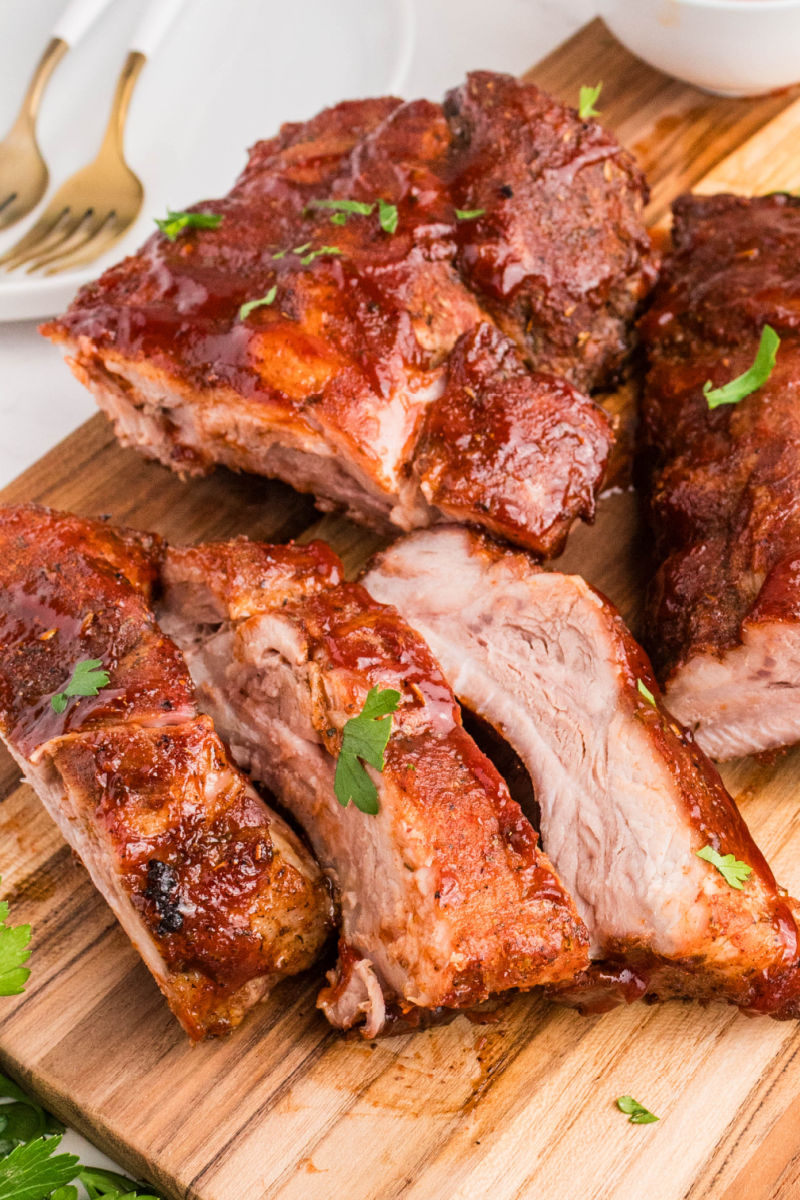
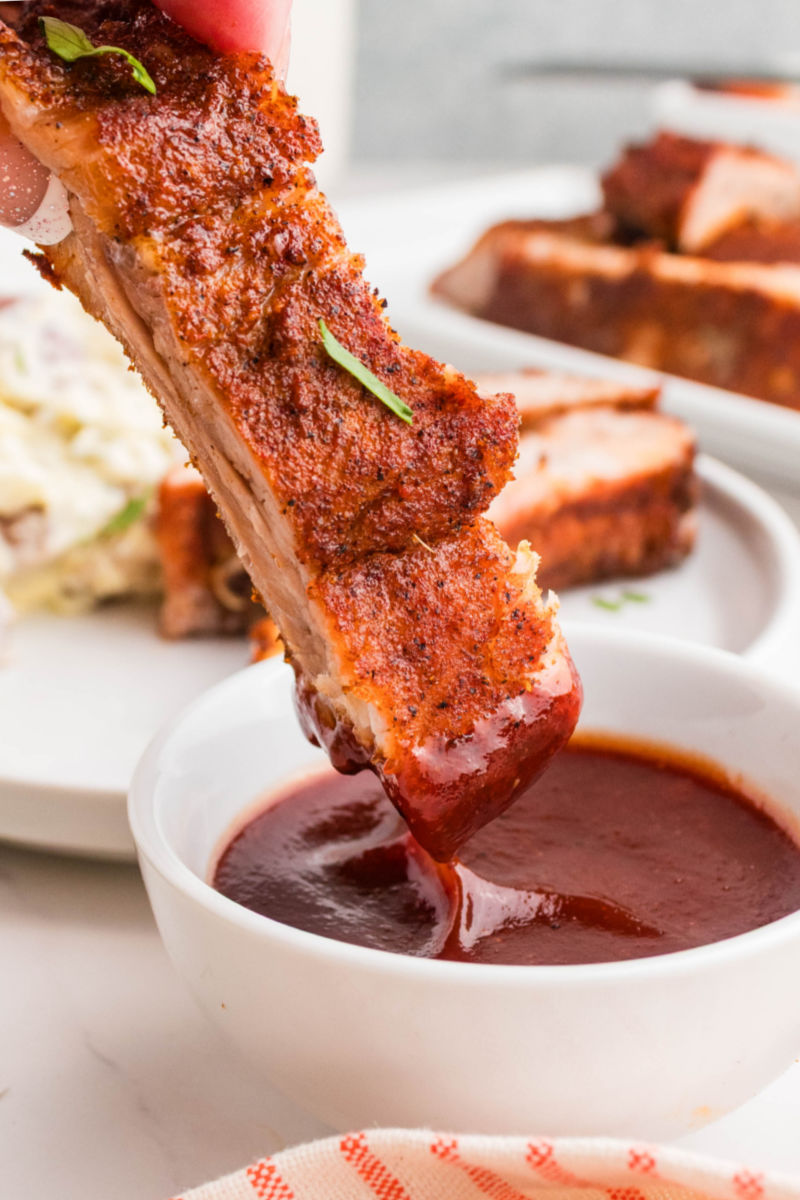
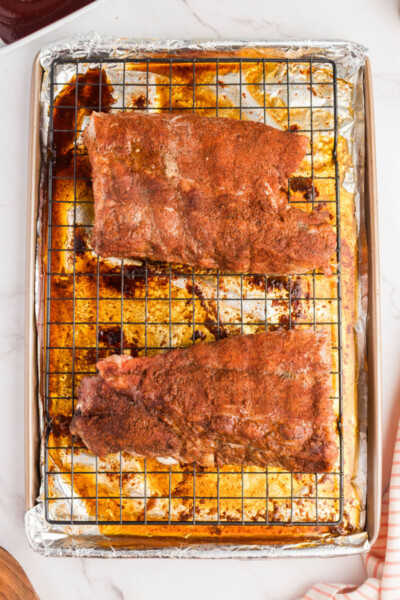
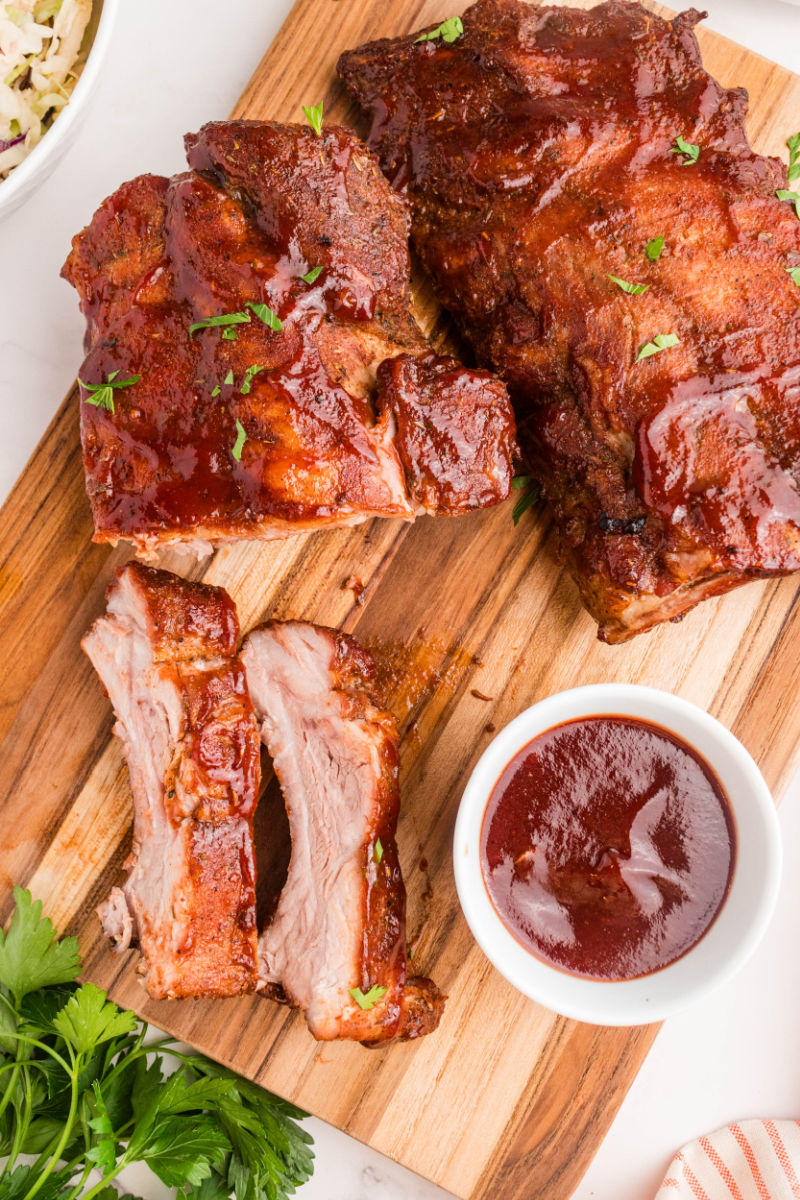
STEP 6 Remove from the oven and let the ribs rest for 5 minutes. The meat should have pulled back slightly from the bone ends. Cut into individual bones and serve with BBQ sauce.
How Long to Cook Ribs in the Oven
Cooking ribs low and slow is the key to tender, fall-off-the-bone results. Use the chart below as your starting point. Every oven runs a little differently, and rib thickness varies more than you’d think.
| Rib Type | Cooking Time @ 250°F |
| Back Back Ribs | 3 – 3½ hours |
| St. Louis-style Ribs | 4 – 4½ hours |
| Country-style Ribs | 3 – 3½ hours |
All ribs should reach an internal temperature of 145°F. Use an instant-read thermometer to check before pulling them from the oven.
Tips & Tricks
Use a wire rack. Elevating the ribs off the baking sheet lets the heat circulate underneath and keeps the meat from sitting in the drippings. It makes a difference in the final texture.
Don’t skip the foil. Covering the ribs tightly while they bake traps the steam and keeps them from drying out. It’s the key to juicy, tender results.
Finishing with BBQ sauce. Once the ribs come out of the oven, brush both sides with your favorite BBQ sauce and run them under the broiler for 3-5 minutes per side until the sauce is bubbling and starting to char at the edges. Watch them closely — it goes fast.
Need them done faster? Bump the oven to 275°F and cook for 2 to 2½ hours instead.
Taking them to the grill? Season the ribs as directed, then wrap them tightly in heavy-duty foil. Preheat your grill to 350°F and cook for 60-75 minutes, flipping halfway through. Finish with sauce directly on the grates if you like.
Make-Ahead, Storage & Reheating
Make Ahead: You can apply the dry rub up to 48 hours before cooking. The longer it sits, the more the flavors develop and the better the bark. Once rubbed, wrap the ribs tightly in plastic wrap and refrigerate until you’re ready to cook. The dry rub itself can be made ahead and stored in a mason jar or an airtight container for up to 6 months.
Storage: Leftover ribs keep in the fridge for up to 4 days. Wrap them tightly or store in an airtight container. For longer storage, freeze for up to 3 months — wrap in portions so you’re only pulling out what you need.
Reheating: Cover and warm in a 275°F oven for about 20 minutes, or pop them in the air fryer at 400°F for about 10 minutes until heated through.
Dry Rub for Ribs Recipe
Ingredients
- 3 pounds baby back pork ribs (2 full racks)
- BBQ sauce for dipping
Rib Rub
- 2 tablespoons brown sugar
- 1 ½ tablespoons chili powder
- 1 tablespoon paprika
- ½ tablespoon salt
- ½ tablespoon black pepper
- ½ tablespoon garlic powder
- ½ teaspoon onion powder
- ½ teaspoon ground mustard powder
- ½ teaspoon ground cumin
- ¼ teaspoon cayenne pepper
Instructions
- Preheat your oven to 250 degrees F. (see note) Line a baking sheet with aluminum foil and place a wire cooling rack over the foil. Set aside.
- Remove 3 pounds baby back pork ribs from the packaging, rinse, and pat dry with paper towels. On the underside of the ribs, there is a membrane that needs to be removed. Use a paring knife to help separate the membrane from one edge of the rib meat. Once the membrane is loose, grip it firmly with one hand and pull it off the meat while you hold the ribs with your other hand. It may come off in sections – keep working at it until the whole membrane has been removed.
- Cut each rack of ribs in half (or smaller sections) so they'll fit on the baking sheet. Place the ribs on top of the wire rack, bottom (bone) side up. Set aside. (see note)
- In a small mixing bowl, combine 2 tablespoons brown sugar, 1 1/2 tablespoons chili powder, 1 tablespoon paprika, 1/2 tablespoon salt, 1/2 tablespoon black pepper, 1/2 tablespoon garlic powder, 1/2 teaspoon onion powder, 1/2 teaspoon ground mustard powder, 1/2 teaspoon ground cumin, and 1/4 teaspoon cayenne pepper.
- Use your hands to spread ½ of the seasoning rub over the bottoms of the ribs. Rub the seasoning all over the rib meat and bones. Turn the ribs over and rub the remaining seasoning evenly over the top halves until they are well coated.
- Cover the ribs with foil securing it to the edges of the baking sheet. This will help keep the ribs moist while they cook.
- Bake for 3-3 ½ hours until the ribs reach an internal temperature of 145 degrees F. Carefully remove from the oven and remove the foil.
- If you want the ribs sauced, pour off the excess liquid on the baking sheet (into a can, not down the drain). Brush the ribs with BBQ sauce on both sides. Turn your oven to broil on high and then cook for 3-5 minutes until the sauce is bubbling and starting to char slightly. Use tongs to flip the ribs and then broil the other side for another 3-5 minutes. Serve warm.
Notes
- Nutritional information is for baby back ribs and does not include BBQ sauce. Nutritional values are based on ½ rack of ribs with ¼ cup of rub.
- For faster ribs, cook at 275°F for 2 to 2½ hours.
- St. Louis-style or country ribs can be substituted. St. Louis-style will need about an extra hour.
- If you’re having trouble gripping the membrane, use a paper towel for traction.
- A light coat of olive oil or yellow mustard helps the rub adhere to the meat.
Nutrition
All nutritional information is based on third party calculations and is only an estimate. Each recipe and nutritional value will vary depending on the brands you use, measuring methods and portion sizes per household.
Rib Dry Rub Recipe FAQ
How long should dry rub be on ribs before cooking?
Anywhere from 15 minutes to 48 hours. The longer it sits, the deeper the flavor and the better the bark. See the Make Ahead section for details on how to prep and store them in the fridge.
Do you put oil on ribs before the rub?
You don’t have to. As long as you pat the ribs dry after rinsing, there’s enough moisture on the surface to hold the rub in place. That said, a light coat of olive oil or yellow mustard helps the rub adhere and adds a little extra flavor. Either works, just keep it thin.
Can you cook these ribs without foil?
You can, but the foil is doing real work here. It traps steam and keeps the ribs juicy during the long cook. Without it the meat can dry out. If you prefer unwrapped ribs, keep an eye on them and pull them when they hit 145°F internally.
Can you make this dry rub for ribs in a smoker?
Yes! Apply the rub as directed and smoke at 225-250°F until the internal temperature reaches 145°F. The flavor from this rub translates beautifully to the smoker – the brown sugar caramelizes into an incredible bark.
Can you make dry rub ribs in a crockpot?
Yes. Season the ribs as directed and stand them upright around the inside of the crockpot, meat side facing out. Cook on LOW for 6-7 hours or HIGH for 3-4 hours until tender. They won’t have a crust, but the flavor from the rub is still great. Finish them under the broiler for a few minutes if you want some char on the outside.
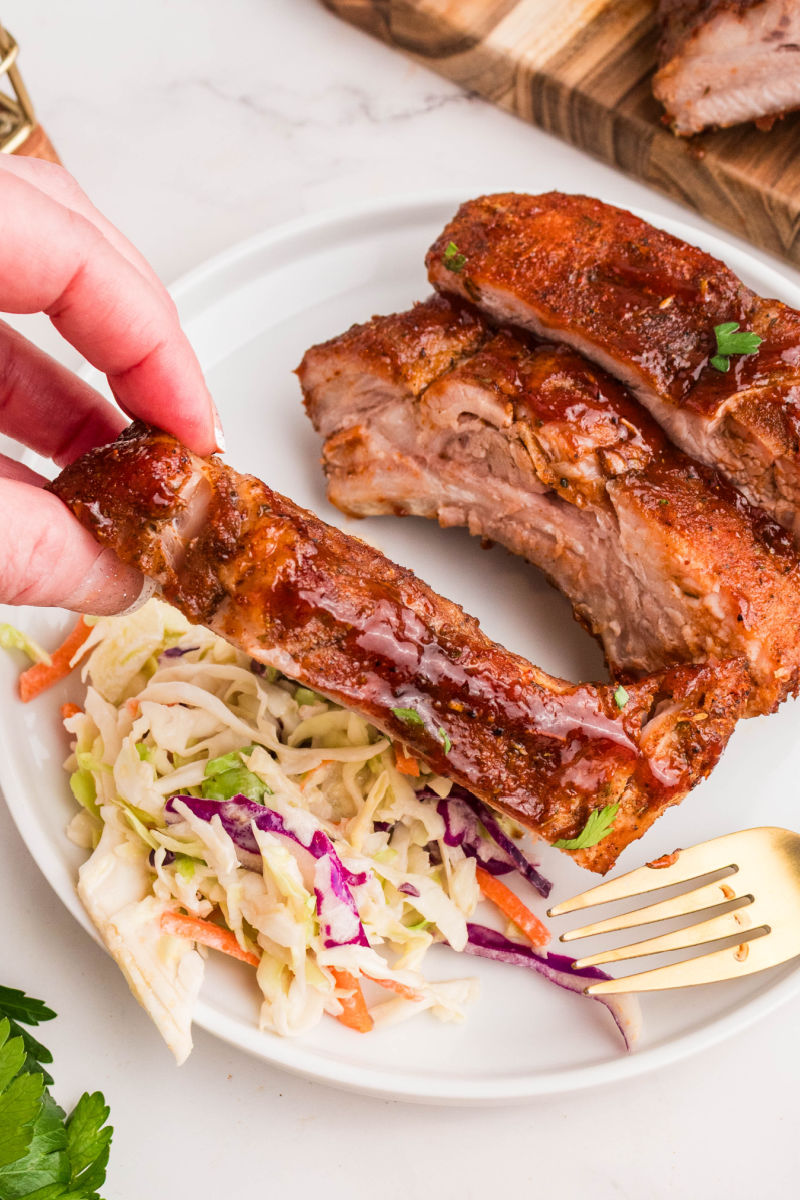
What to Serve With Dry Rub Ribs
Ribs are the star, but the right sides make the whole spread. Here are some of our favorites:
Can I wrap the ribs in foil while baking?
Yes, but you want to do it loosely so the steam can escape.
I tried this recipe twice. The first time I partially (mostly) wrapped the ribs (being sure to leave opening for ventilation) and the second time I left the ribs exposed ( as in the recipe above). Both times the meat came out tender and handled like traditional outdoor grill BBQ ribs but I found that the partially wrapped method gave me juicier ribs. I felt as if I needed more BBQ sauce to rehydrate the meat when cooking the ribs, fully exposed in the oven. I also recommend the 200 degrees for 12 hours over the 250 degrees for 8 hours.
Is the cooking time the same for 2 racks?
Hi Kenny! Yes, as long as the racks are side-by-side (not overlapping) on the baking sheets, you shouldn’t need to increase the cook time.
I made these ribs for Easter dinner and they were definitely a crowd favorite. I added the rub the day before so the meat could marinate and absorb all the good flavor. The cooking part was super easy….tossed them in the oven and forgot them for about 8 hours. Took out, wrapped in foil and left them rest about 2 hours before serving. DELISH!
I’m so glad Andrea!! Thank you for sharing!
Making’em tonight. Wish me luck and what’s up with that sauce recipe, looks delish!
This Scott wouldn’t happen to appen to have his own business would he? Possibly based out of Delaware?
No. He’s a bagpiper that lives in Ohio. 🙂
Have you ever placed in a smoker and if so results?
Hi Deborah! I have not smoked these ribs, but I’m hoping to get a smoker in the near future and I’d be happy to report back once I know. 🙂
I am about to smoke two racks wrapped in foil marinated with my Husbands special rub:) He is an Ambassador for Traegar smoker grills so if anyone has ever needed or desired a smoker this is the one! I was vegetarian before meeting my smoker, now I can honestly say I am a carnivore:)
OMG GG I have big plans for a Traegar in my future. I have an offset smoker my husband won from work currently. I’m taking the mandatory stay at home time to learn how to use it. 🙂 It sounds like he has some serious skills if he converted you. 😉
Hi Julie, This recipe is really close to the rub my hubby puts together. The only difference is we cook them at 225 or 250 for 4 hours, unwrapped & flip them a couple of times. Still stay nice and juicy.
Anyone ever make these in a crockpot?
been using your rib rub recipe for years – the best and of course following your instructions – even how to remove the “silver skin” …hubby and I have always LOVED the final outcome – BTW we do love baby backs.
Thank you for your recipe.