
Homemade Turkey Gravy Recipe




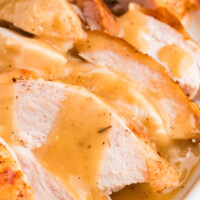
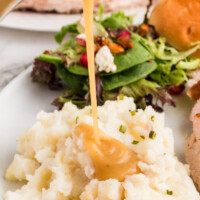

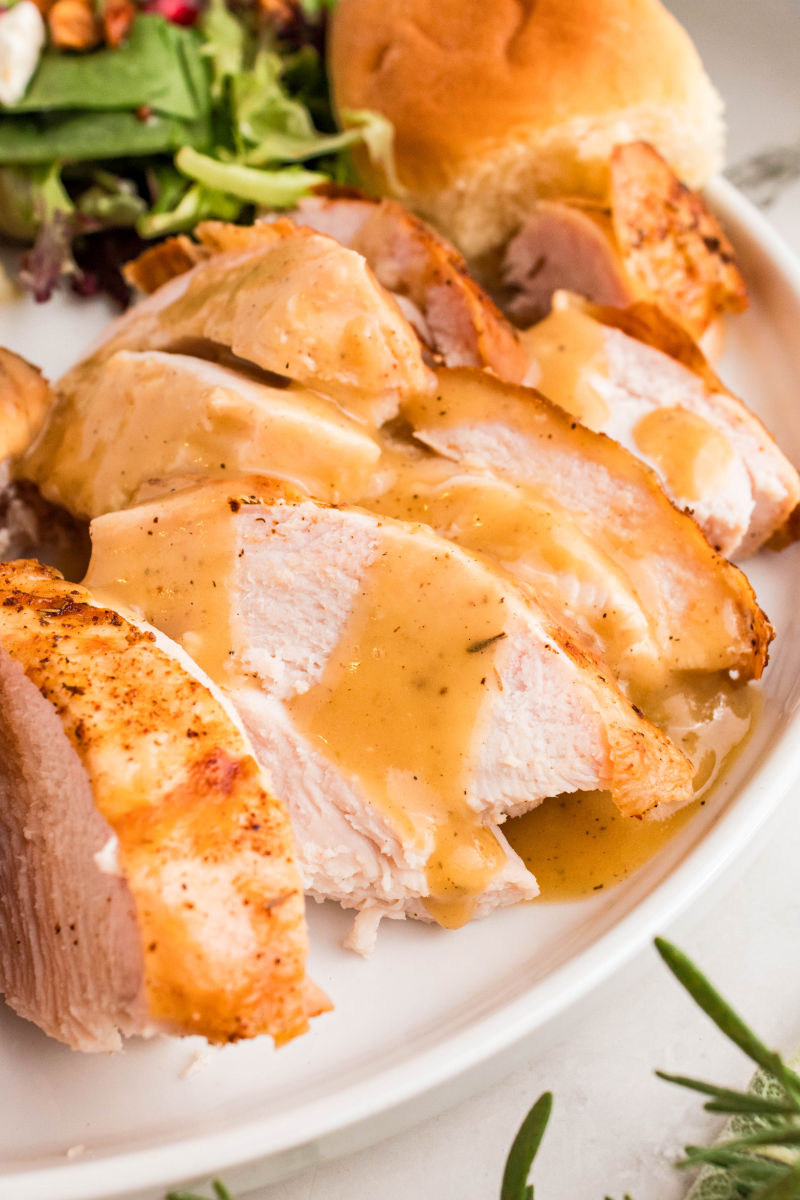
I’m not letting those turkey drippings go to waste. There’s too much good flavor in that roasting pan! My easy turkey gravy recipe turns those juices into smooth, buttery gravy in about 15 minutes, with a little flour, black pepper, and chicken broth.
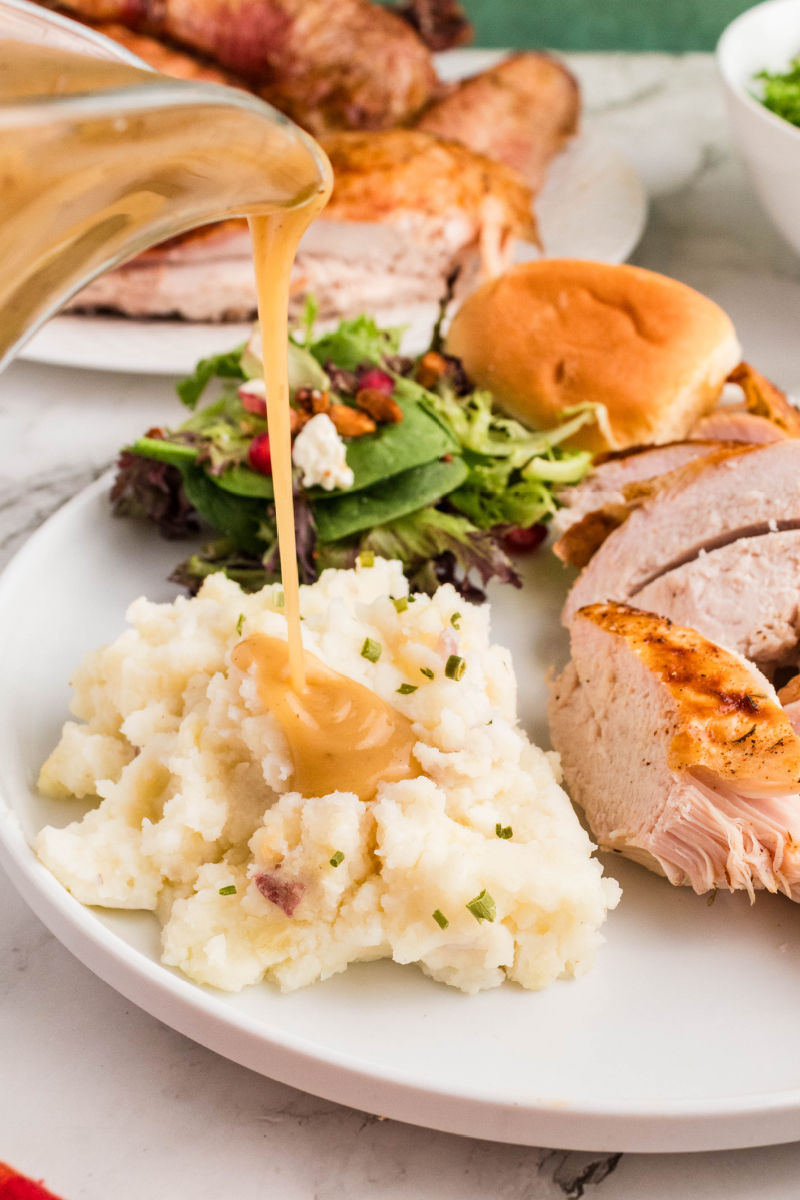
Our family pours it over turkey and mashed potatoes, but I’ve been known to dip my stuffing and rolls in it too. When there’s gravy this good on the table, pretty much everything on my plate is fair game.
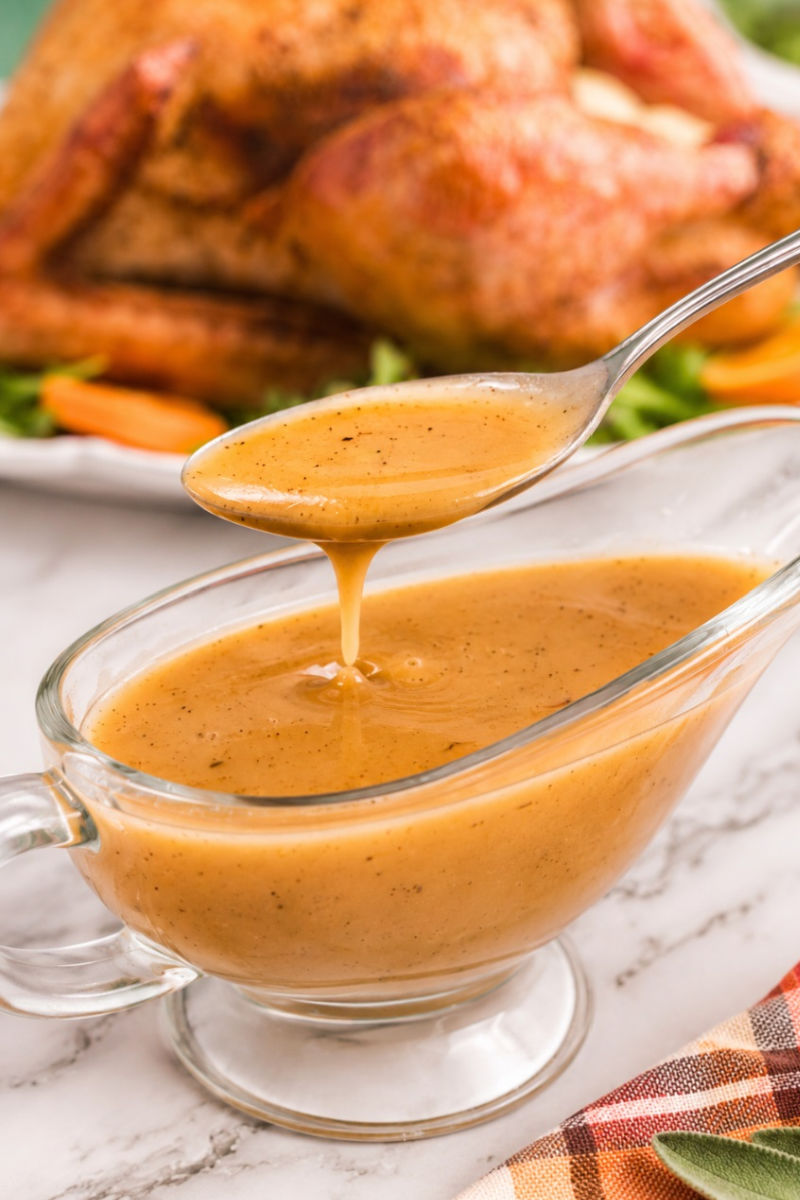
Why This Gravy Recipe Works
Here’s why this gravy earns a spot at my holiday table.
- The turkey does the flavor work. Those roasting juices bring the savory flavor of your bird right into the gravy.
- Smooth enough for pouring. A butter-and-flour base gives it body without turning it into a heavy sauce that sits in a lump on your potatoes.
- No separate stock project. You can put the gravy together while your turkey rests, using the drippings you already have.
What Readers Are Saying
This gravy is Fabulous!!! To me, it was the best part of the whole dinner.
-Michael
Ingredients
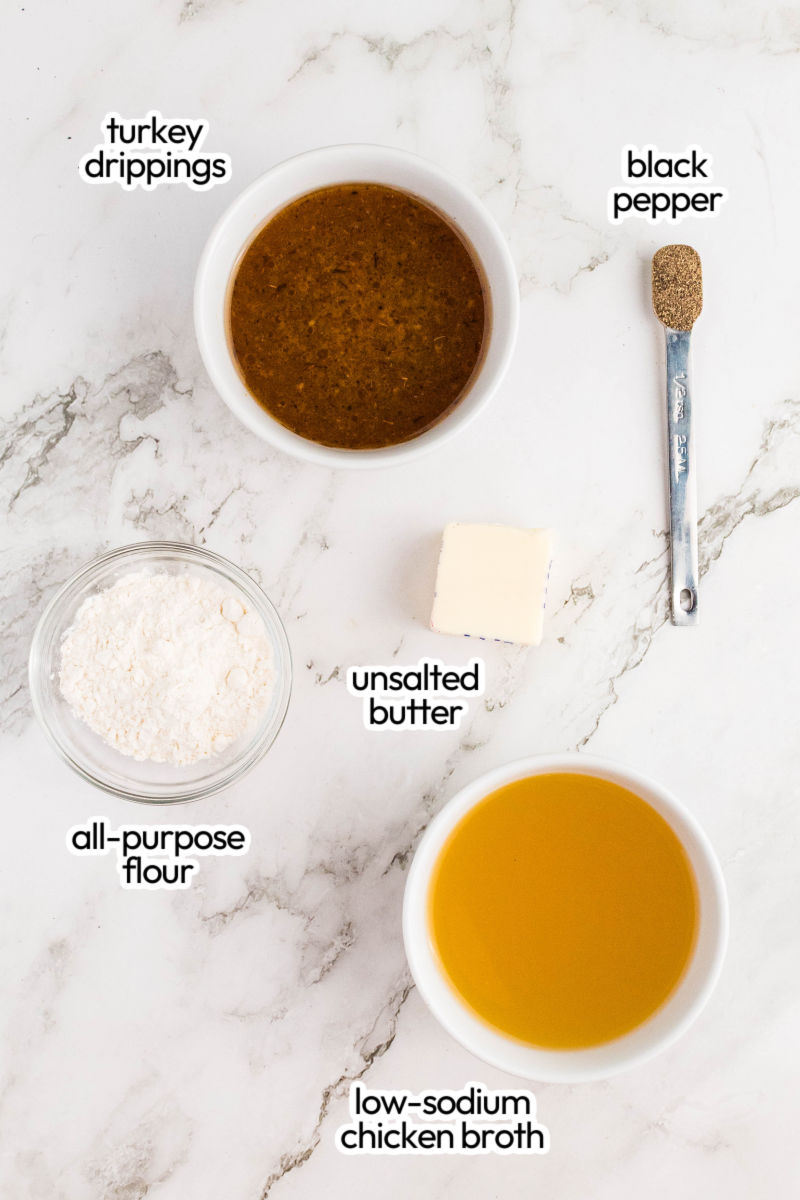
You only need a few pantry basics to turn those pan juices into smooth, savory gravy.
- Turkey drippings and low-sodium chicken broth: Use the juices from a roasted whole turkey or turkey breast. The seasonings on your bird will help flavor the finished gravy. Drippings can already be a little salty, so low-sodium broth rounds out the liquid without making the gravy overly salty. If you don’t have enough drippings, add extra broth to make up the difference.
- Unsalted butter and all-purpose flour: Together they make the roux that thickens the gravy and gives it that smooth, rich texture.
- Black pepper: A little pepper wakes things up. The turkey’s still the star.
How to Make Turkey Gravy from Drippings
Have your whisk ready, because this comes together quickly once the butter melts.
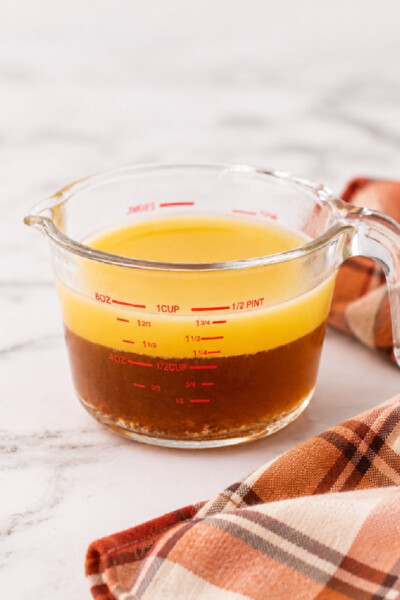
- Separate the drippings. Pour the pan juices into a fat separator and let the fat rise to the top. Leaving most of that fat behind keeps the gravy from turning greasy.
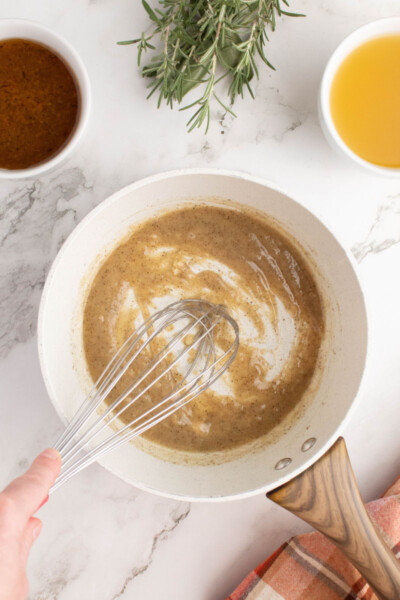
- Cook the flour. Melt the butter in a medium saucepan over medium heat, then whisk in the flour and pepper. Cook for 1 to 2 minutes, whisking, until the mixture is smooth and bubbling.
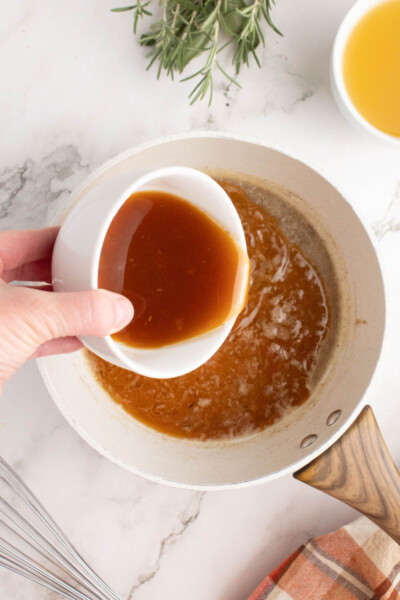
- Whisk in the liquid. Slowly pour in the separated drippings while whisking, then add the broth. Adding the liquid gradually helps keep little pockets of flour from turning into lumps.
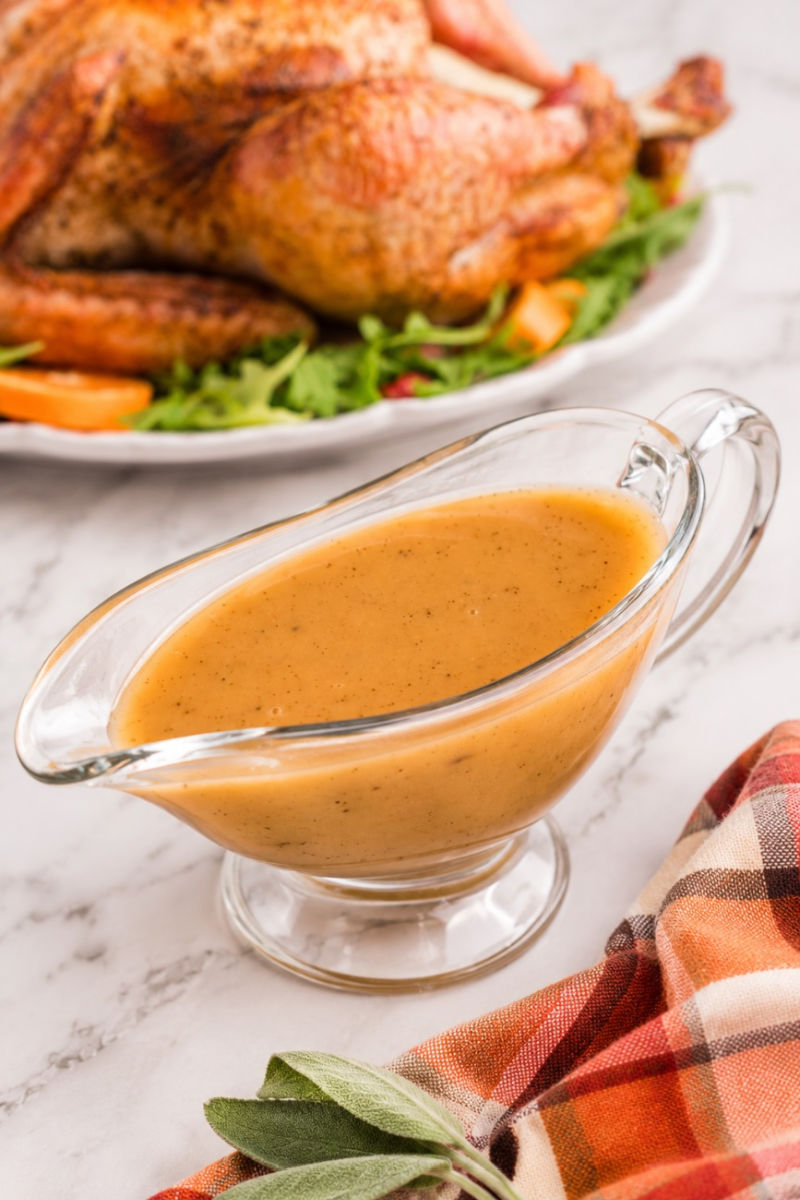
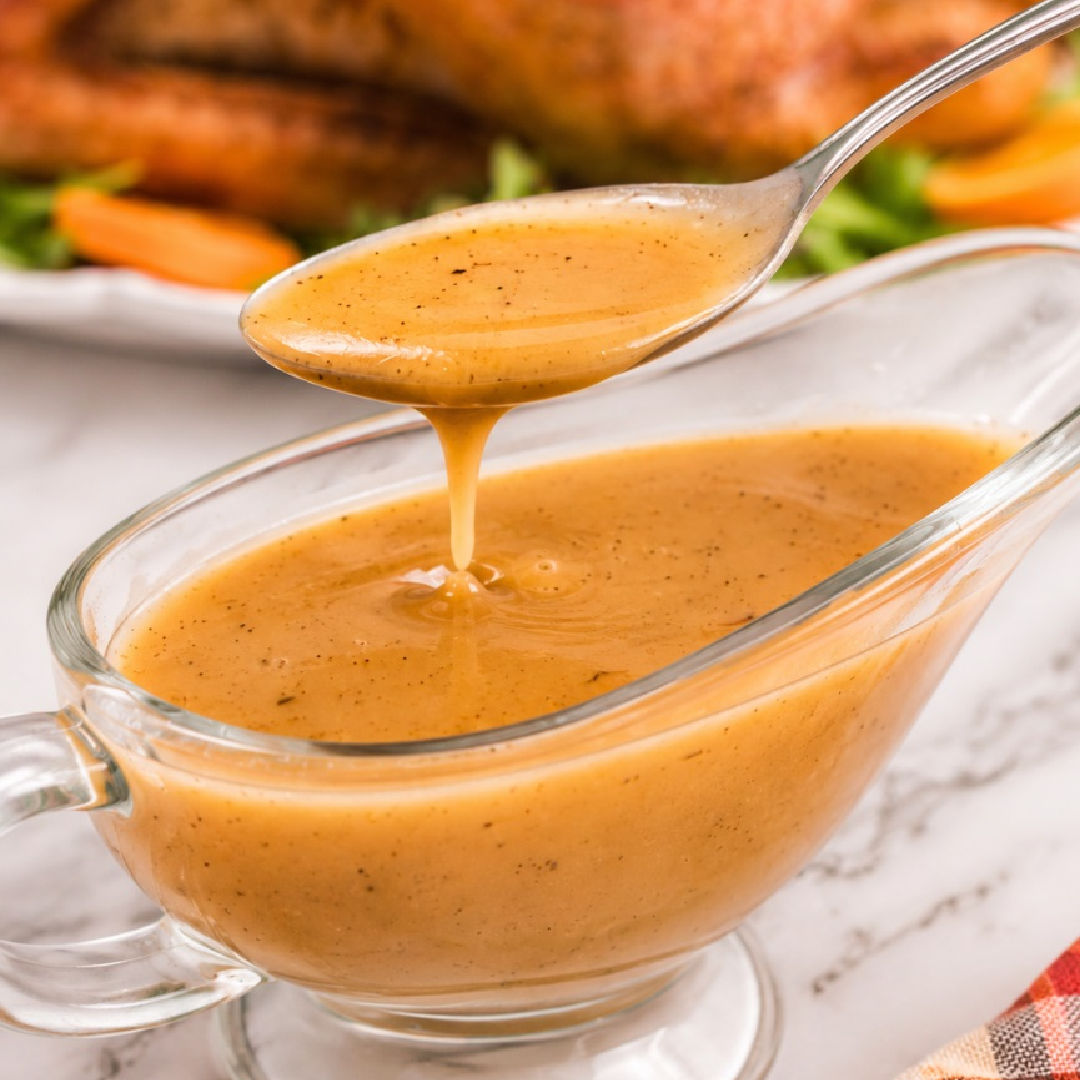
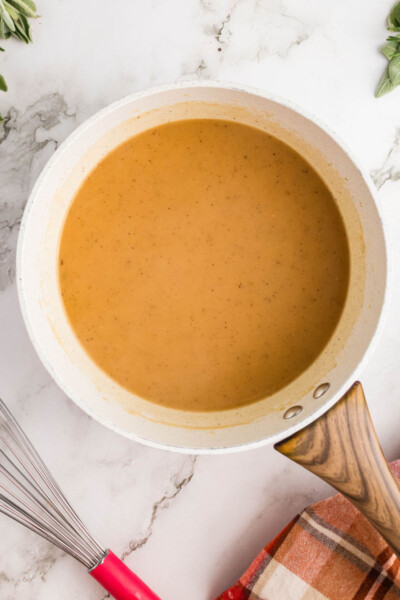
- Simmer until thickened. Bring the gravy to a simmer and cook for 5 to 8 minutes, whisking occasionally, until it coats the back of a spoon. Remove from the heat and pour into a gravy boat for serving.
Recipe Tips
No fat separator? Pour the drippings into a glass measuring cup and let the fat rise to the top. Skim it off with a spoon before using the juices.
Check the consistency: If it’s thicker than you want, whisk in a small splash of broth at a time. If it’s too thin, let it simmer a few more minutes until it coats the back of a spoon. You want it to pour easily but still have enough body to cling to the turkey.
Rescue a lumpy batch: Pour the finished gravy through a fine-mesh strainer before serving. You don’t have to start over because a few lumps snuck in.
Plan for the gravy lovers: If your crowd likes gravy on everything, double the batch. Use a larger saucepan, so you have room to whisk without splashing it over the sides.
Storage & Reheating
Refrigerate leftover gravy in a shallow, covered container within 2 hours of cooking. Keep it in the refrigerator for 3 to 4 days. You can also freeze it in small portions for 2 to 3 months for the best quality.
To reheat, warm the gravy in a saucepan, whisking frequently, and bring it to a rolling boil. Gravy thickens in the fridge, so whisk in a splash of broth to loosen it as it heats. If frozen, thaw the gravy in the refrigerator overnight first.
FAQ
Can I make turkey gravy without drippings?
Yes! Replace the drippings and chicken broth with 2 cups of turkey stock or broth. You’ll still get a savory gravy, though it won’t have the same roasted flavor as a batch made with pan juices.
Can I use cornstarch instead of flour?
Yes, but it’s a different method. Skip the roux and bring the drippings and broth to a simmer. Stir 2 tablespoons of cornstarch into 2 tablespoons of cold water, then whisk the slurry into the simmering liquid and cook for 1 to 2 minutes until thickened. Whisk in the butter at the end for richness. Cornstarch gravy turns out glossier and a little lighter than the flour version.
How do you enhance the flavor of turkey gravy?
Want to give it a boost? Try stirring in a splash of Worcestershire sauce to up the umami factor, browning the butter for the roux, or adding a little Dijon mustard for tang. Chopped fresh herbs like sage and thyme are great add-ins too, especially if you used them on your turkey. Stir in a small amount at the end, taste, and add more if you want a stronger herb flavor.
Is this turkey gravy low sodium?
It can be. The gravy recipe itself doesn’t add any salt. It uses unsalted butter and low-sodium chicken broth, since most of the salt comes from the turkey drippings. How salty the gravy ends up depends on how you seasoned or brined your turkey. Taste it before serving and add salt only if it needs it.
Homemade Turkey Gravy Recipe
Video
Ingredients
Equipment
Instructions
- Pour the pan drippings from your turkey into a fat separator cup (or a large measuring cup). Let it sit while you start the gravy.
- In a medium saucepan or skillet, melt 4 tablespoons unsalted butter over medium heat. Add 3 tablespoons all-purpose flour and 1/2 teaspoon black pepper, and whisk to combine. Cook for 1 to 2 minutes.
- Slowly pour 1 cup turkey drippings into the saucepan while whisking, leaving the fat behind. Whisk in 1 cup low-sodium chicken broth. Bring the gravy to a simmer, then cook for 5 to 8 minutes, whisking occasionally, until it coats the back of a spoon.
- Once the gravy has thickened, remove from heat and transfer to a gravy boat for serving.
Notes
- Liquid: You need 2 cups of liquid total. Short on drippings? Make up the difference with more broth. No drippings at all? Use 2 cups of turkey stock or broth instead.
- No fat separator: Pour the drippings into a 2-cup glass measuring cup, let the fat rise to the top, and skim it off with a spoon. A little fat sneaking in is fine, but too much makes the gravy greasy.
- Thickness: Too thick? Whisk in a splash of broth. Too thin? Let it simmer a few more minutes.
- Gluten-free: Skip the roux. Bring the drippings and broth to a simmer, then whisk in 2 tablespoons cornstarch stirred into 2 tablespoons cold water. Cook for 1 to 2 minutes until thickened, then whisk in the butter at the end.
- Storage: Refrigerate leftovers in a covered container for 3 to 4 days. Reheat on the stove, whisking, until bubbling and 165 degrees F, and add a splash of broth to loosen it up.
Nutrition
Tried this recipe?
If you made this recipe, leave a comment and star rating to let others know how it turned out.More Thanksgiving Recipes
Got the gravy handled? Here’s the rest of the spread it’s going to end up on.
This gravy is Fabulous!!! To me, it was the best part of the whole dinner.
Do I throw away the fat? I saw another recipe use it so just want to make sure I don’t mess it up
I usually discard the fat since I don’t have a need for it. You could save it to sautee veggies in later though.
What fat separator do you use? I love your recipe! I’ve made it several times, but I cant seem to find a decent fat separator (and skimming the fat off the top doesnt seem to work well for me). Thanks 😊
Hi Katelyn! This is the fat separator I’m currently using. I bought one for my best friend too when she was doing Thanksgiving dinner for the first time. It’s awesome.
There’s always a little fat to pour out of the spout, but the solids catcher on top is great and it cleans well.