White Bread Recipe


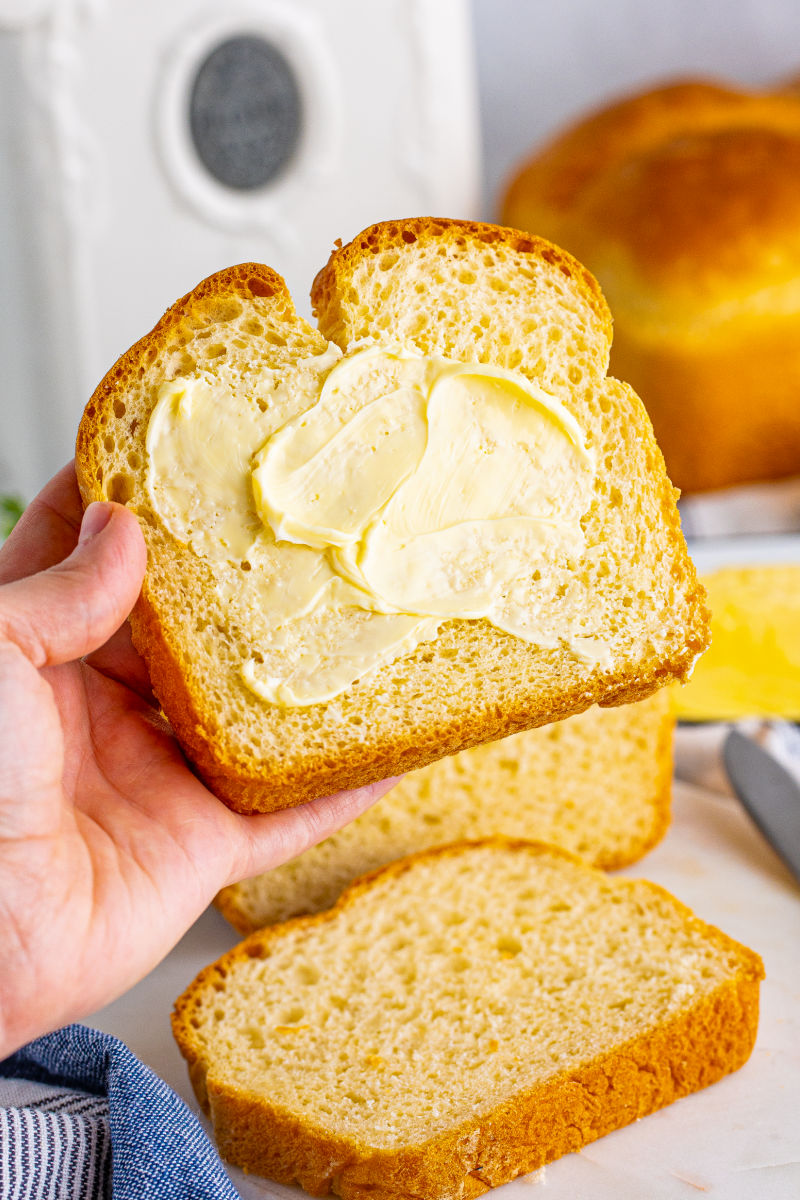
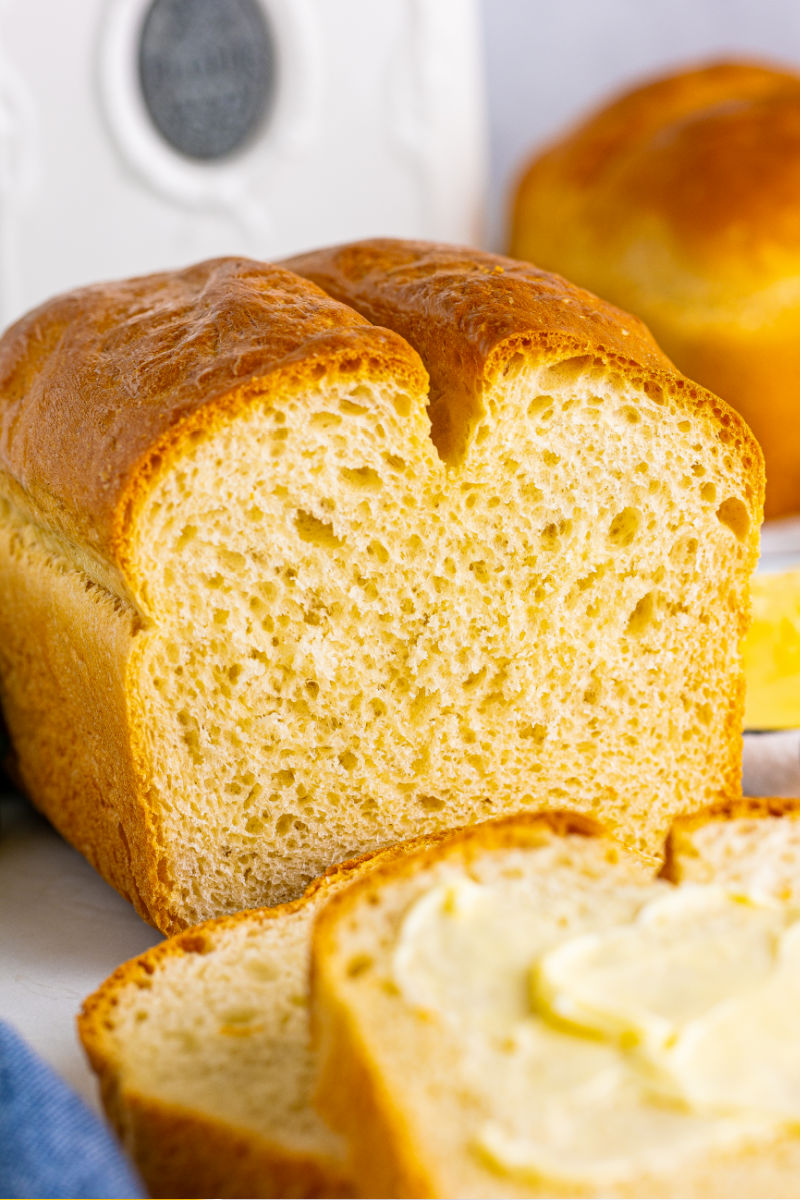
Homemade White Bread is a simple recipe that will fill your house with the amazing aroma of freshly baked bread and is fun and easy to make!

Why We Love This Recipe for White Bread
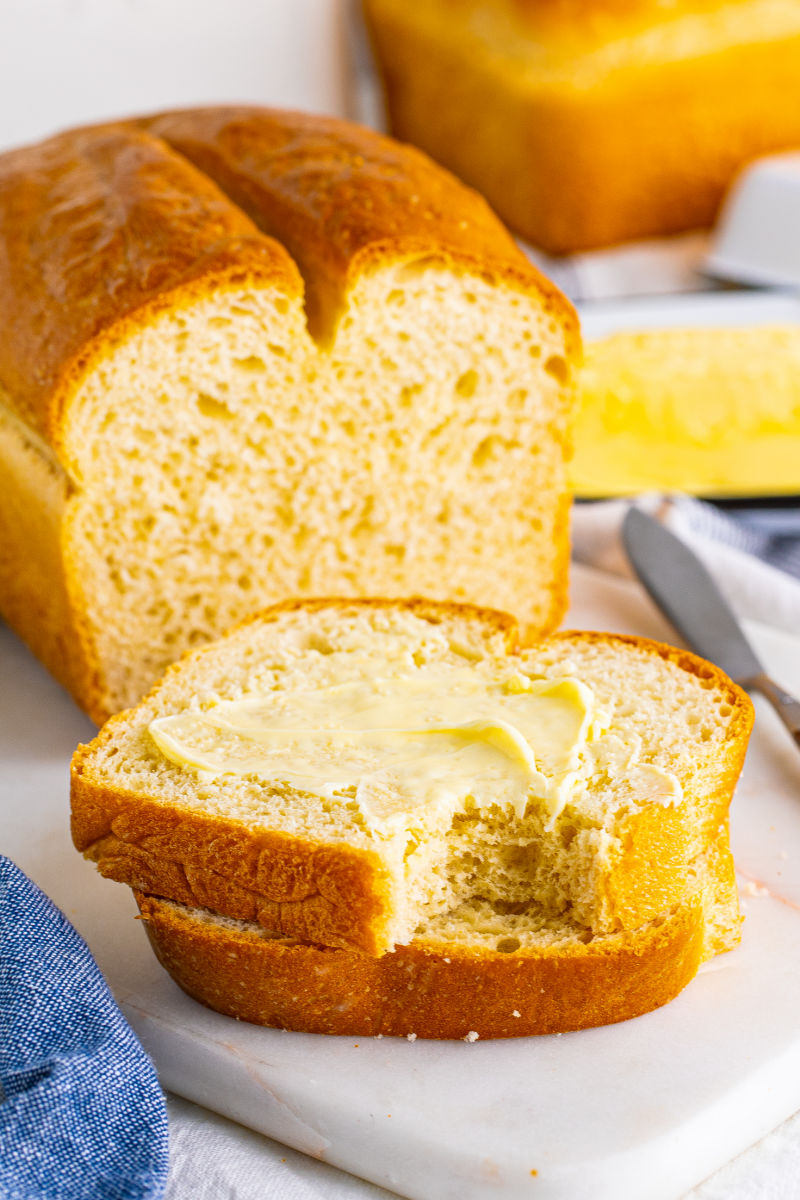
- From kneading the dough to the amazing smell and the warm, delicious taste, freshly baked white bread is a classic that no one can resist! Light and fluffy, this easy white bread recipe is perfect for slathering with butter, making grilled cheese or PB&J sandwiches, and any other dish you love!
- This is a fool-proof, no-fuss homemade bread recipe. I’ve been making it for years and it comes out perfectly every time.
- The hands-on time to make this country white bread is pretty quick, so while the bread is resting, rising, and baking you can focus on other things and before you know it, you have two loaves of bread ready for the week!
- One of the key ingredients, besides the flour, is dry milk, which helps make the bread light and fluffy. Pick up a box of dry milk once and you’ll have enough to make a good number of loaves.
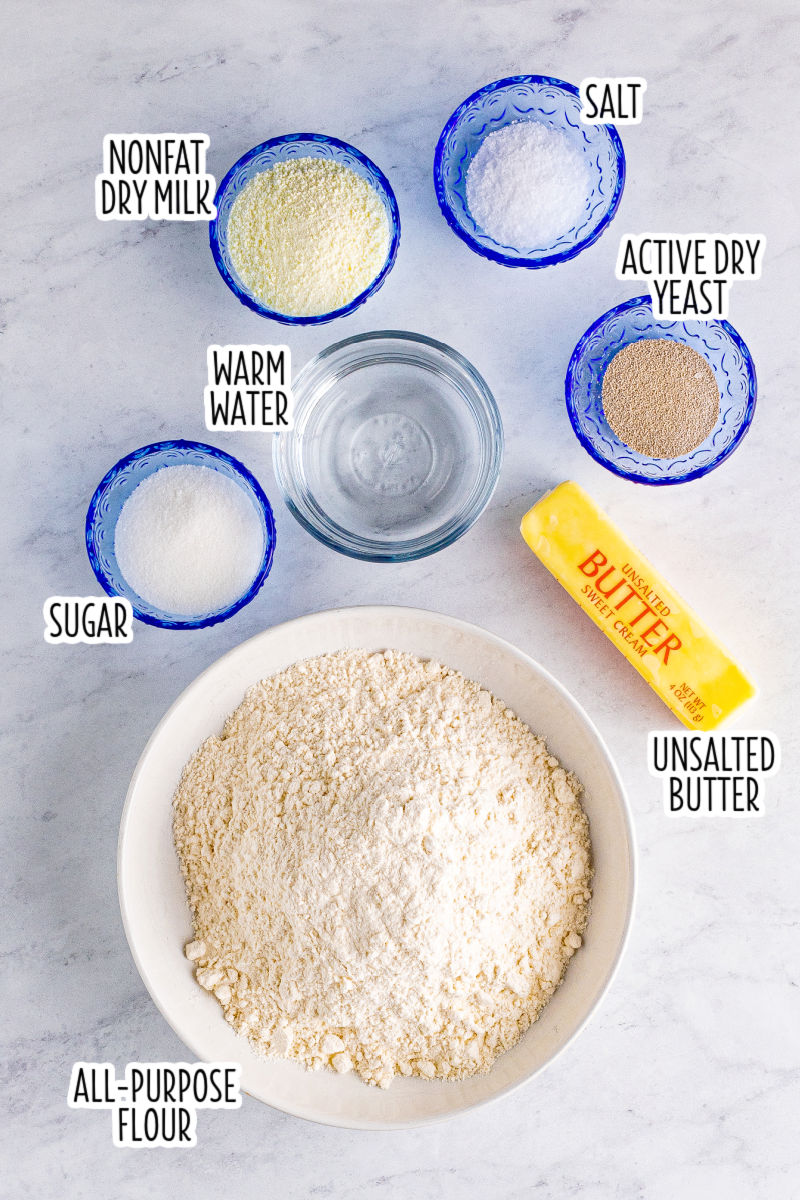
Ingredients You’ll Need to Make White Bread
DRY INGREDIENTS: To make this bread you will need all-purpose flour. If you prefer to use bread flour, you can substitute it for the AP flour. You’ll also need to grab the granulated sugar, nonfat dry milk, active dry yeast, and salt
WET INGREDIENTS: We’re using unsalted butter to make this bread, but if you only have salted butter on hand, it’s fine to use that instead. You’ll also need some warm water.
How to Make White Bread
Jump to RecipeSTEP 1 Using a stand mixer with a hook attachment, add 2 cups of flour along with the dry milk, sugar, butter, yeast, and salt to the bowl. Mix the dry ingredients for a few seconds to combine them. Add the water to the dry ingredients and mix.

STEP 2 Set the mix to a slow speed and add the rest of the flour, a little at a time until 5 cups of flour have been used in total. Turn the speed up to medium high to mix the dough and after a few minutes of mixing the dough should no longer stick to the sides of the bowl. If the dough is still sticking, add a little more flour, no more than 1/2 cup, and continue to mix. Once the dough no longer sticks to the sides of the bowl, continue to mix the dough on medium-high for 10 minutes.

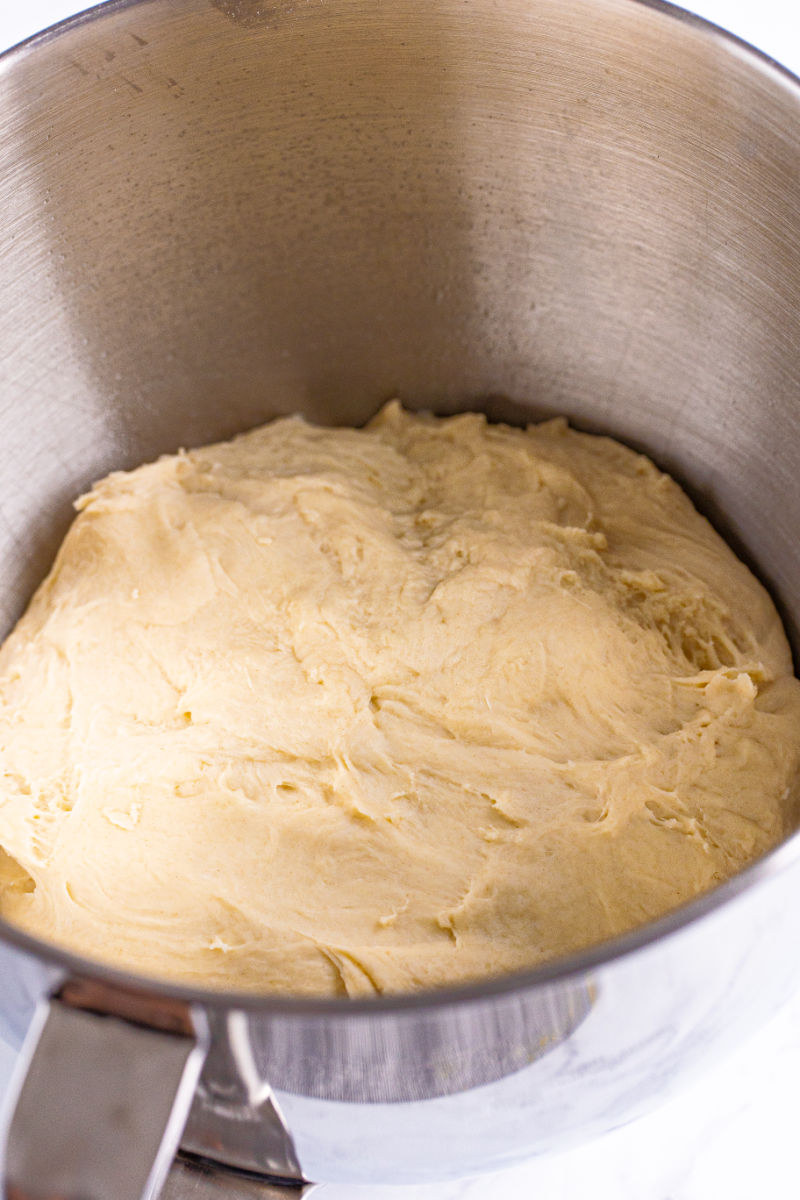
STEP 3 After 10 minutes of mixing, the dough should be smooth. Lightly coat the dough with non-stick cooking spray and cover the bowl with plastic wrap. Allow the dough to rest for 1 hour in a warm place to rise.
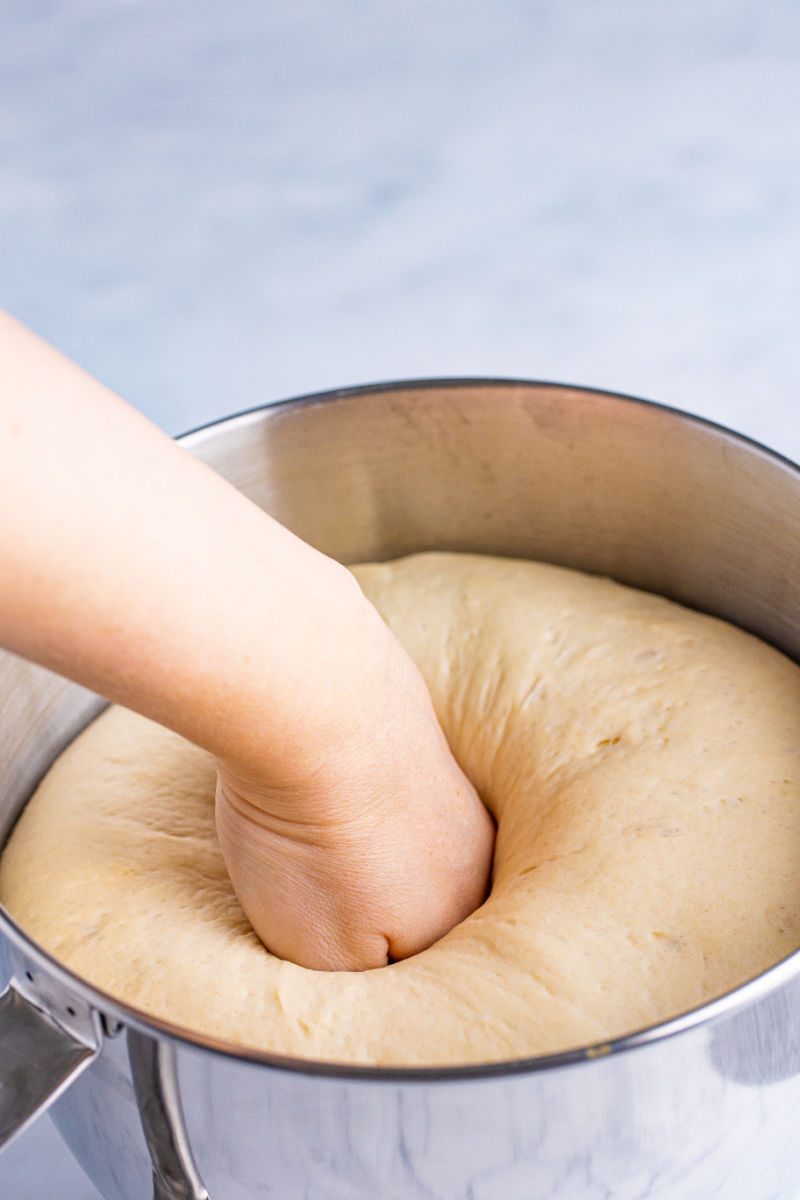
STEP 4 Once the dough has risen, remove the plastic wrap and punch the dough down to release the air. Lightly flour your counter or a non-stick rolling mat, turn the dough out onto the work surface and knead the dough a few times.
STEP 5 Divide the dough into two equal amounts and roll them into a log. Coat two loaf pans with non-stick spray and place one dough log into each pan. Let the dough rise again for 30-45 minutes uncovered on the counter.

STEP 6 Preheat the oven to 400 degrees F. After the dough has risen and doubled in size, cut a slit down the center of each loaf. Pop both loaves into the oven, turn the temperature down to 350 degrees F, and bake the bread for 30-35 minutes.

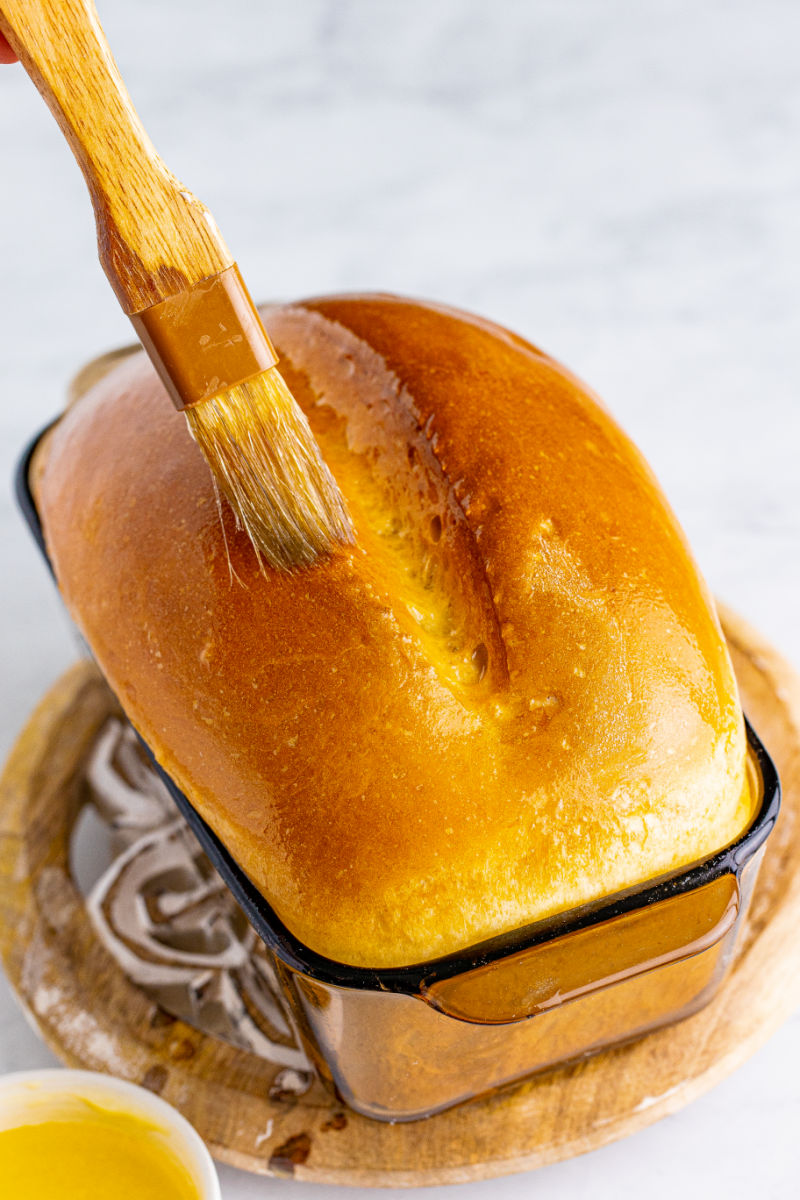
STEP 7 Remove the bread loaves from the oven. If you like, you can brush melted butter over each loaf now. Let the bread cool in the pan for about 5 minutes and then transfer the bread to a wire rack to cool completely, about 1 to 1 1/2 hours.
Tips & Tricks
- When using bread flour, measure out the same amount as you would all-purpose flour. We think the bread flour version comes out a touch lighter, but either way, this bread will be amazing!! Most people don’t have bread flour on hand regularly which is why we used AP flour to make things easier!
- If you prefer, vegetable shortening can be used in place of butter in this recipe.
- When adding the flour to the mixing bowl, 5 cups should be enough but when the humidity is high your dough may need more flour. Just be sure not to add more than 1/2 cup of flour if needed. It’s really important that the dough does not stick to the bowl so you know everything is mixing correctly and the gluten is working.
- Keep the baked white bread loaves covered on the counter for up to 3 days or in the fridge for up to 5 days. You can also wrap the loaves well with plastic wrap, then foil, and freeze them for up to 3 months. We like to slice the bread and then freeze it so we can take out a piece or two here and there when needed to make a sandwich or for toast.
White Bread Recipe FAQ
Is homemade white bread better for you?
Homemade white bread can be considered better for you when compared to store-bought bread. Commercial breads purchased at the store contain more processed ingredients and preservatives to maintain the shelf life of the bread, which homemade bread does not have.
While homemade bread might not last as long as the store-bought stuff, there are fewer ingredients, especially processed ones, which generally make homemade bread better for you than white store-bought bread.
How many calories are in homemade white bread?
Homemade white bread calories run about 109 calories with around 19 grams of carbs, 2 grams of fat, and 3 grams of protein per slice.
By comparison, Sara Lee’s Artesano Bread and Nature’s Own Perfectly Crafted White Bread have 110 calories per slice with about 15 slices per loaf. The fat, carbs, and protein amounts are all about the same as homemade bread.
Store-bought bread also often contains preservatives and much more sodium than homemade bread, which can be a concern for those on a low-sodium diet.
Can you freeze homemade bread dough?
Yes. If you only want to bake 1 loaf of bread, you can freeze the other half of the dough. Place it into the loaf pan, warp it in plastic wrap and foil, and freeze for up to 4 weeks. Thaw the dough in the fridge overnight. Then place it on the counter to undergo its second rise. Preheat the oven and bake as directed.
Can dogs eat white bread?
Dogs can enjoy a little bread in moderation! As long as your dog doesn’t seem to have any digestive issues with the bread, groups like the American Kennel Club say that a little bread, as a treat every now and then, is fine. Experts say that both plain white and wheat bread can be enjoyed by dogs.
Other Recipes You May Like
- No Knead Dutch Oven Bread
- Cinnamon Raisin Bread
- Homemade Baguette
- Milk and Honey Dinner Rolls
- Irish Soda Bread

White Bread Recipe
Ingredients
Equipment
Instructions
- Add 2 cups of the flour along with the dry milk, sugar, butter, yeast, and salt to the bowl of a stand mixer. Using the hook attachment, mix for a few turns just enough to combine. Add the warm water and mix until combined.
- On slow speed, begin to add the flour a little at a time until you've added another 3 cups of flour (5 cups total). Turn the mixer up to medium-high speed. The dough should clean the sides of the bowl after a couple of minutes. If it doesn’t, add a little flour at a time until it does, only add up to another ½ cup of flour, no more.
- Continue to mix/knead the dough on medium-high speed for 10 minutes. The dough will become smooth and elastic.
- Spray the dough with a little non-stick cooking spray and roll it around in the bowl, so it is lightly oiled. Cover the bowl with plastic wrap and let the dough rise in a warm place in your house for about 1 hour.
- Take off the plastic wrap and punch the dough down while it's in the bowl to release the air bubbles. Lightly flour a clean work surface. Turn the dough out onto the work surface and knead it a few times by hand to get any additional air bubbles out, for about 1 minute.
- Spray two 9-inch x 5-inch loaf pans with non-stick cooking spray. Divide the dough into two equal pieces. With your hands, roll them out into a log. Place each log into a prepared loaf pan.
- Let the bread loaves rise on the counter, uncovered until doubled in size, about 30-45 minutes. While they are doing this second rise, preheat your oven to 400 degrees F.
- Once the dough has doubled, make a slit down the center of the bread if desired. Place the loaves into the oven on the middle rack and immediately lower the oven temperature to 350 degrees F. Bake for 30-35 minutes until golden brown.
- Remove the loaves from the oven. If desired, immediately brush the tops of the bread with melted butter (this is optional). Let the bread loaves cool in the pan for 5 minutes before transferring them to a wire rack to cool completely, about 1 to 1 1/2 hours.
Notes
- Nutritional information is based on the loaves being cut into 15 slices each.
- If you have bread flour, you can also use it 1:1 for AP flour. We think the bread flour version comes out a touch lighter, but either way, still amazing!! Most people don’t have bread flour on hand regularly which is why we made this with AP flour to make it easier!
- If the water is too hot it will kill the yeast. Use a thermometer to ensure the water is between 110 to 115 degrees F.