Hot Chocolate Bombs
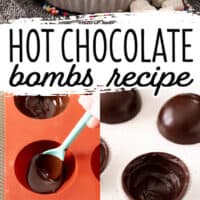


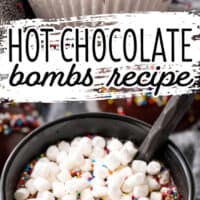
You’ve seen Hot Chocolate Bombs everywhere on the internet, and now you have a foolproof step-by-step guide to making them at home!
Why We Love Hot Chocolate Bombs
- You can make hot chocolate bombs at home for a fraction of the store-bought cost. They take some time, but once you get a rhythm down, they’re really easy to make.
- Adults and kids alike get into the fun of watching a hot chocolate bomb melt and pop open.
- Hot Cocoa bombs are a comforting treat on cold nights and they make a great host/hostess gift. I don’t always want to take a bottle of wine to Christmas parties or when we’re visiting our friends with kids. These bombs are something everyone can enjoy!

What You’ll Need to Make Hot Chocolate Bombs
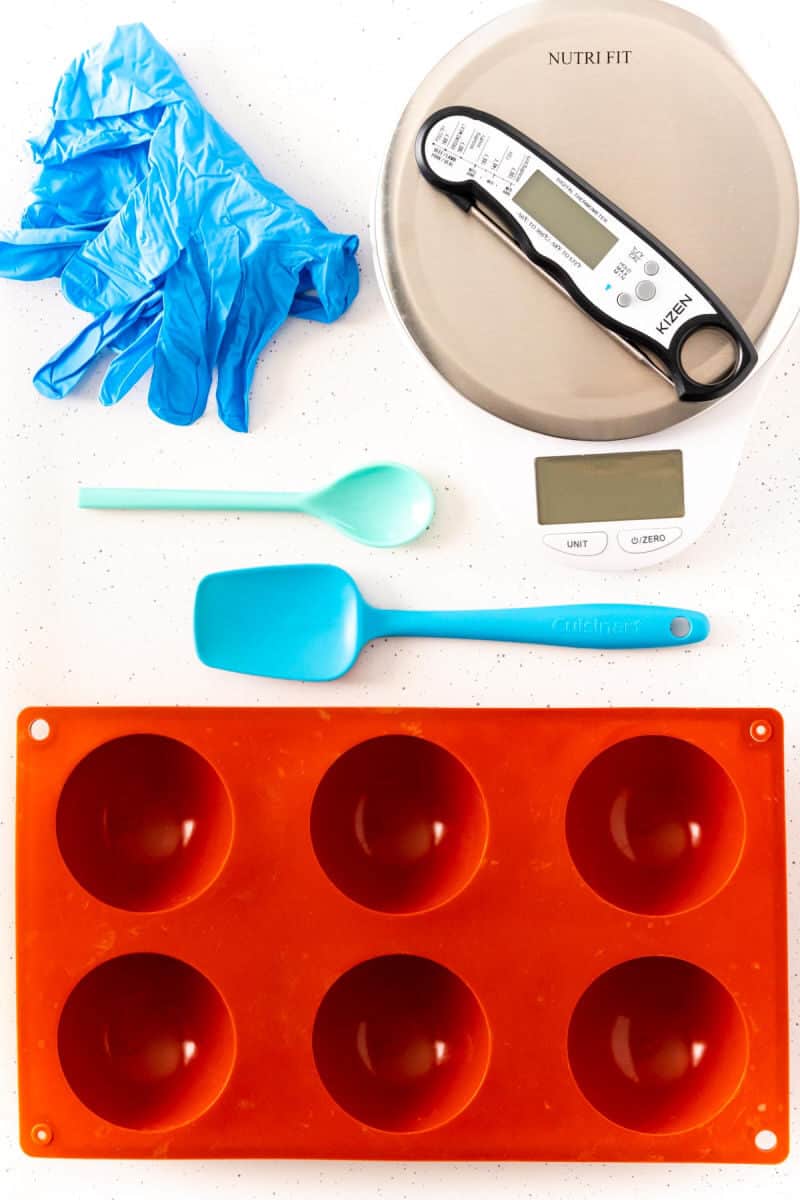
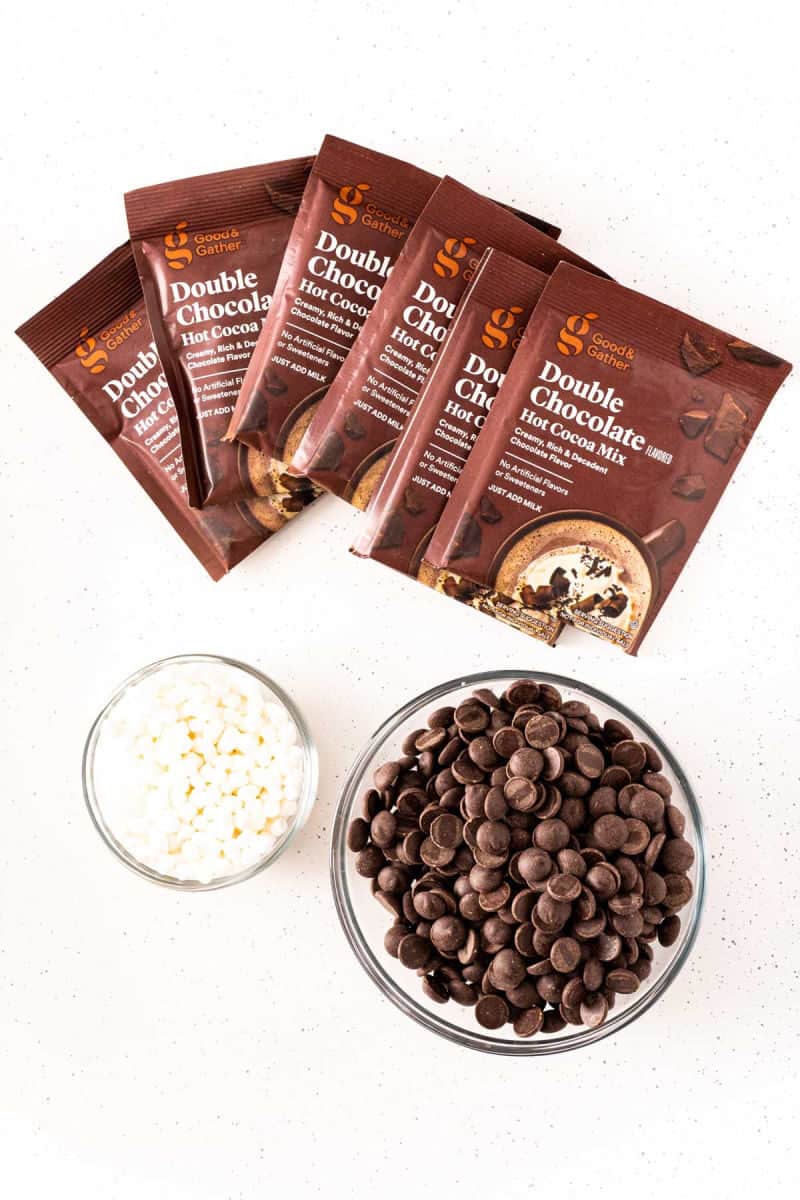
TOOLS: A hot chocolate bomb mold, instant-read kitchen thermometer, food prep gloves, food scale, a spoon or paintbrush, rubber spatula, various size bowls, a small baking sheet, and you can use cupcake liners if you want
CHOCOLATE: High-quality chocolate makes a big difference in the texture, melting ability, and taste of your cocoa bombs. If you’re making multiple sets of these hot chocolate bombs, use 6 ounces of chocolate for every set of 3 bombs.
HOT COCOA MIX: A lot of hot chocolate bomb recipes only use 2 teaspoons to 1 tablespoon of hot chocolate powder. This seems crazy low to me given that most hot chocolate packages call for 6 ounces of milk. However, I understand that you also need to account for the chocolate in the shell and that’s why I recommend 8 ounces of milk for best results. I used 1-ounce packets of hot cocoa mix and the powder measures at 3 tablespoons per pack.
MARSHMALLOWS: You can pick up the regular mini marshmallows or find the fun novelty teeny tiny hot chocolate marshmallows in with the cocoa mix.
MILK: I use whole milk when I pour over my hot chocolate bombs to make a creamy and rich hot chocolate.
How to Make Hot Chocolate Bombs
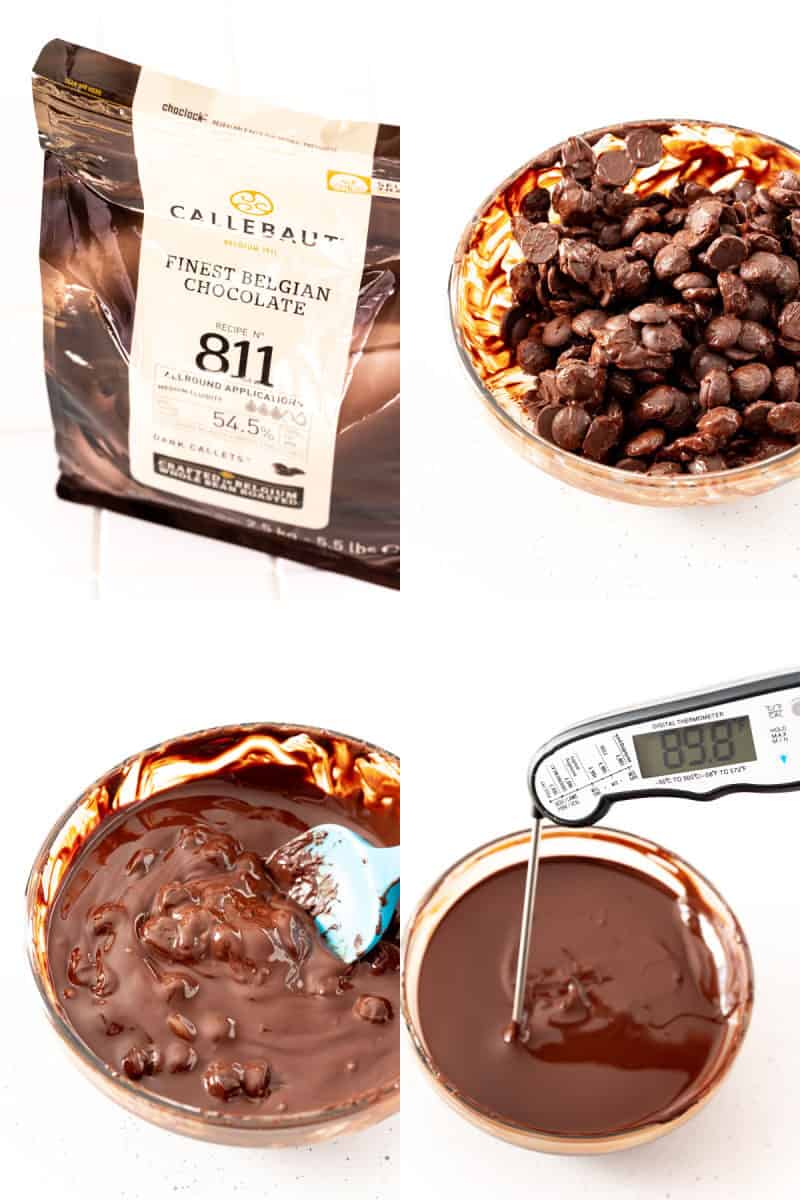
Jump to RecipeSTEP 1 Melt the chocolate in a microwave-safe bowl in 15-second intervals. If after melting and trying to stir in any remaining chocolate they just don’t want to melt, microwave for an additional 5 seconds. Once the chocolate is completely melted and at a temperature between 88-90 degrees F, stir in the unmelted chocolate to temper it. (This process makes the shell of the bombs shiny.)
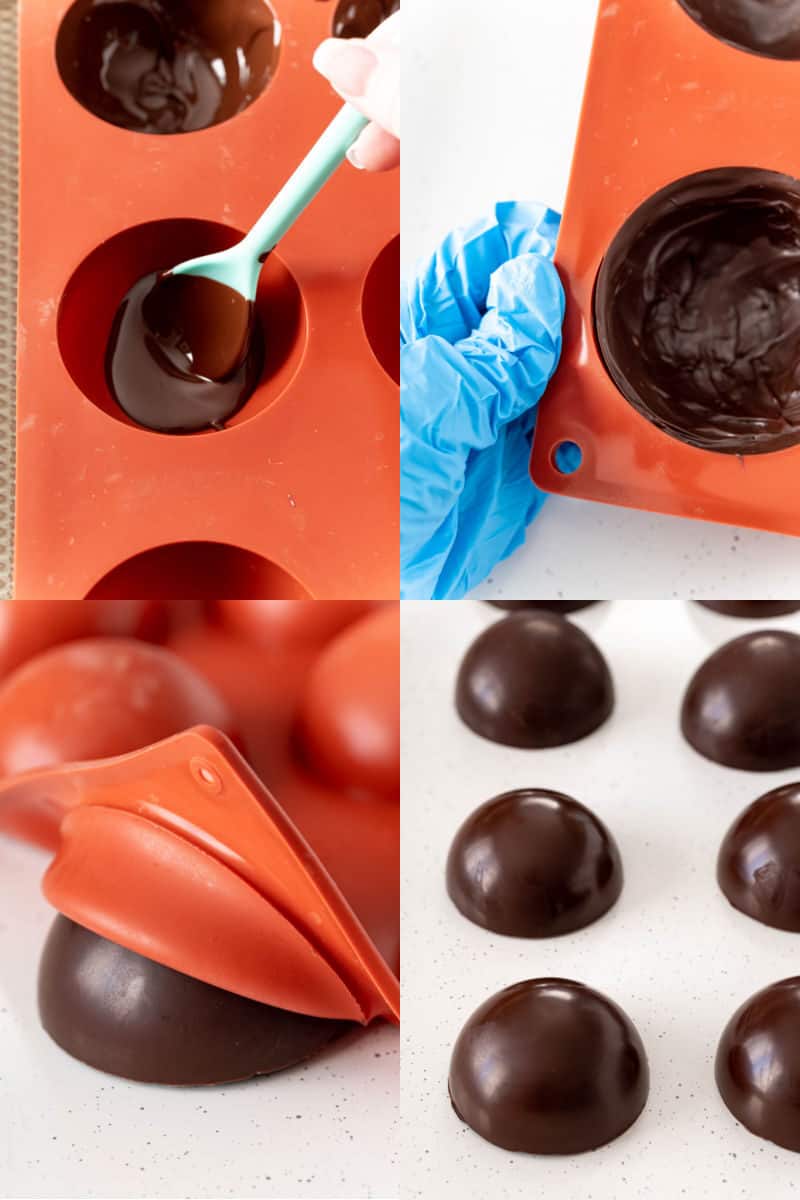
STEP 2 Spoon the tempered chocolate into the molds and spread it around the mold, all the way to the rim. Chill for 5 minutes in the fridge. Add a second layer of chocolate to each cavity and spread it around, working one at a time. Freeze the chocolate for 10 minutes. Pop on some gloves and carefully remove the chocolate from the molds.
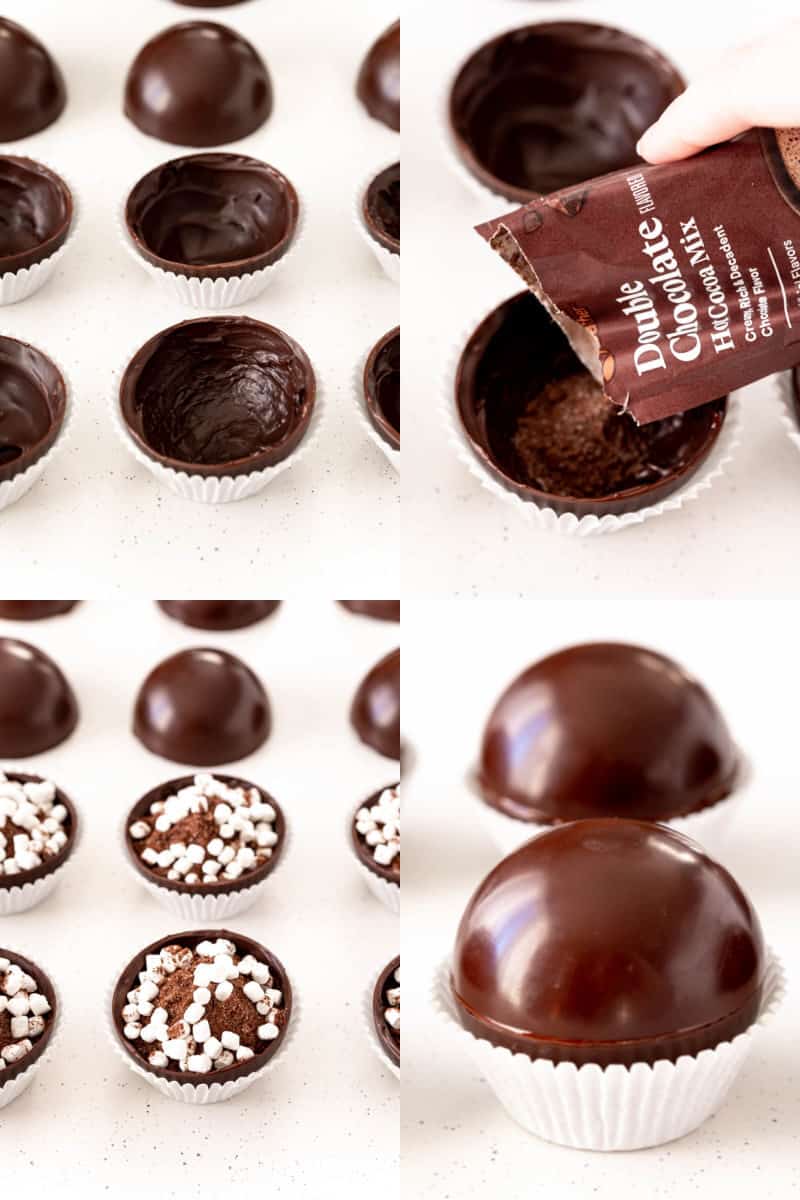
STEP 3 Portion the hot cocoa mix and mini marshmallows into half of the chocolate cups. Use a warm plate to melt the edge of the rest of the cups and place the top “empty” cup onto the bottom “filled” cup. The melted chocolate edge will seal to the bottom cup, use your fingers to smooth the seam all the way around the bomb.
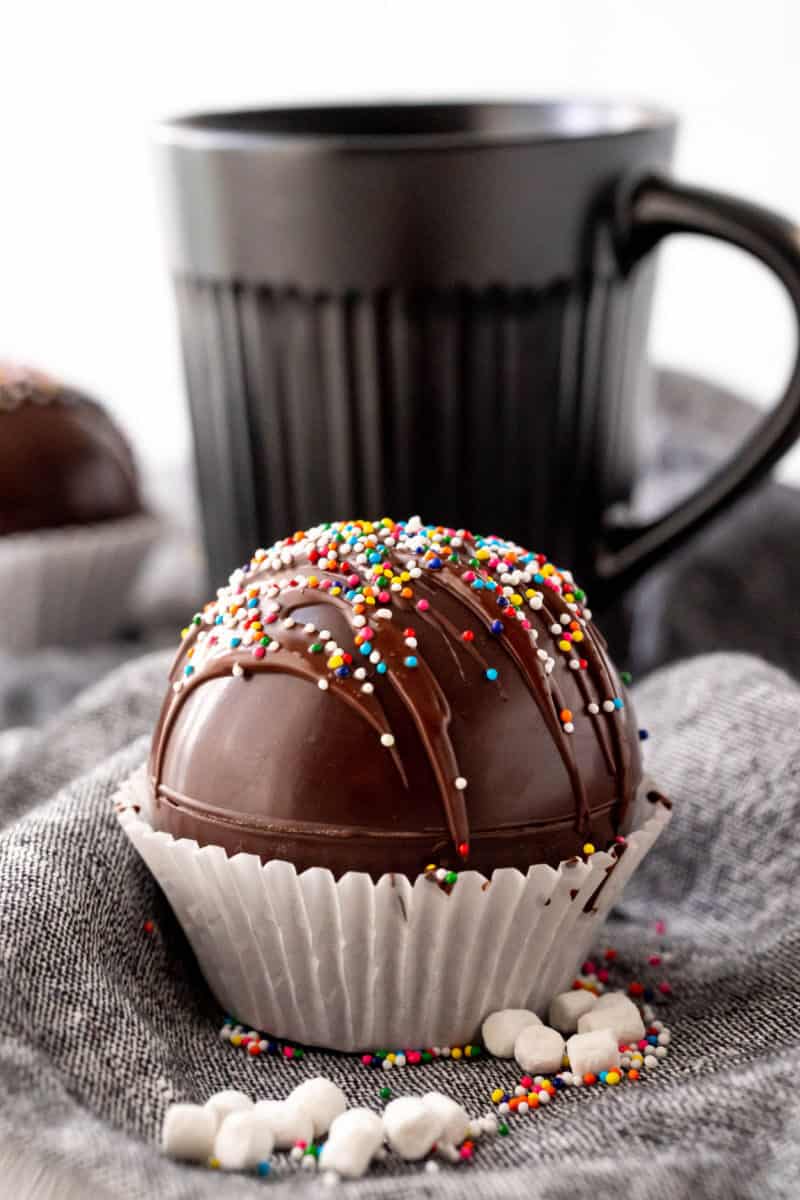
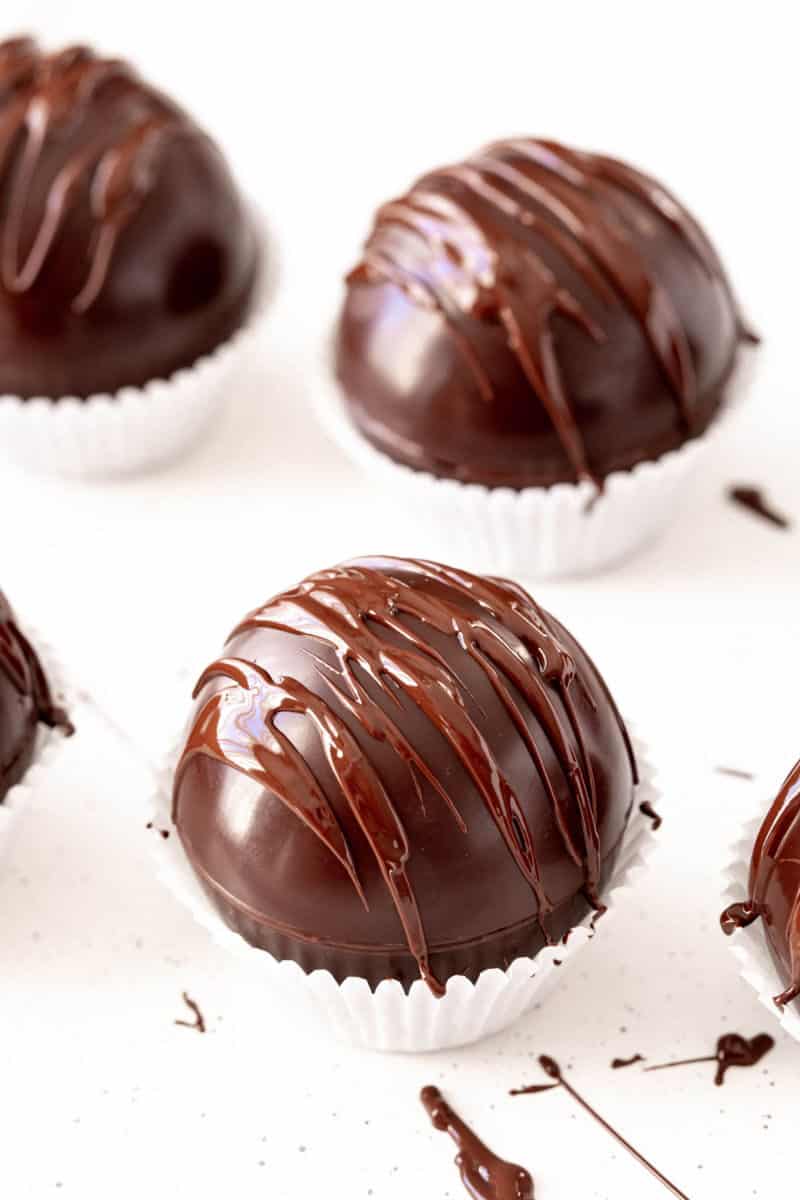
STEP 4 To decorate your hot chocolate bombs, drizzle some melted chocolate on top and add sprinkles. You can use any color or themed sprinkles you like. I’ve even used white chocolate for the drizzle on top for a little color variance.
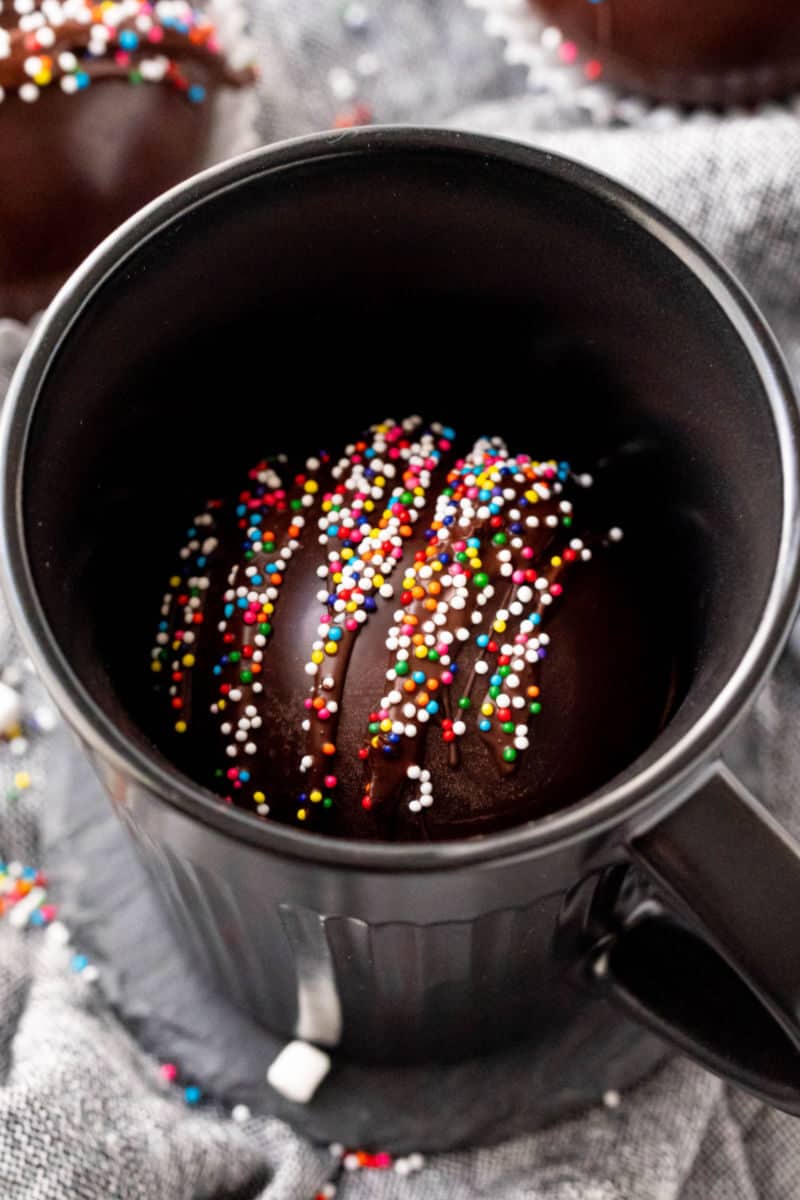
STEP 5 To make hot chocolate, place a hot chocolate bomb into a marge mug. Heat some milk in a small saucepan over medium heat just the edge just begin to bubble. Pour the warm milk over the bomb and stir until everything is mixed together. I like to add extra marshmallows on top too.
Tips & Tricks
CHOCOLATE
- If using milk chocolate you’ll want to heat the chocolate to be between 86 and 88 degrees F and if using white chocolate you’ll want it to be between 82 and 84 degrees F.
- To test if your chocolate is tempered or not, you can smear a bit on a piece of parchment paper and place it in the refrigerator for a few minutes. If it’s shiny and snaps in half when you take it out then your chocolate is tempered, if it bends then it’s not.
- I tested this recipe with several kinds of chocolate and ONLY recommend using a bar of high-quality chocolate or couverture chocolate. You want to use a chocolate that’s between 55% and 80% cocoa for this recipe and it needs to have cocoa butter as one of the first ingredients. Melting wafers and chocolate chips have additions to them that make them less than ideal for this type of recipe. And candy melts ARE NOT CHOCOLATE and even the chocolate flavored ones just have cocoa powder added and not cocoa butter which is what we want.
- If you are using couverture you will definitely want to use a food scale to measure it. If you’re using bars of baking chocolate then it’s a little bit easier to measure since the bars are usually in blocks that can be easily broken off and weigh 0.5 ounce to 1 ounce each.
- If using chocolate bars, you want them to be super finely chopped, you could even put them in a food processor or blender. You want the pieces to be small so that they melt quicker and more evenly.
TOOLS & METHOD
- Another option for sealing the molds is to pipe a thin line of chocolate around the rim of the filled cup and then top with the other half and roll the melted chocolate in sprinkles. But I much preferred the look of the plate method.
- You can use a brush to paint the chocolate into the molds, this definitely gives you more control but I found that you need an extra layer because the layers are so thin which means more prep time. I much preferred using a small rounded spoon.
- Gloves can help not leave fingerprints on the spheres, however, be sure not to grab the hot plate with your gloved hand and then touch the spheres or it will leave a mark.
- Silicone molds have a tendency to attract lint, so I would avoid drying them with a dishcloth. Instead, let them air dry or pat with a paper towel. Acrylic molds can also be used but I have not tested the recipe with them.
- I used the large silicone mold and they measure 2.75 inches across. The amount of chocolate needed will vary based on the size of your mold, but I think the amount called for should work for 2.5 inches to 3 inches.
Hot Chocolate Bomb FAQ
How long are Hot Chocolate Bombs good for?
These hot chocolate bombs are best consumed right after making or within 24 hours. That being said, all the ingredients are shelf stable. So really they’ll last as long as a bar of chocolate would, but I’d recommend keeping them in the fridge and using them within 1 month.
Where can I buy hot chocolate bomb supplies?
These days you can pick up the supplies for hot cocoa bombs just about anywhere including big box stores like Walmart and Target, grocery stores, and craft stores. You will often be able to purchase hot chocolate bombs there and at boutique shops and bakeries, craft shows, and from retailers online, but let me tell you: it is MUCH less expensive to make your own!
What is a hot chocolate bomb?
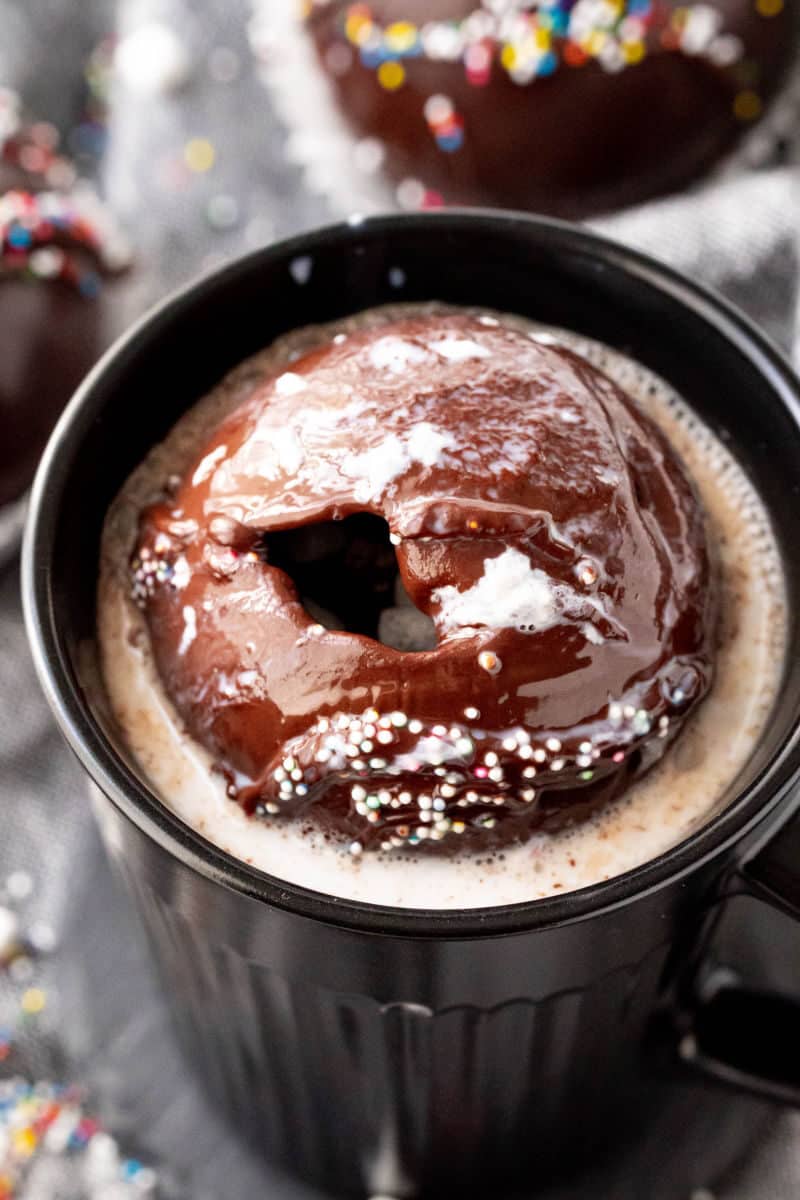
A hot chocolate bomb is a hollow chocolate sphere filled with hot cocoa powder, marshmallows, and fun add-ins like candies and sprinkles, and you place one in a large coffee mug, then pour hot milk over it and watch it melt and then fall apart to reveal the cocoa mix inside, stir to have delicious and creamy hot chocolate.

Other Recipes You May like
- Whipped Hot Chocolate
- Mexican Hot Chocolate Cookies
- Grasshopper
- Homemade Chocolate Cake
- No Bake Chocolate Lasagna

Hot Chocolate Bombs
Ingredients
Equipment
Instructions
- Add 5 ounces of chocolate to a medium bowl and microwave for 30 seconds, remove and stir, then continue to microwave at 15-second intervals, stirring fully and scraping the sides of the bowl with a rubber spatula between each one, until almost completely melted. Continue to stir so that the heat of the chocolate melts the unmelted pieces. If after melting and trying to stir in any remaining chocolate they just don’t want to melt, microwave for an additional 5 seconds.Check the temperature to make sure that the chocolate reads between 88 and 90 degrees F. If it goes over 90 degrees, stir in an additional ounce of chocolate until melted to bring it back down to 88 to 90 degrees F. (see note) If you are using two molds, you can do 10 ounces then add in 2 ounces, if needed. You don’t want that chocolate to sit too long and have to be reheated again if you only have one mold. If you do not temper the chocolate with a thermometer and use this process, the chocolate can turn out chalky or discolored instead of shiny.
- Spoon about 1 tablespoon of melted chocolate into each mold and use the back of the spoon to spread it around, make sure to get all the way to the top of the rim and not leave any exposed areas. Place the mold on the small baking sheet and refrigerate for 5minutes.
- Remove from the refrigerator and spoon another heaping spoonful into the molds one at a time (do not add chocolate to each cavity at once because it will start to cool too quickly and become thick, gritty, and hard to work with). Use the back of the spoon to work the second layer of chocolate around making sure to build up the edges around the rim, you want a thicker edge to ensure they don’t crack. Freeze for 10 minutes.
- Remove from the freezer and put on the food-safe gloves and remove the chocolate shells from the molds. Repeat steps 1 – 4 if using a single mold.
- Once all of your shells are made, microwave a flat plate in the microwave for 2 minutes, then place 6 of the 12 halves on the plate one at a time using a gloved hand (to help prevent fingerprints) to gently spin them to smooth the edges then place round side down in a regular-sized cupcake liner on your work surface. Wipe the plate off.
- Fill the cavities with a packet of hot cocoa mix and marshmallows.
- Reheat the plate for 2 minutes in the microwave. Then repeat the process with the other 6 halves and place them on top of the cocoa-filled halves and gently press to seal.
- Let the hot chocolate bombs set for a few minutes then top with a drizzle of chocolate and sprinkles if desired. Store in an airtight container in a cool place for up to 24 hours.
- To make hot chocolate, heat the milk in a small saucepan over medium heat just until the edges begin to bubble the remove and pour over a hot chocolate bomb in a large mug and stir until fully mixed.
Notes
- You can substitute other finely chopped high-quality chocolate such as Ghirardelli baking chocolate. You want to use a chocolate that’s between 55% and 80% cocoa for this recipe and it needs to have cocoa butter as one of the first ingredients.
- I tested this recipe with several kinds of chocolate and ONLY recommend using a bar of high-quality chocolate or couverture chocolate. Melting wafers and chocolate chips have additions to them that make them less than ideal for this type of recipe. And candy melts ARE NOT CHOCOLATE and even the chocolate flavored ones just have cocoa powder added and not cocoa butter which is what you want.
- If using milk chocolate you’ll want to heat the chocolate to be between 86 and 88 degrees F and if using white chocolate you’ll want it to be between 82 and 84 degrees F.
- To test if your chocolate is tempered or not, you can smear a bit on a piece of parchment paper and place it in the refrigerator for a few minutes. If it’s shiny and snaps in half when you take it out then your chocolate is tempered, if it bends then it’s not.
- I used a large silicone mold that measures 2.75 inches across. T the amount of chocolate needed will vary based on mold size, but I think the amount called for should work for 2.5-3 inches.