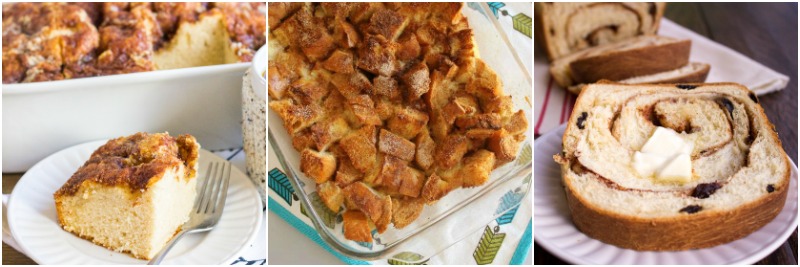
Homemade Cinnamon Rolls
These Homemade Cinnamon Rolls are warm, gooey, and oh so crave-able! Perfect for lazy weekends or a special holiday treat!
I’m a cooking show junkie. It’s kind of bad. So much so that now my boys request to watch Cake Wars the Holiday Baking Championships as much as they ask for Teen Titans Go! But there are worse things on TV, and watching a show that makes you hungry or makes you want to run to the kitchen to cook is a winner in my book.
LOVE THIS RECIPE? PIN IT FOR LATER!
Follow Bread Booze Bacon on Pinterest
About five years ago I saw these cinnamon rolls on the Pioneer Woman‘s Christmas episode on Food Network. I tucked the recipe away, vowing to make my first attempt at homemade cinnamon rolls, and forgot all about it. Then one day, my husband mentioned craving cinnamon rolls and I knew this was the moment. I made a half batch of the original recipe (because it’s supposed to make like 60 rolls, and OMG that’s a lot), and holy cow they were amazing!
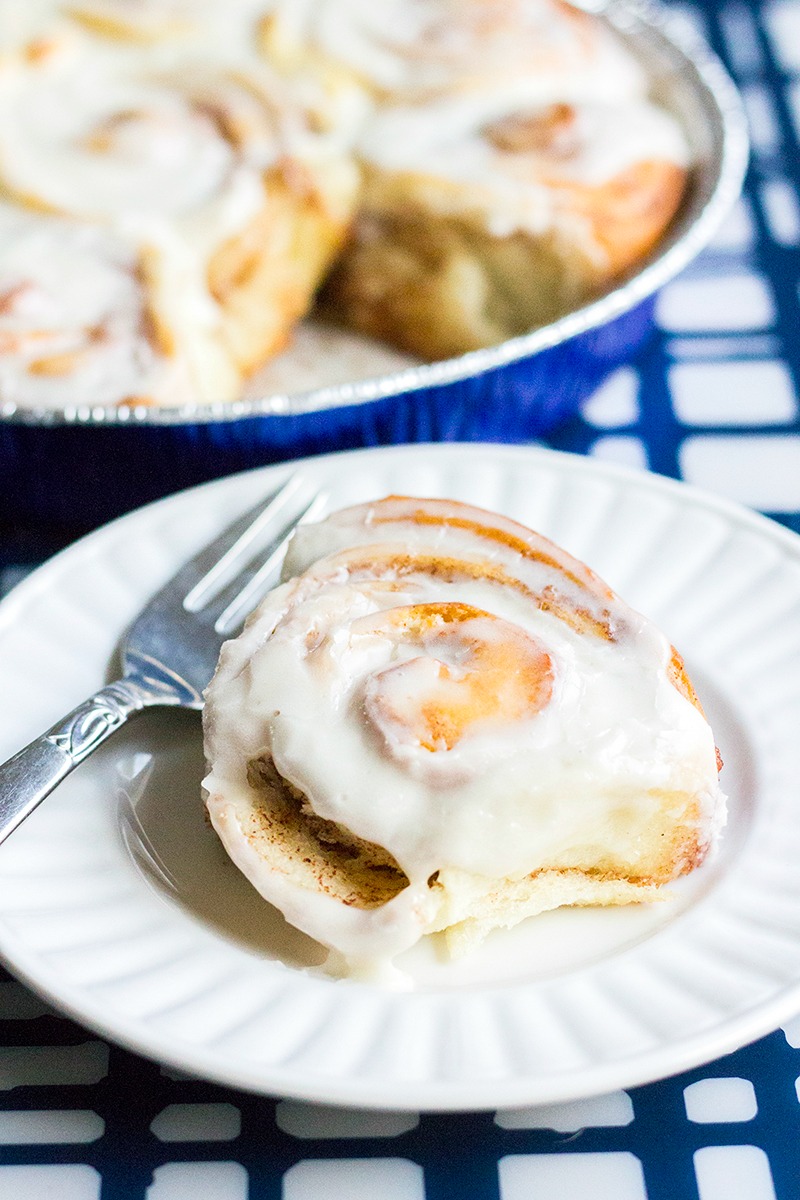
These cinnamon rolls are everything we were dreaming they would be and totally satisfied that craving. While I know people adore Cinnabon cinnamon rolls, I’d take the Pepsi challenge with these rolls again them any day. If you’ve never made homemade cinnamon rolls, this is the recipe to try. They came out perfect the very first time. I’ve been making them a couple times each year ever since!

Hungry for More?

Homemade Cinnamon Rolls
Ingredients
Instructions
- In a medium saucepan, combine 2 cups milk, vegetable oil, and 1/2 cup sugar. Heat until everything just begins to simmer. Stir until sugar is dissolved. Remove from heat and let the liquid cool until it reaches 105 degrees F. Top mixture with yeast and allow to sit for 1 minute.
- Put 4 cups flour in a large mixing bowl. (I use my stand mixer with the dough hook attachment, but you can mix with a wooden spoon). Add the milk mixture to the flour and mix until all ingredients are combined.
- Cover bowl with a clean kitchen towel and set aside to let the dough rise, for 1 hour.
- Add the remaining 1/2 cup flour, baking soda, baking powder, and salt into the dough, and mix to combine. Transfer dough to a lightly oiled bowl, and then place the dough in the fridge for 1 hour, uncovered.
- Lightly dust your work surface with flour. Take half the dough and roll it into a 10-inch x 15-inch rectangle. The dough will be pretty darn thin.
- Pour 1/2 cup of the melted butter over dough sheet. Use your hands to spread the butter all over the dough.
- Mix together 1 tablespoon cinnamon and 1/2 cup sugar. Sprinkle all the sugar mixture evenly over the butter. Use your hands to rub the cinnamon goo all over the dough.
- Roll the dough into a log, starting on the short side of the dough. Some filling might ooze out the ends, don't worry about that. Pinch the seam that forms when you're done rolling the dough to seal the dough log. Repeat this process with the remaining half of the dough and remaining filling ingredients.
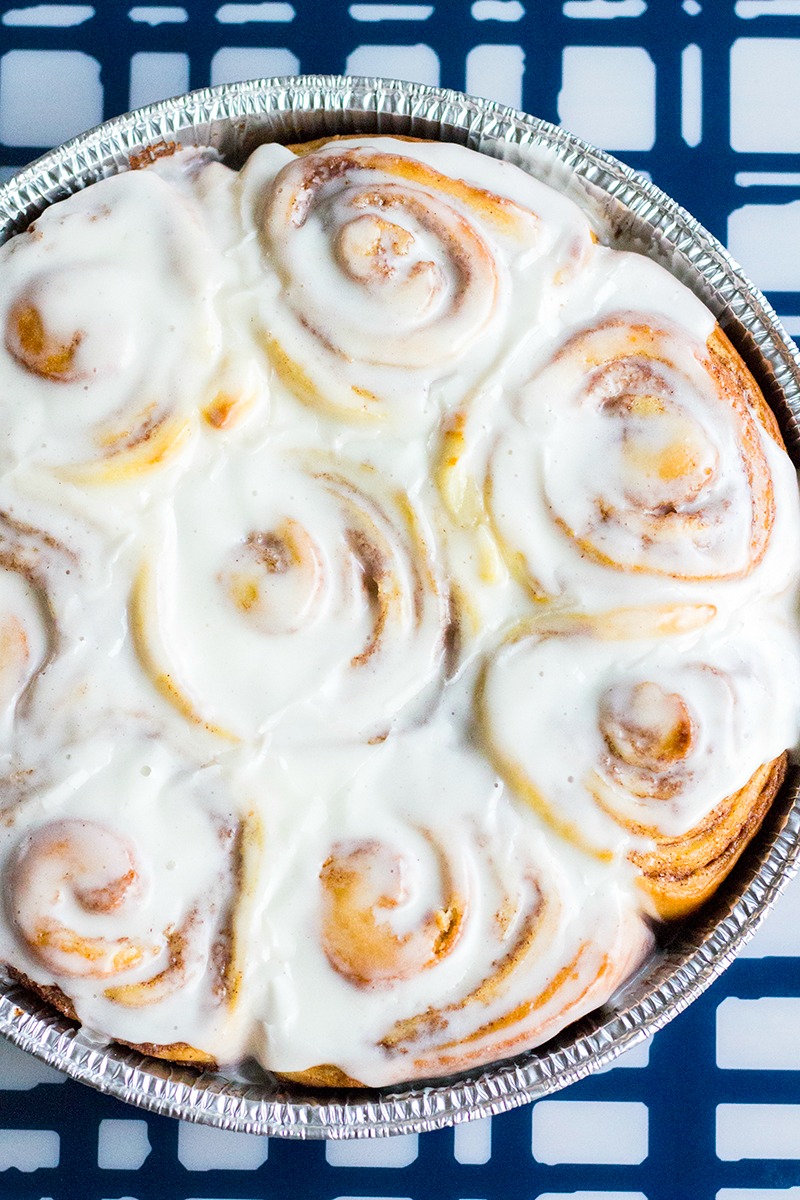
- Using a serrated knife, cut 1/2-inch slices from each dough log. Place slices in four 9-inch non-stick cake pans/pie plates. (If you're not using non-stick pans, lightly grease the pans.) Arrange about 8 rolls per pan with one roll in the center of the rest.
- Cover rolls with a kitchen towel (or two), and allow the cinnamon rolls to rest for 20 minutes.
- Preheat your oven to 375 degrees F. Bake the cinnamon rolls for 15 to 18 minutes, do not let the rolls overcook and become too browned. Carefully remove from the oven.
- While rolls bake, combine icing ingredients in a large mixing bowl until smooth – the icing will look thick. Don't worry, that's okay.
- Pour the icing over warm cinnamon rolls, 1/4 of the icing per pan. If needed, use the back of a spoon the spread the icing over the cinnamon rolls.
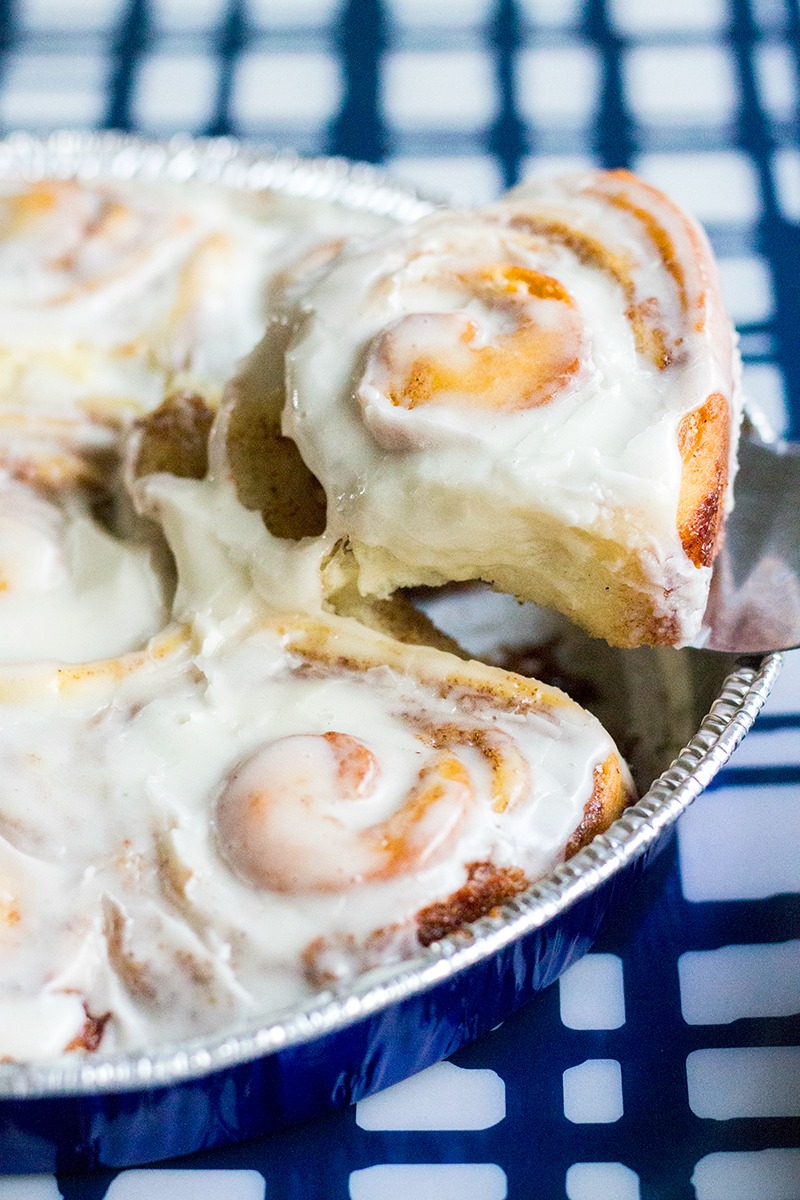
- Allow cinnamon rolls to rest for a few minutes, then serve warm.
wow It look lovely. I loved the recipe too. Thank you for this fantastic share. My taste buds are dancing around to have this taste out. Will try to make them this weekend hope they turn out half as nice as yours. Thanks for the recipe!
This is an amazing recipe and I loved it
Made them for Thanksgiving breakfast… Came out delicious..
I loved these cinnamon rolls! The only problem was that the dough was EXTREMELY sticky when I started to work with it after letting it sit in the refrigerator so I had to add a lot of flour to it to make it work, probably at least half a cup. I used white lily all purpose flour and spooned the flour into the measuring cup to make sure I used the correct amount. Side note- these may be even more delicious when reheated!