
Homemade Brownie Mix
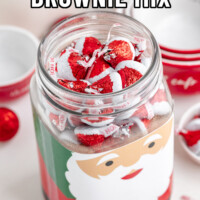
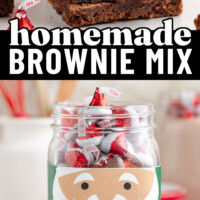
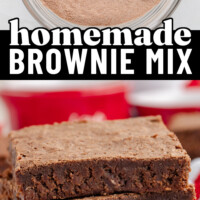
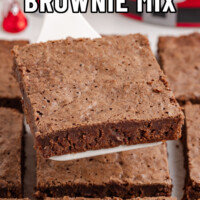

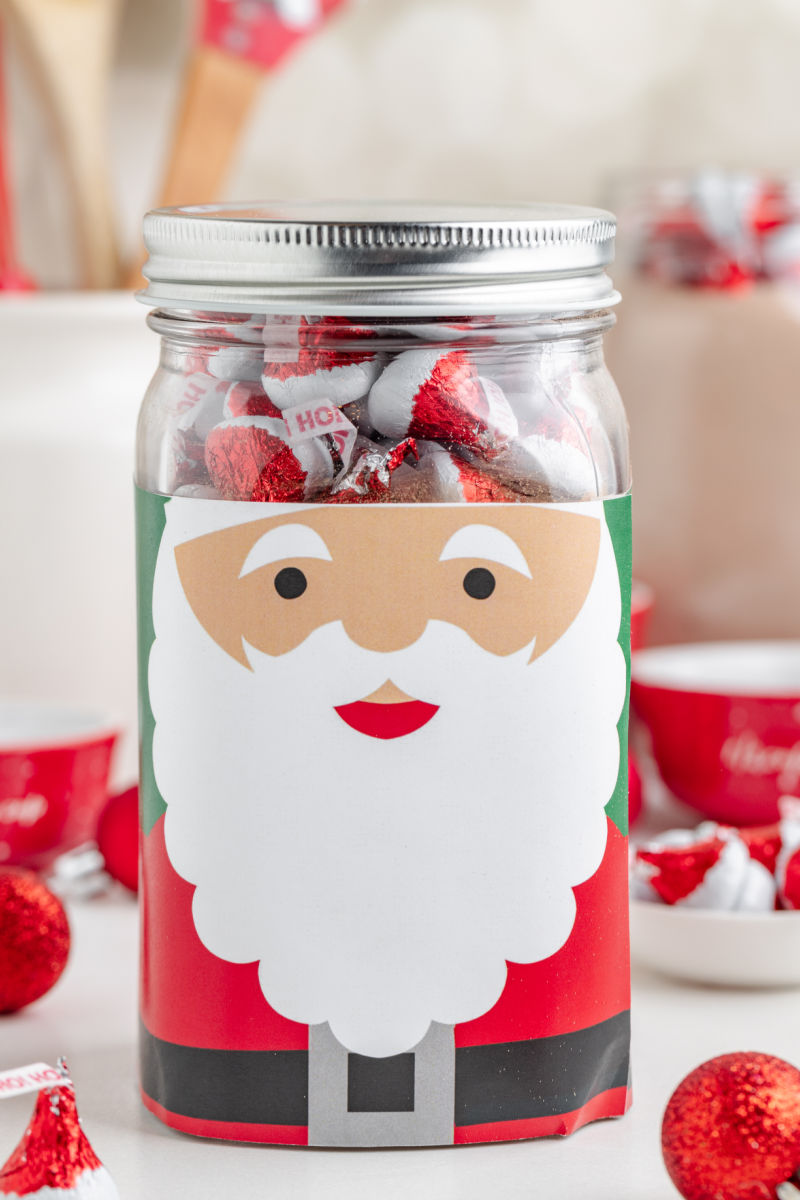
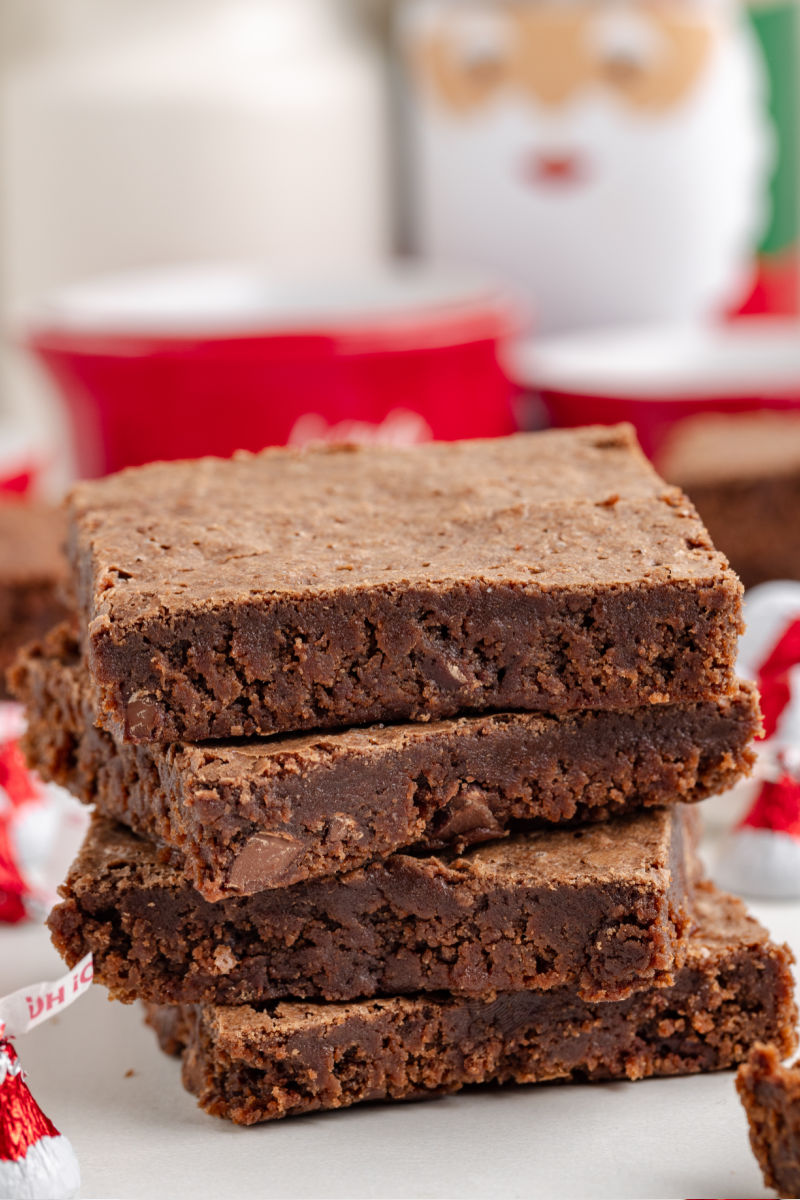
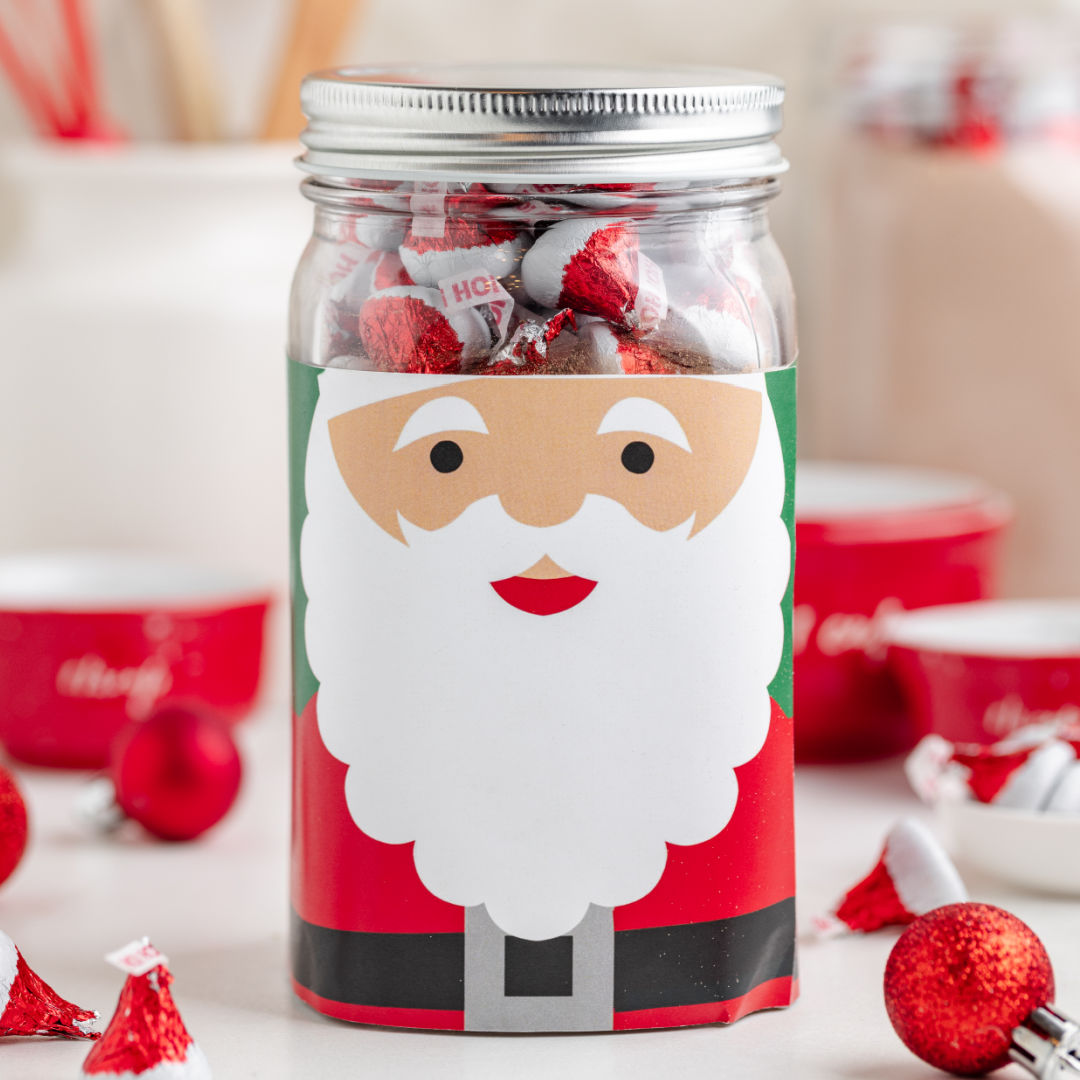
I’m all about giving someone a good excuse to bake brownies. This homemade brownie mix starts with sugar, flour, cocoa powder, and salt, takes about 5 minutes to stir together, and turns into rich, fudgy brownies with chopped Hershey’s Kisses in every bite. Add a Santa jar wrapper and those little Santa hat chocolates, and you’ve got a Christmas present that’s almost too cute to give away. Almost.
This is the kind of gift I love for neighbors, coworkers, and white elephant exchanges: useful, homemade, and chocolate. The everyday printable tag turns it into a great gift for teachers, housewarmings, and birthdays, too. Or skip the gift list altogether and keep a jar for your own brownie cravings. Solid plan.
Why This Brownie Mix Recipe Works
There’s plenty to love about a gift that ends with a pan of brownies.
- One jar, one pan. Each batch fills a quart jar and bakes into a full 9×13 pan of brownies.
- It works beyond December. The everyday tag gives the same mix a completely different look for teachers, neighbors, or your own pantry.
- The chocolate doesn’t stop at cocoa. Chopped Kisses get stirred into the batter and add little pockets of chocolate throughout the finished brownies.
Ingredients
Brownie Mix
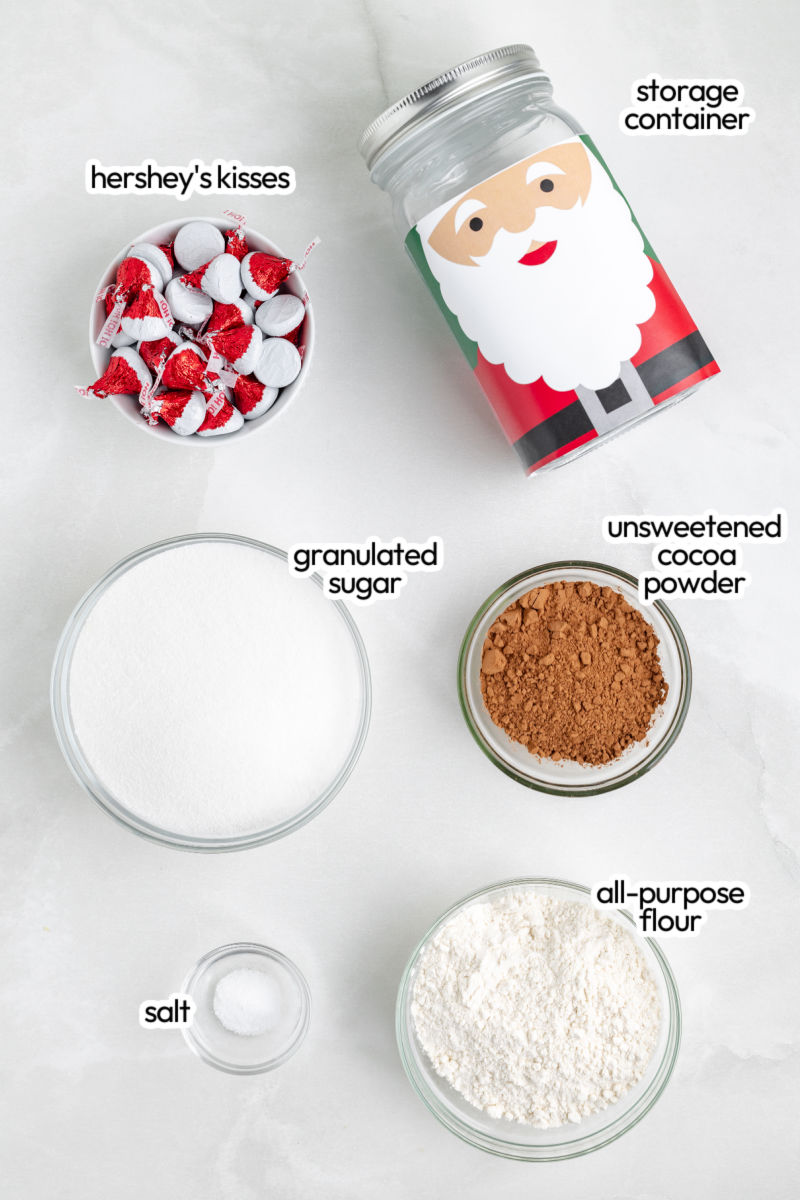
The dry mix is basic pantry staples: granulated sugar, all-purpose flour, salt, and unsweetened cocoa powder. A couple of things worth noting:
- Unsweetened cocoa powder: Sweetened hot cocoa mix isn’t a substitute. It’ll throw off both the sweetness and texture.
- Hershey’s Kisses: Santa Hat Kisses finish the Christmas look, but any Hershey’s Kisses work. Different Kisses flavors will change the flavor of the finished brownie.
Add When Baking
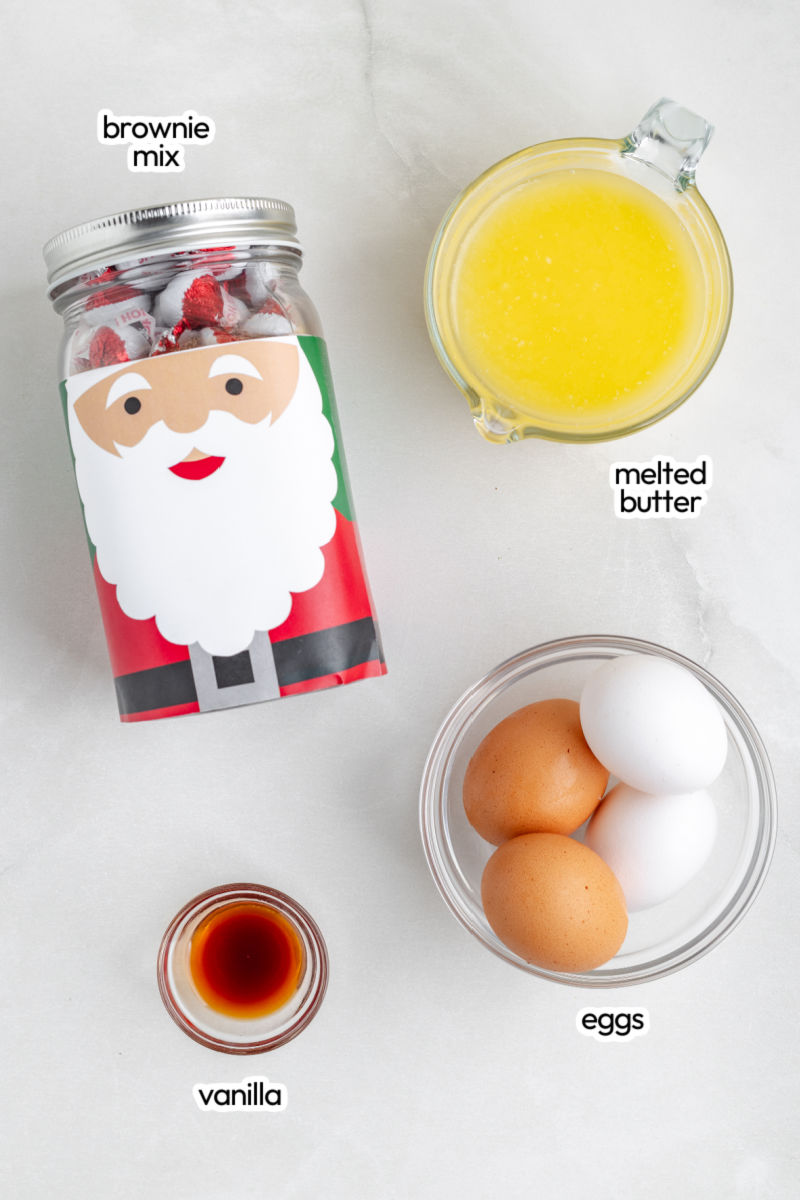
You’ll add these three ingredients when it’s time to bake – they don’t go in the jar.
- Unsalted butter: Use melted butter. It gives the brownies their rich, fudgy texture.
- Eggs: Bind the batter and give the brownies structure.
- Vanilla extract: Rounds out the cocoa and chocolate flavors.
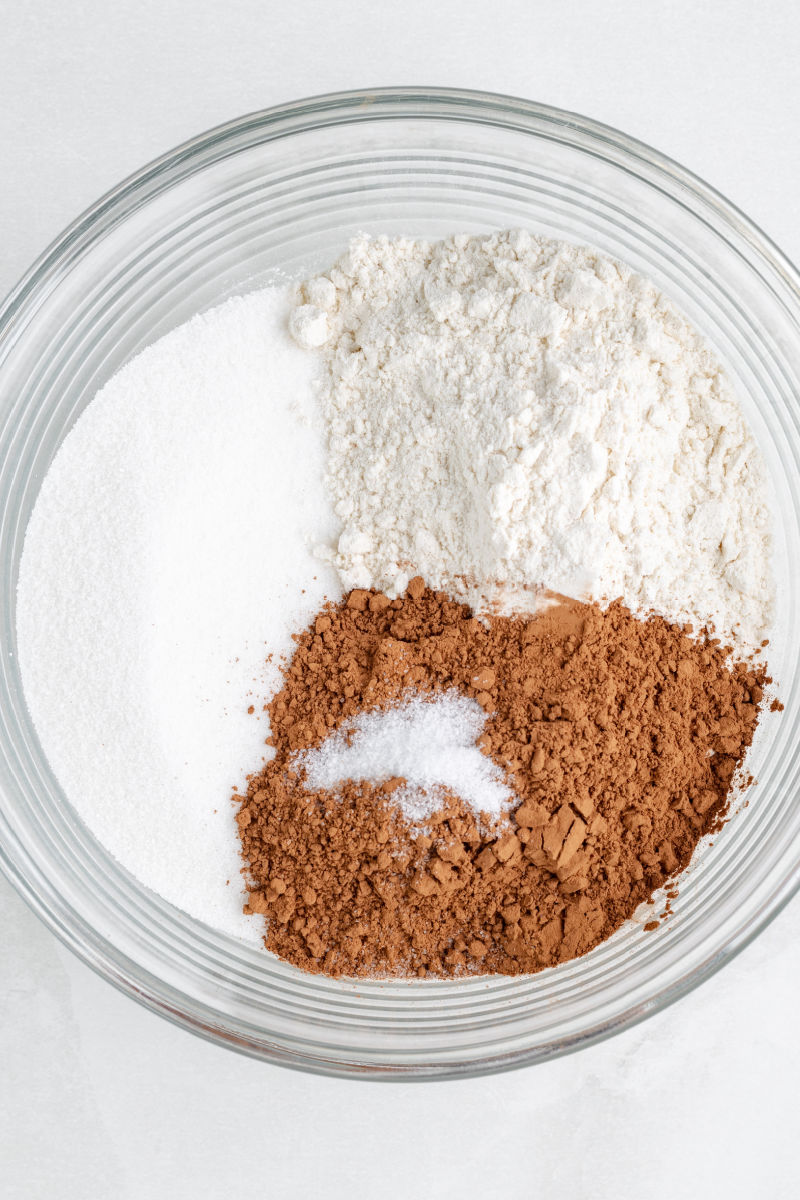
How to Make Brownie Mix
Start by making the dry mix. Then decide whether it’s headed for a gift basket or your own pantry.
- Set the chocolates aside. Keep the Kisses separate from the loose mix for now so you can package them on top or alongside the jar.
- Combine the dry ingredients. Add the sugar, flour, cocoa powder, and salt to a large mixing bowl.
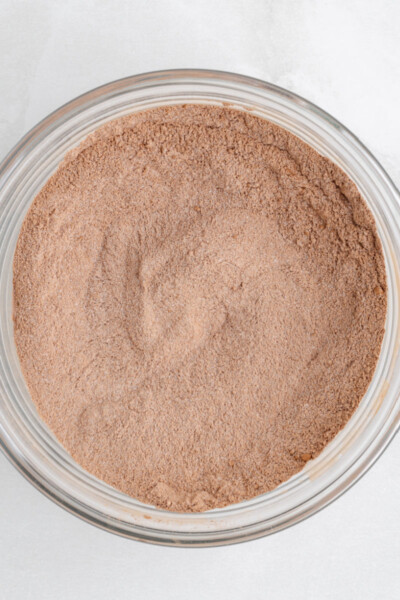
- Whisk everything together. Break up any cocoa lumps and scrape around the bottom of the bowl until the mix is an even color. You don’t want pockets of plain flour hiding underneath.
Making several jars? Measure a complete batch of ingredients for each one before moving on so every gift matches its baking directions.
How to Make a Brownie Mix Christmas Gift
The Santa wrapper is the star of the Christmas version, while the everyday tag gives you an easy option for other occasions.
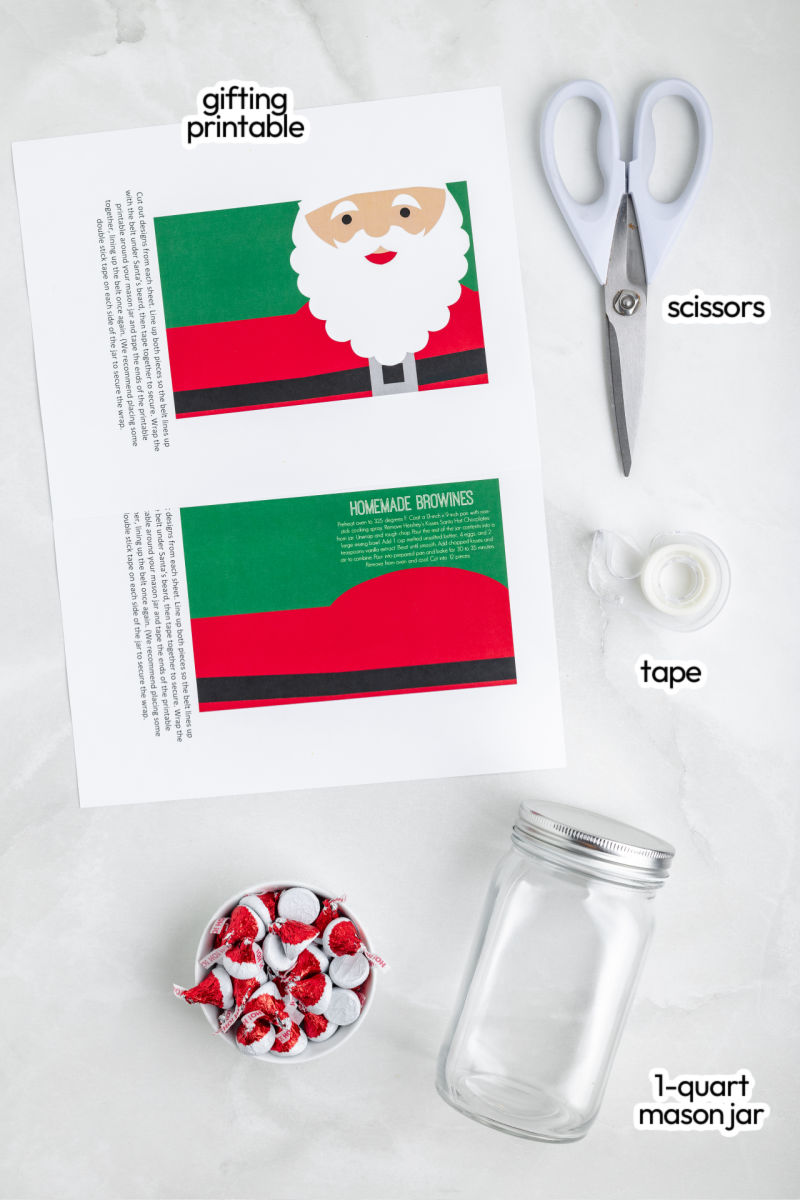
Gather Your Jar and Decorating Supplies
You only need a few supplies to turn the mix into a gift.
- 1-quart mason jar: Start with a clean, completely dry quart mason jar and its lid.
- Printable: Choose the Santa jar wrapper or the everyday brownie mix recipe tag (below) and print it out.
- Scissors and tape: Use these to trim and attach the paper. Double-sided tape is handy for keeping the wrapper snug.
- Ribbon or a bow: Use this if you’d rather tie the everyday tag around the neck of the jar.
- Optional lid decoration: A small piece of wrapping paper or some washi tape adds a little color to the top.
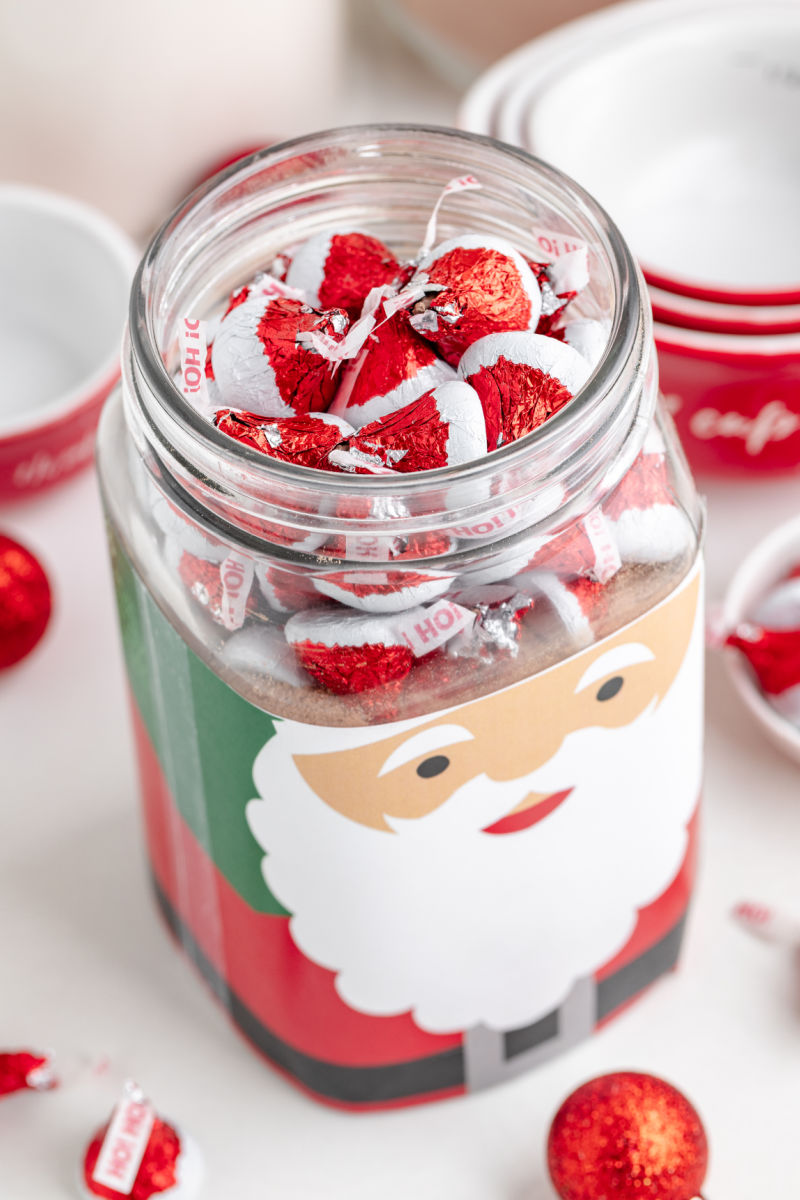
Fill and Decorate the Jar
Here’s how to put your mason jar brownie mix gift together.
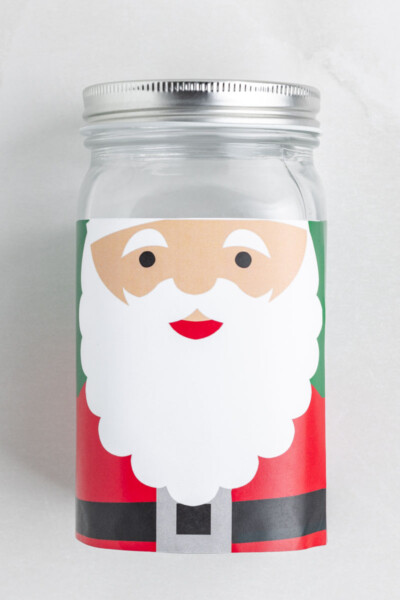
- Trim the printable. For the Santa wrapper, cut out both pieces, line them up using Santa’s belt as a guide, and tape them together. For the everyday version, trim the recipe tag.
- Fill the jar. Spoon in the entire batch of dry mix, using a canning funnel if you have one. Keep the full measured batch together so the recipient has the right amount for baking.
- Add the chocolates. Place the wrapped Kisses on top if there’s enough room to close the lid comfortably. Otherwise, put them in the food-safe bag and include it with the jar.
- Attach the wrapper or tag. Center Santa’s face on one side of the jar, tape down an edge, and wrap the paper around before securing the other end. Tape the everyday tag to the jar or tie it on with a bow.
- Finish the lid. If you’re decorating the top, trace the flat lid insert onto wrapping paper, cut out the circle, and tape it to the outside of the insert before replacing the ring.
Free Brownie Mix Printables
Choose the printable that fits your gift.
- Christmas version: Download the Santa mason jar wrapper.
*Printable updated October 2026 with improved layout and a use-by date line. - Everyday version: Download the brownie mix recipe tag for birthdays, teacher gifts, housewarmings, or a jar you’re keeping for yourself.
For a bigger grown-up gift, tuck the jar into a basket with a rubber spatula, an oven mitt, two rocks glasses, and a bottle of Homemade Kahlua. Brownies and coffee liqueur? That’s a gift basket I can get behind.
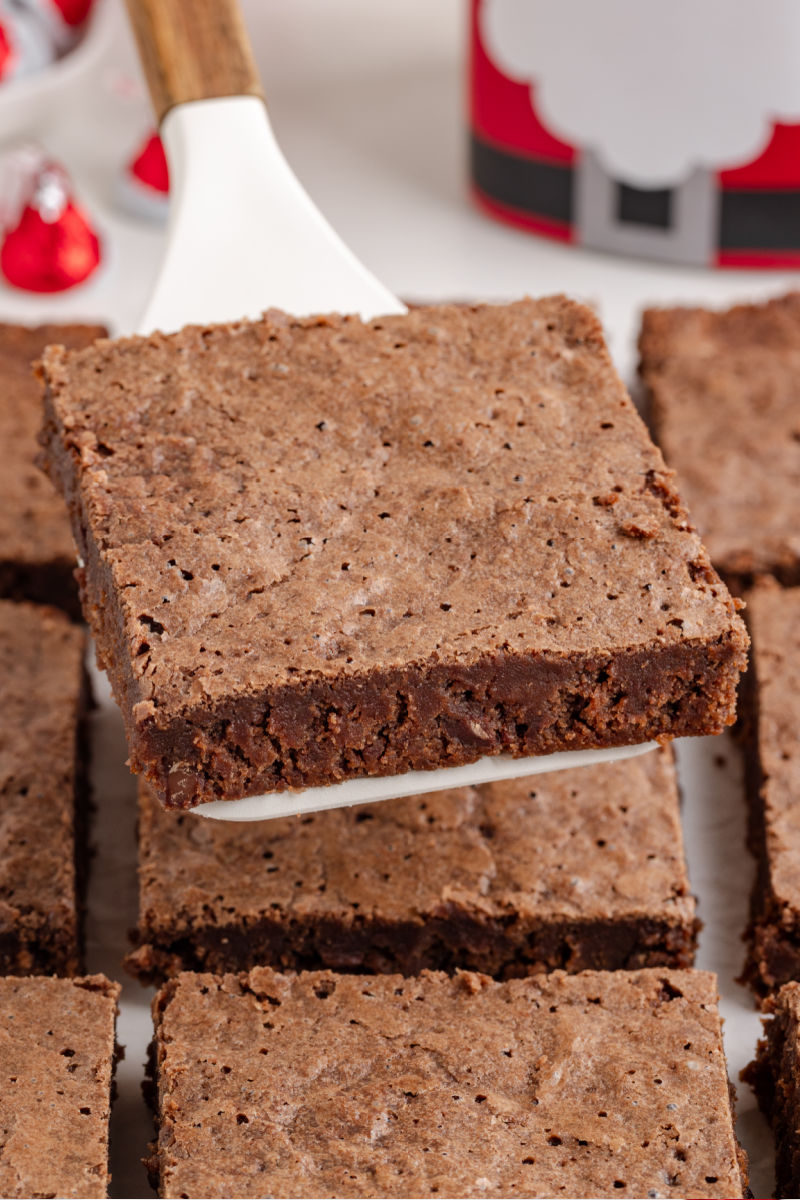
How to Bake Brownies From the Mix
When you’re ready for brownies, the jar does most of the measuring for you.
- Prep the oven and pan. Preheat the oven to 325°F and coat a 9×13-inch baking pan with nonstick cooking spray.
- Unwrap the chocolates. Remove the Kisses from the jar, unwrap each one, and roughly chop them.
- Make the batter. Empty all the dry mix into a large bowl. Add the melted butter, eggs, and vanilla, then mix until combined and smooth, scraping the bottom so no dry patches remain.
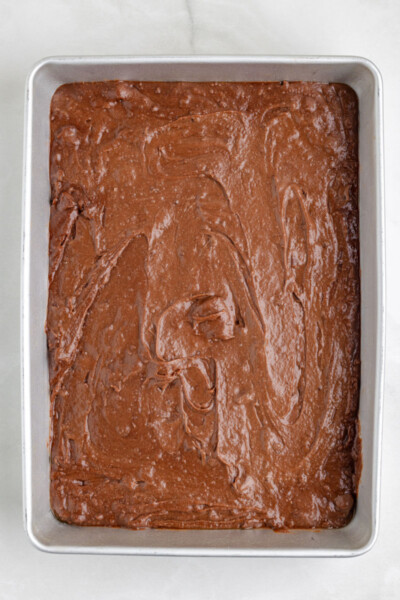
- Fold in the chocolate. Stir in the chopped Kisses with a rubber spatula, then spread the batter evenly in the prepared pan.
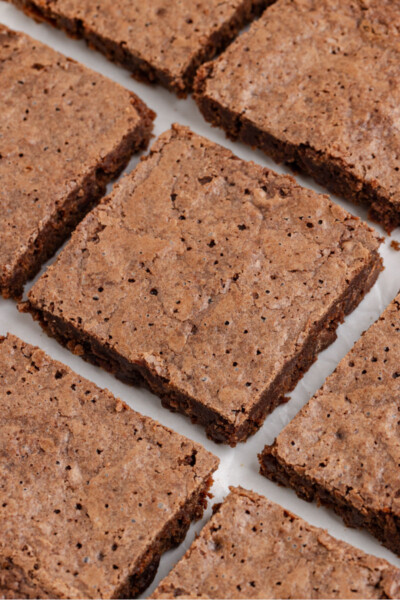
- Bake and cool. Bake for 30 to 35 minutes, until the edges begin pulling away from the pan and the center is set. Place the pan on a wire rack and let the brownies cool before slicing.
Recipe Tips
Jar size matters: A wide-mouth quart jar may fit more Kisses on top than a regular-mouth jar.
Pre-chop if you prefer: You can unwrap and roughly chop up to 1 cup of Kisses before adding them to the jar instead of leaving them whole and in the wrappers.
Storage
Dry mix: Keep the tightly closed jar in a cool, dry, dark cupboard. Use within 6 months for best quality, or sooner if any ingredient’s best-by date comes first. Write a use-by date on the gift tag for easy reference.
Baked brownies: Once completely cooled, keep the brownies in an airtight container at room temperature for 3 to 4 days.
Freezing: Wrap cooled brownies tightly, place them in a freezer-safe bag or container, and freeze for up to 3 months. Thaw at room temperature before serving.
FAQ
Is it cheaper to make brownie mix than buy it?
It can be, especially when you already have the pantry ingredients on hand or buy them in bulk. For the mix and chocolates, 1-quart food storage bags work just as well as a mason jar. For gifting, factor in the jar and decorations separately – those are what add to the cost.
Do I need an electric mixer?
Nope! A whisk works for combining the dry mix, and a sturdy spoon or rubber spatula works for the batter.
Can I bake the brownies without putting the mix in a jar?
Absolutely. The jar is for packaging and gifting. You can make the dry mix in a bowl and go straight to making the batter.
Homemade Brownie Mix Recipe
Ingredients
Equipment
Instructions
- Print out either the Santa jar wrap or the recipe tag printable. Follow the instructions on the paper for trimming and attaching to the jar.
- If you’re covering the mason jar lid, cut a piece of wrapping paper to fit and tape it to the outside of the flat lid insert before replacing the ring. Set the jar aside.
- Combine 2 cups granulated sugar, 1 cup all-purpose flour, ½ cup unsweetened cocoa powder, and ½ teaspoon salt in a large mixing bowl.
- Carefully pour the ingredients into the mason jar. The mix should take up about ¾ of the jar.
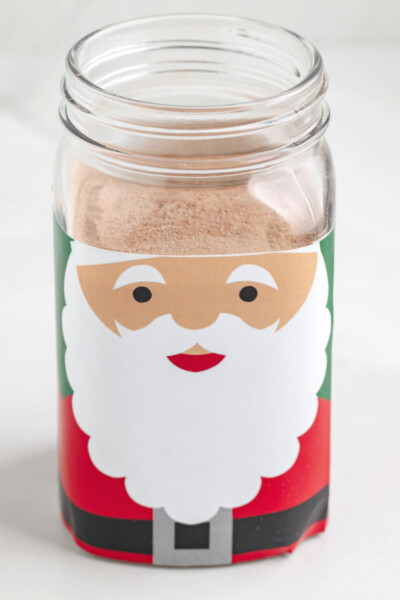
- Add ½ cup Santa Hat Hershey's Kisses on top of the brownie mix, or enough to fill the jar. Cover and seal.
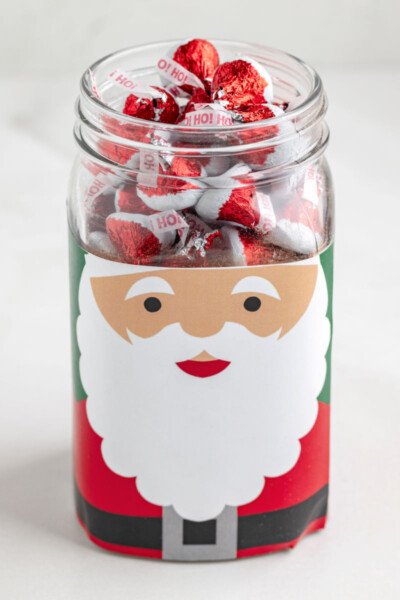
- Preheat your oven to 325 degrees F. Coat a 9-inch x 13-inch pan with non-stick cooking spray. Set aside.
- Remove the Hershey's Kisses from the mason jar. Unwrap the chocolates and roughly chop them. Set aside.
- Dump the rest of the dry ingredients from the jar into a large mixing bowl. Add 1 cup unsalted butter, 4 large eggs, and 2 teaspoons vanilla extract. Mix together until combined and smooth.
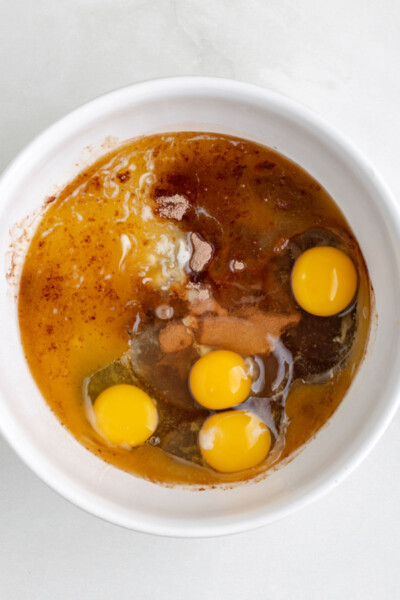
- Add the chopped Hershey's Kisses and stir them into the brownie batter with a rubber spatula until evenly distributed.
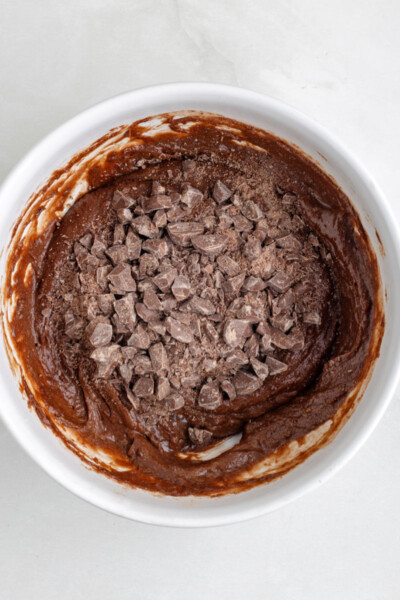
- Pour the batter into the prepared baking pan. Bake for 30 to 35 minutes or until the edges are pulling away from the pan.
- Remove from the oven and let cool on a wire rack before cutting into 12 squares.
Notes
- Peppermint variation: Use Candy Cane Hershey’s Kisses in your brownie mix, or sprinkle chopped candy cane kisses on top of the warm brownies and let them melt.
- Kisses swap: Any Hershey’s Kisses flavor works in this recipe. Different flavors will change the taste of the finished brownies.
- Make-ahead: The dry mix can be made and jarred ahead of time. Write a use-by date on the gift tag for easy reference.
- Storage (dry mix): Keep the sealed jar in a cool, dry, dark cupboard for up to 6 months, or by the earliest best-by date on any ingredient.
- Storage (baked brownies): Store in an airtight container at room temperature for 3 to 4 days.
Nutrition
Tried this recipe?
If you made this recipe, leave a comment and star rating to let others know how it turned out.More Holiday Treats to Share
For more homemade treats to give or keep for yourself, try these holiday favorites.
I think you left out the cocoa in the printed recipe?
OMG! I can’t believe I did that. Thank you MaryEllen. I’ve updated the recipe. I think I need more coffee. 😉